Make a Pressure Pot with Accessories for Casting
As promised, I'm going to continue down the road of stabilizing and casting "worthless" wood by explaining how I built my pressure pot and accessories. If you missed out on the previous article where I explained How to Make a Vacuum Chamber, you might want to start there. If you are confused as to the reasoning behind needing a pressure pot, the main idea is that while casting harder materials like resin, you can pressurize and shrink the air bubbles. What's so fantastic about this process is that after the resin cures, the air bubbles stay small making them virtually invisible.
As with most projects, check out the VIDEO!Please SUBSCRIBE if you aren't already.
Before getting starting, I wanted to share a couple of projects that I've recently done with hybrid blanks made with this process. If you haven't seen the Make a Hybrid Marking Knife article/video, that should definitely be next on your list.[gallery type="rectangular" size="medium" ids="2012,2014"]
Safety
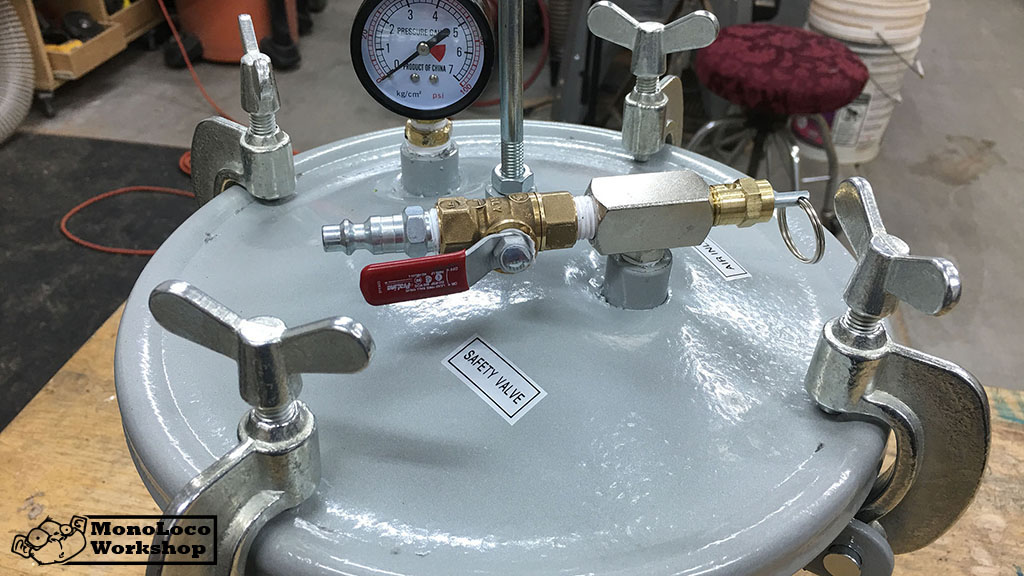 There are a few posts online that try to steer people away from the Harbor Freight pressure pots but it is my feeling that as long as you stay within the recommended pressures and use the safety equipment, you should be good. HOWEVER. YOU are the one responsible for your safety so don’t do something you aren’t comfortable with.HF Pot Warning Posts: ResinAddict & PenTurners
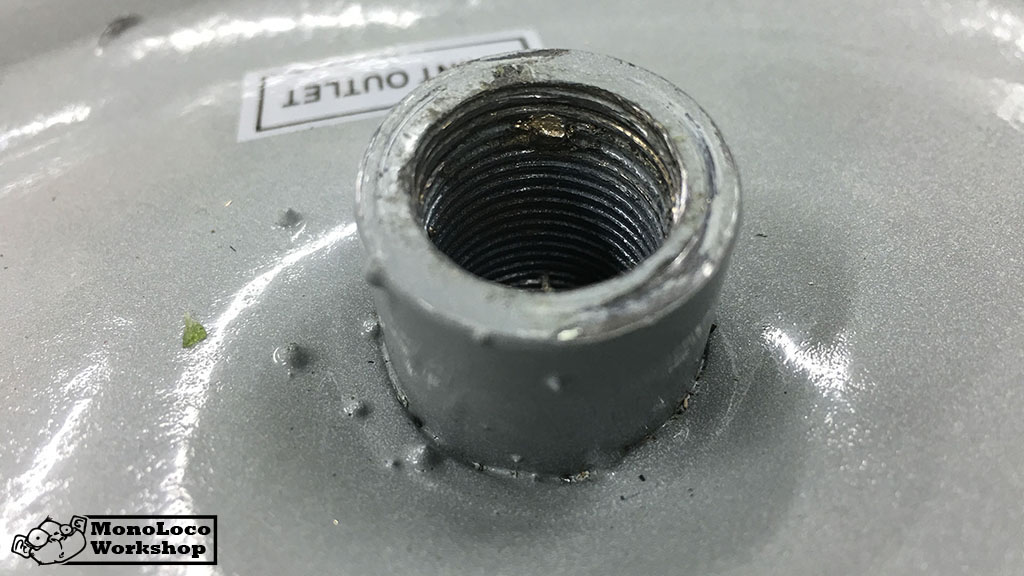 Multiple people on the PenTurners site state that the quality of the HF Pots can very and I agree. If you check out the pictures of the threads, you'll see some weld splatter on one of the threads. I tried to clean this up but in the end it ruined one of my adapters and I ended up exchanging it for another that I thoroughly examined before leaving the store. In the shopping list below, I provide an alternative link to a non-Harbor Freight tank that has higher pressure ratings and appear to be made to a higher standard.
Making a Pressure Pot
There are a few ways to go about converting the paint pot to a pressure pot and I’m not going to explain them all. I've seen many different setups and mine ended up being slightly different from most because of the adapters I could and couldn't find.
Shopping List
Depending on the type of setup you decide to build, you'll need a different assortment of adapters. I'll try to put together a complete list and mark the items as either required or optional. One thing to remember when purchasing adapters is the threading used is the NTP (National Pipe Thread) standard. I also want to mention that you don't have to buy any of these online. Most Harbor Freight stores should have most if not all of the adapters you need and for a pretty good price.
- Harbor Freight Air Pressure Paint Tank (Required)
- Alternative Paint Tank (Slightly more money but looks to have better construction.) (Optional)
- 1/4" NTP Cap
- 1/4" Female/Female NTP Ball Valve (Required)
- 1/4" Male NTP Quick Coupler (Required but make sure it fits your compressor hose.)
- 3/8" Male to 1/4" Female NTP Reducer (Required)
- 1/4" Female to Male Elbow (Optional)
- Teflon Thread Seal Tape (Required)
- HDPE Sheet (Optional)
Assembly
 As I said before there are quite a few ways to go about assembling your pressure pot and I'm not going to get into them all. The best and most simple setup I've seen is the one Zack Higgins did and I'll provide a link below in the build references. The general idea is to remove everything that comes with the paint pot other than the air diffuser on the inside of the inlet hole. Then install the reducer and provided safety release valve in the outlet while installing the regulator on the inlet. You'll want to cap off the right side of the pressure regulator, install the pressure gauge on the top and the compressor hookup on the left.Assuming you used Teflon tape on every piece of thread, assembly has been completed.
Other Pressure Pot Resources
- Harbor Freight Manual
- Zack Higgins - Setting up a Harbor Freight Pressure Pot
- Dema - Setup a Pressure Pot for Casting
 First Time Setup
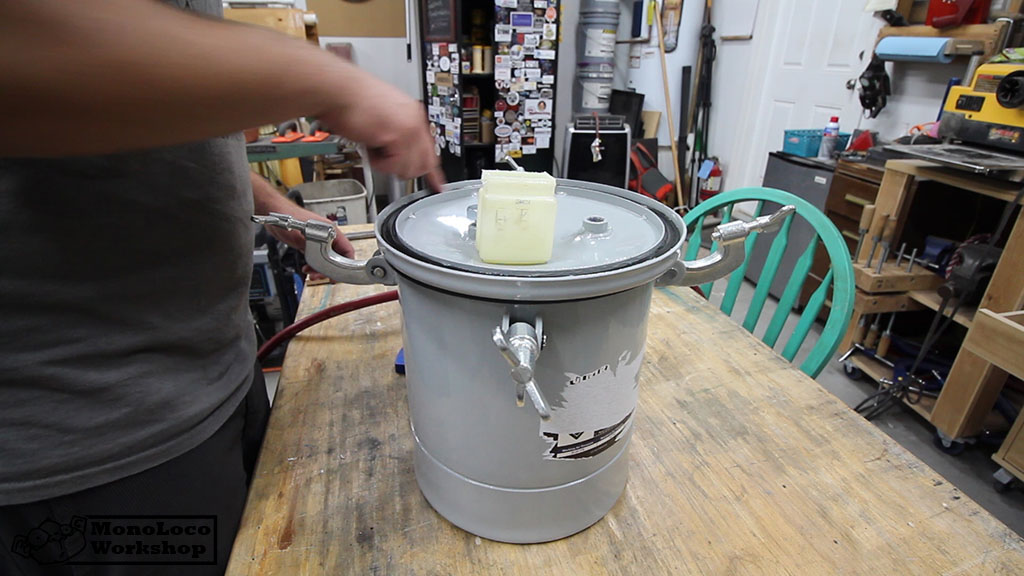
Before hooking up the compressor for the first time, there are a few things that you'll want to do. First thing is to sneak into the house, grab some petroleum jelly and smear a gob of it around the rubber seal on the lid. This will help to get a proper seal so you may want to keep it around and apply it whenever the pressure pot is being used.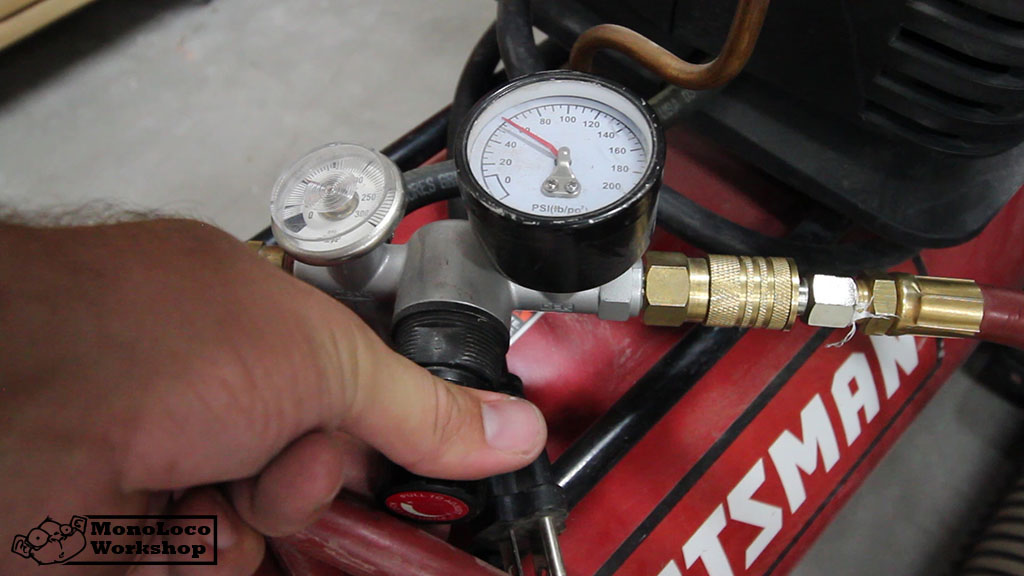 Next, you'll need to set up the pressure regulator and ensure the safety release valve is set to the proper pressure. I would recommend reducing the pressure regulator on your compressor for the initial run to below the maximum safe pressure of the paint pot. (Make sure you don't leave it there after setup or it will greatly slow down the time it takes to bring the pot up to pressure.)
Pressure Regulator
Getting the pressure regular dialed in is pretty straight forward. Twist it left and the maximum allowed pressure goes down. A little twist to the right and the pressure allowed goes up. Before plugging anything in, you may want to turn it to the left a few rotations and then slowly bring it up until you get to your maximum pressure. (I set mine to about 55 PSI.) You'll also need to remember to re-set your compressors pressure regulator at this point to make sure the pressure pot regulator doesn't get set too high. 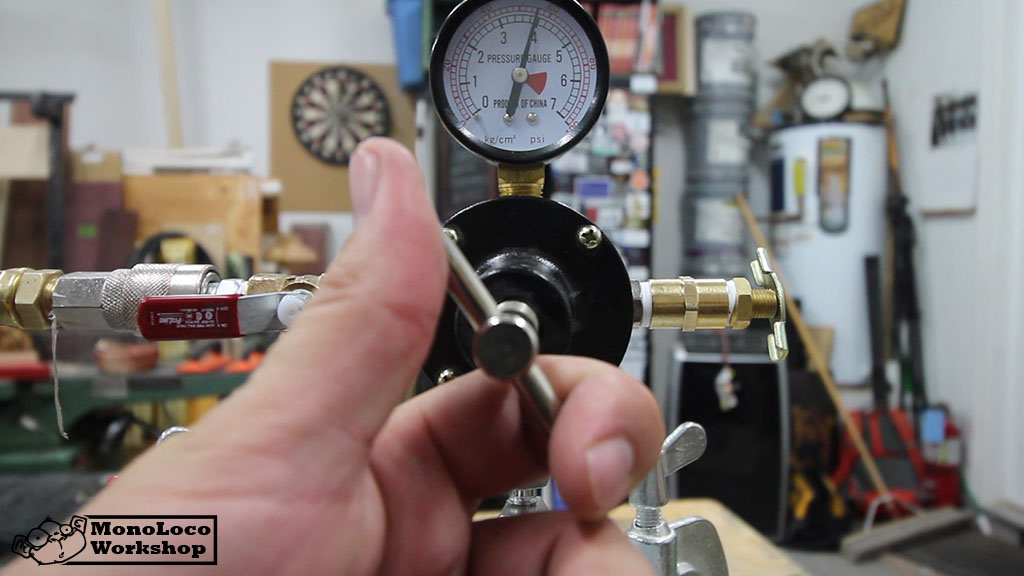
Safety Release Valve
To adjust the safety release valve, there is a little plate that goes around the spring-loaded pin that you can pull out to relieve pressure. You can generally stick a small flat head screwdriver or your fingernail down there and turn the plate left and right. Moving this plate is actually tightening a spring underneath which regulates at which pressure the valve will trigger. While you're getting the pressure regulator cranked up to your optimum operating pressure, there's a good chance the safety release valve will go off which will probably startle the crap out of you as it is very loud. If that's the case, turn the plate a little to the right until the valve closes. If it doesn't go off, that means it's set to high and you'll want to get your pressure set at your operating PSI and drop the trigger pressure of the valve until it goes off and then back it off just a bit.
Accessories
To maximize your experience when casting with a pressure pot, there are a couple of accessories you'll want to make. First off is a mold tray to help insert mold into the pot and the second is the forms.
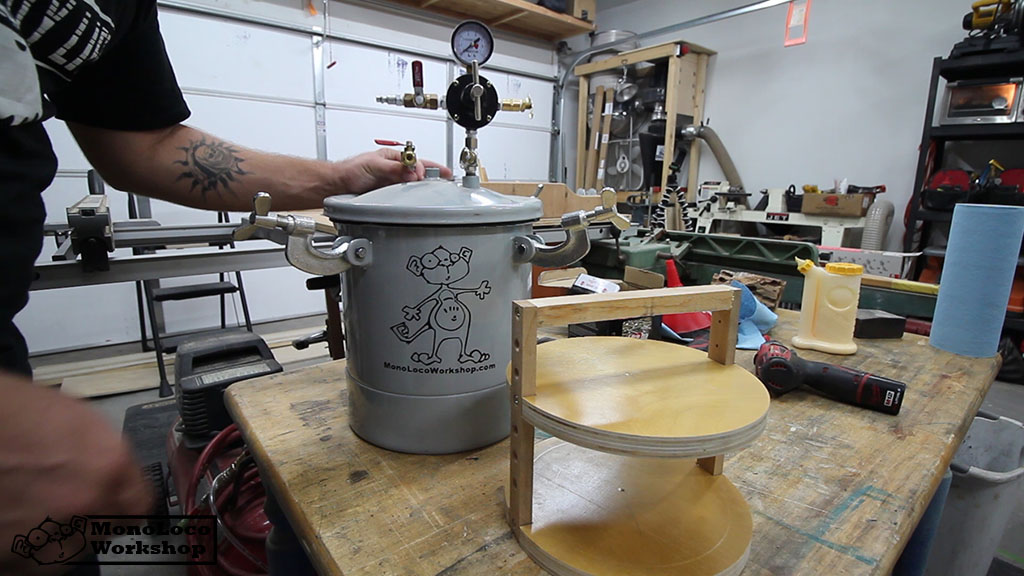 Pressure Pot Mold Rack
There are two good reasons to make a rack for the pressure pot. The biggest reason is that the bottom of the pot is concave making it very difficult to set a mold down and get it perfectly flat. The second is to add some versatility to the molds you're using and give you the option of casting multiple forms simultaneously. I made mine with adjustable shelving in the form a multiple screw holes in case I wanted to pressurize two castings at once.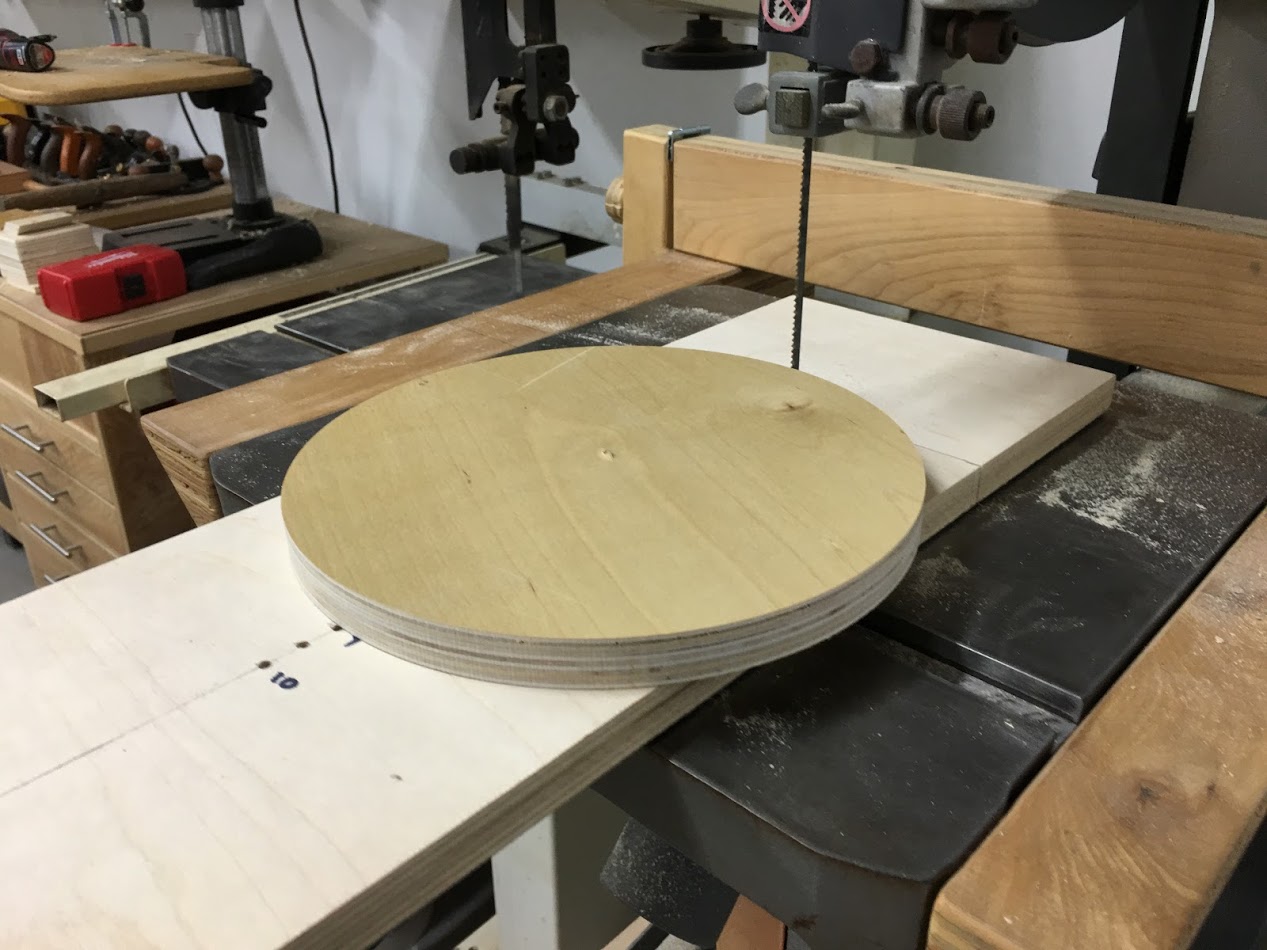 I made my mold rack in no time with my Circle Cutting Bandsaw Jig. A couple quick circles and a handle is pretty much all that is needed for a basic rack.
Casting Mold
To do any kind of casting, you'll need a mold or a form to pour the resin into. I've seen plenty of people use melamine but have heard enough horror stories to steer me away unless it's a one time deal. I prefer to use HDPE as my mold material which is why you'll find it in the shopping list above. Not very much sticks to it and it's not very expensive. I'm not going to go into great detail on making a mold because depending on what kind of blank you want to cast, your mold will be different.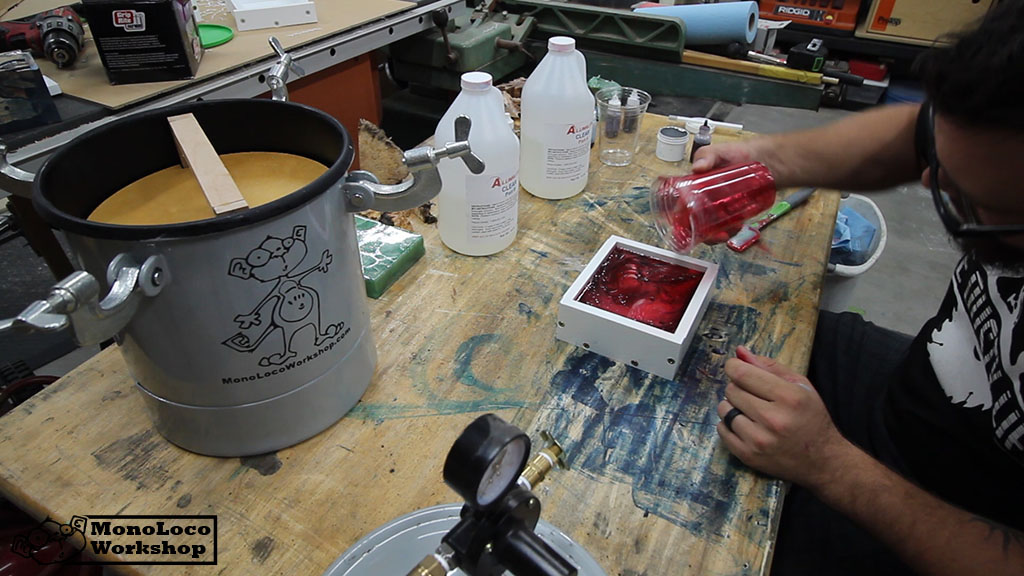 However, if you are interested in making hybrid pen blanks, check out this very detailed instructional PDF from Curtis at TurnTex.com. Making Casting Molds from Plastic Cutting Boards
Results
The pressure pot is just one step in the process to making hybrid blanks but like the vacuum chamber, it is an important one. Without stabilizing the wood in a vacuum chamber and then casting the resin in a pressure pot, you're end results won't even come close to their potential.If you've been following along with my hybrid casting series you might have seen some of this stuff in raw form but here are a few more examples of what these blanks can become. I recently gave a few friends some of the red and green pen blanks and they have since turned some fantastic pens. The green hybrid pen was turned by Braxton Worthlin and the red hybrid pen was turned by Sean Rubino. They both have websites and YouTube channels so check them out![gallery type="rectangular" ids="2008,2019,2013,1964"]
Don't forget to Vacuum!
Don't forget the first step in this process and check out my article and video on making and using a vacuum chamber for stabilizing wood.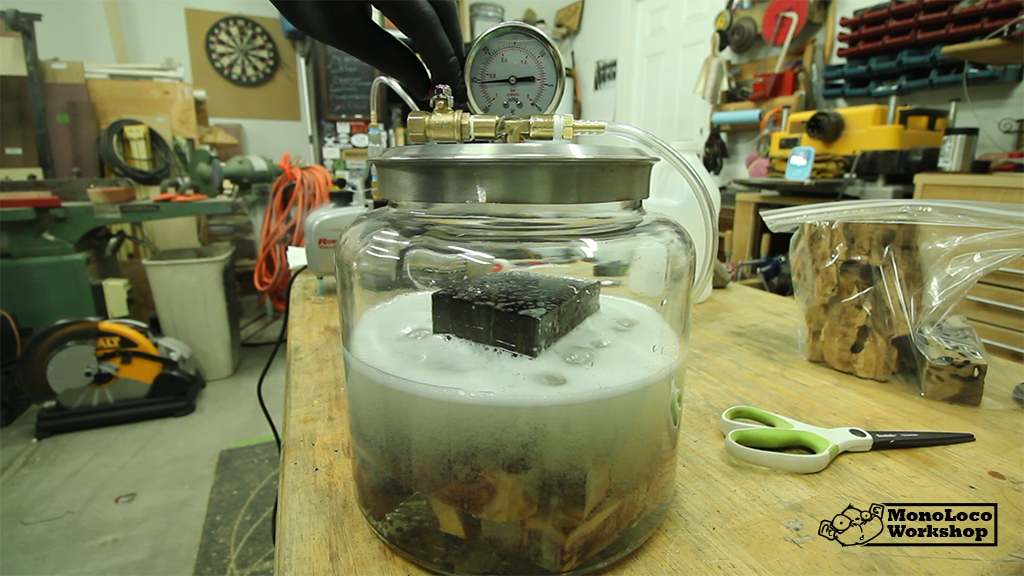 If you have any questions or comments, please don't hesitate to comment down below. I am generally pretty good and getting back in a timely manner.

