Make a Tapering Jig
Every now and then I run into a cut that should be done with a tapering jig but since I've never had one, I generally get it done with some creative clamping. I finally ordered some toggle clamps that ended up sitting on my shelf for a few months until I recently came across another project that needed a tapered cut. I looked around my shop, found my toggle clamps and collected enough scrap to make the style of tapering jig that I had in mind.
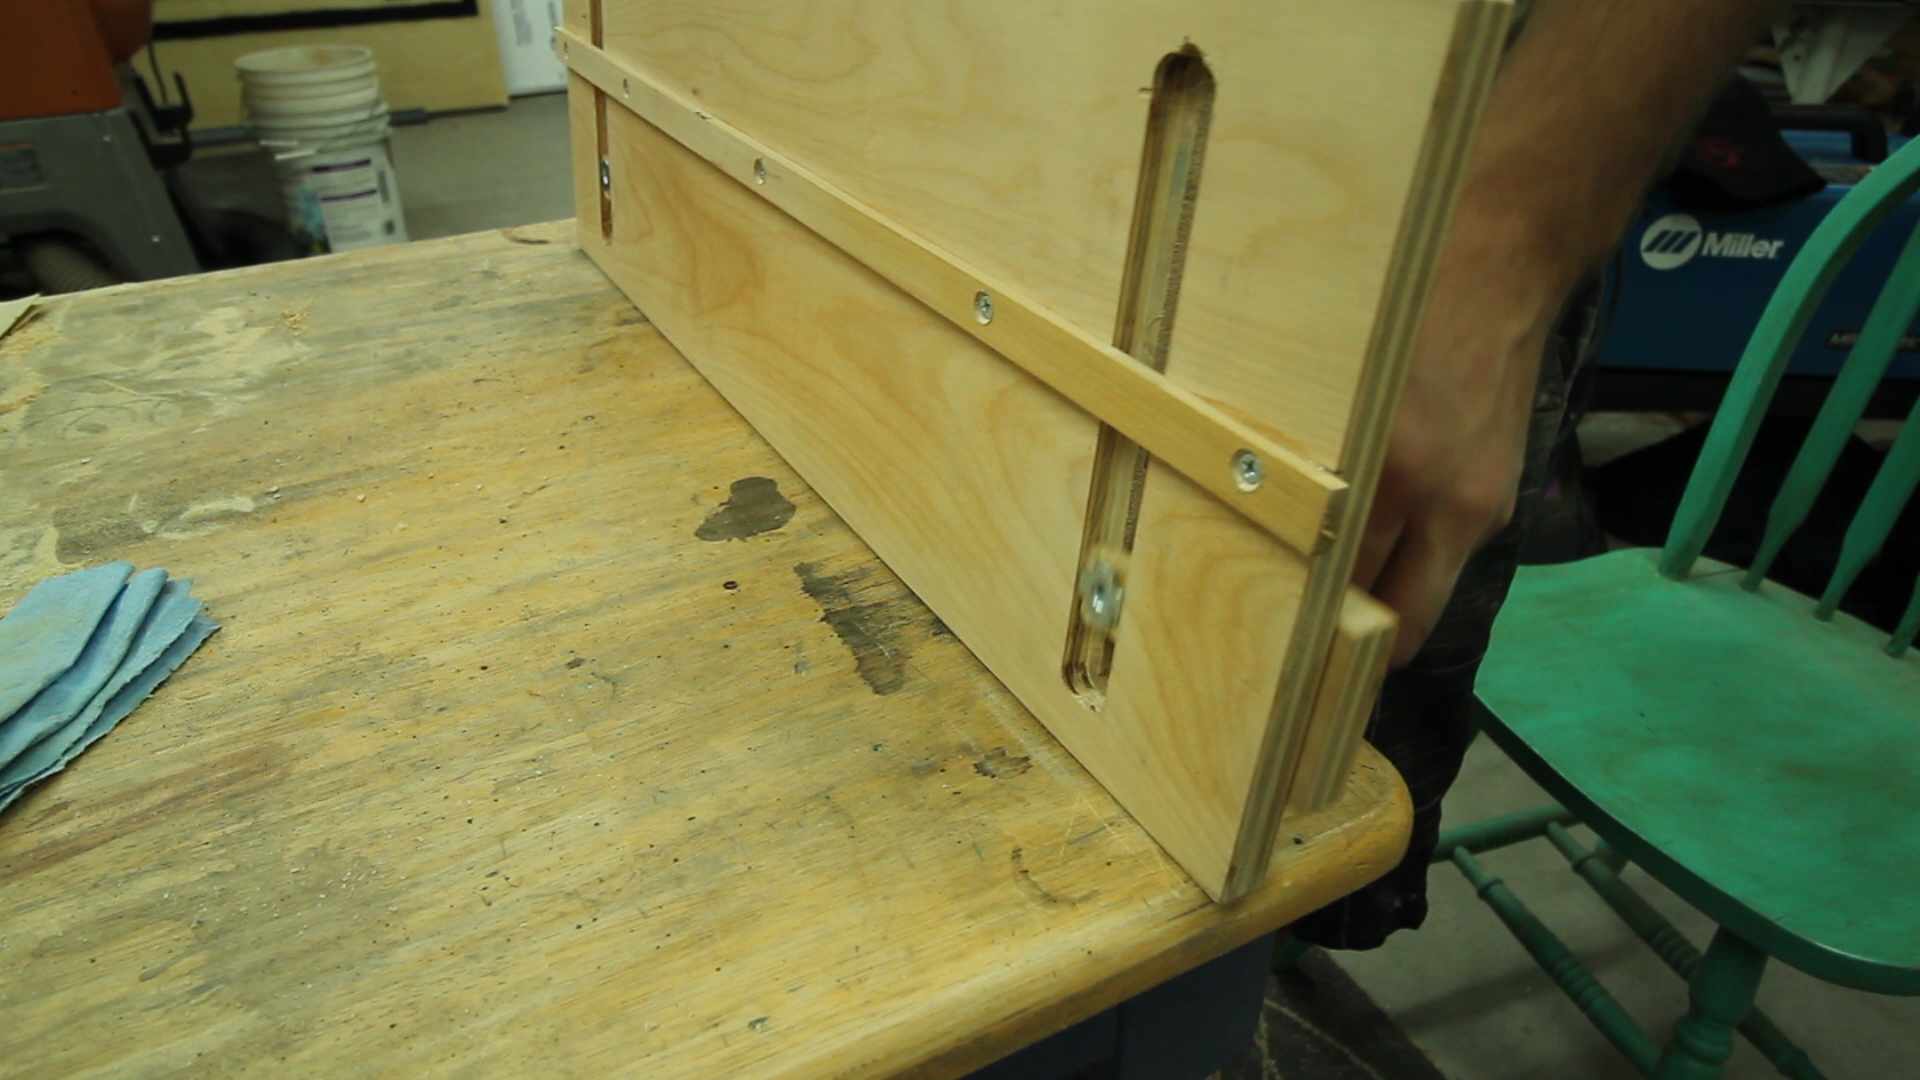
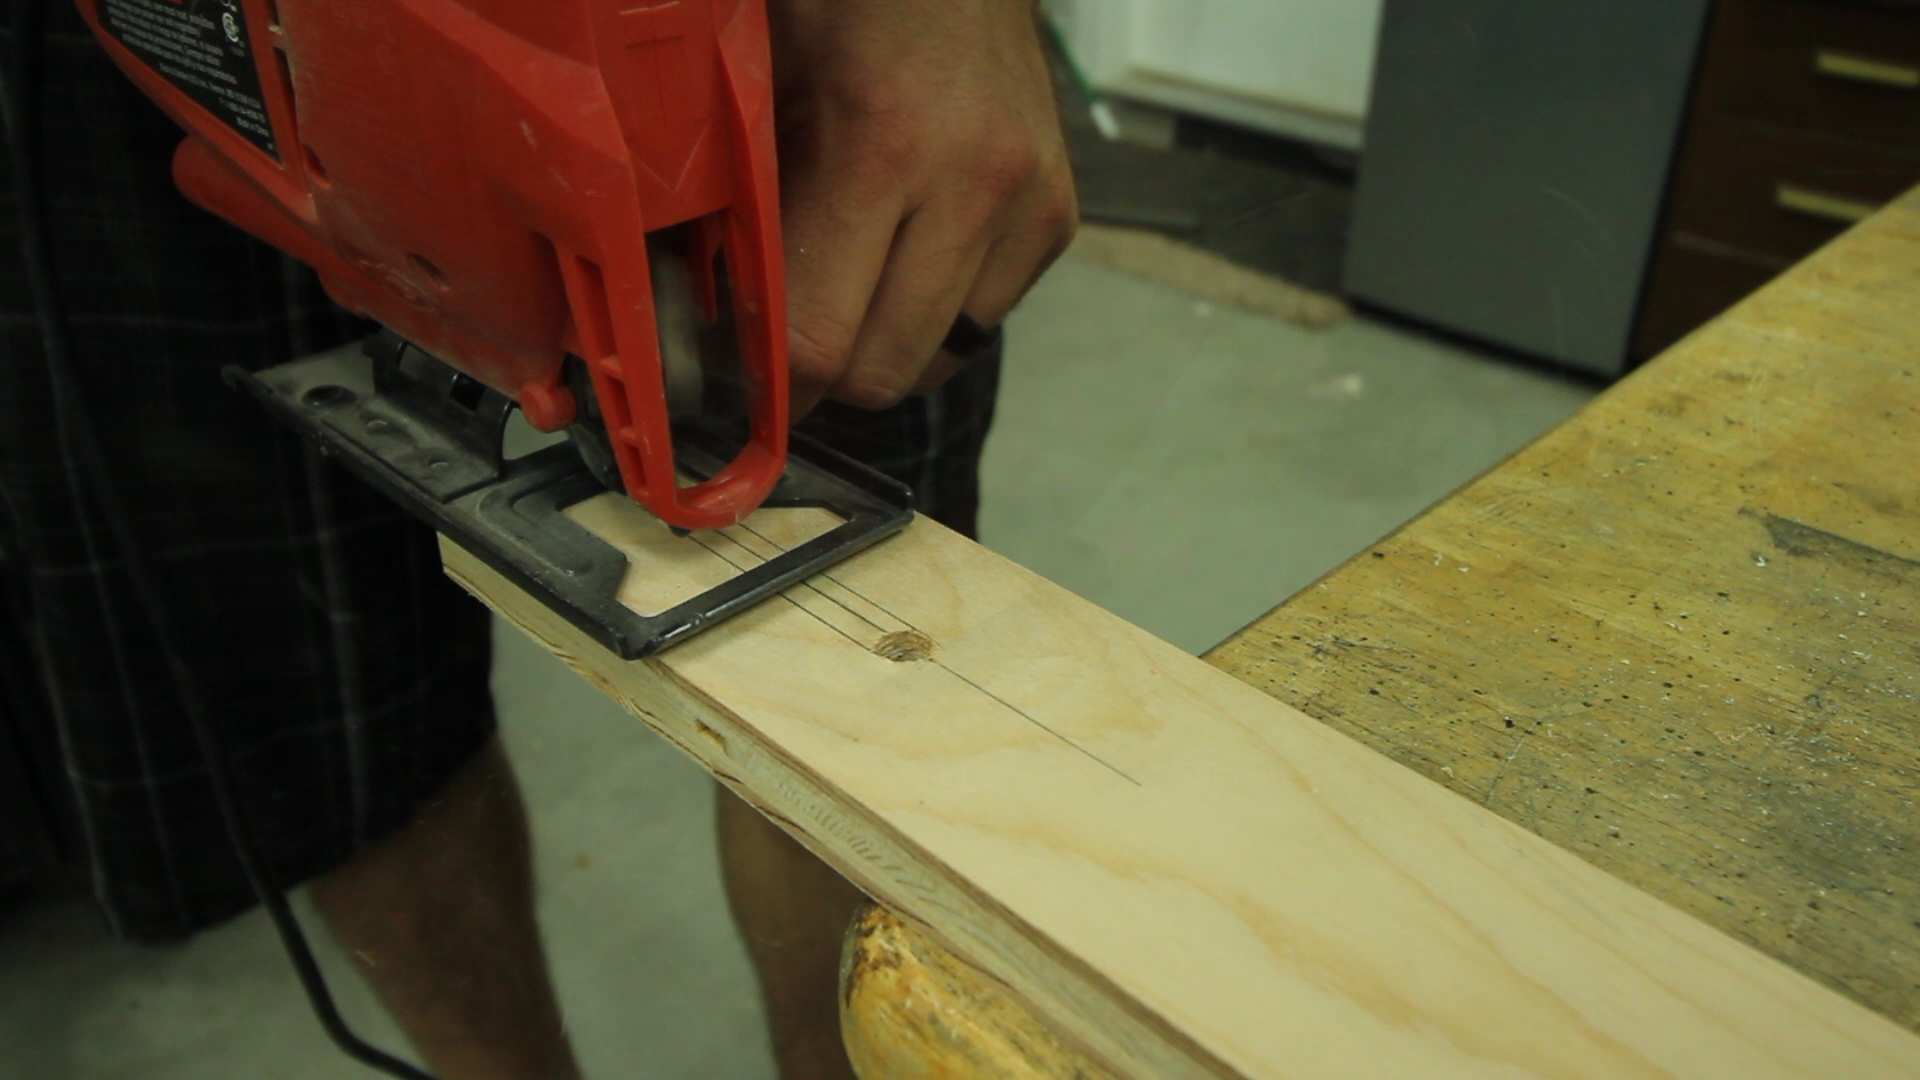 I knew I needed two slots in both the base and sliding rail so.. well.. the rail could slide. The slots in the base were placed about 3-inches from the end and about an inch from each side. The ones on the sliding rail were about 1.5-inches from the end and about 4-inches long. As for how wide the slots were, that was dependent on the size of bolts I had laying around. I think I used 1/4-inch bolts.
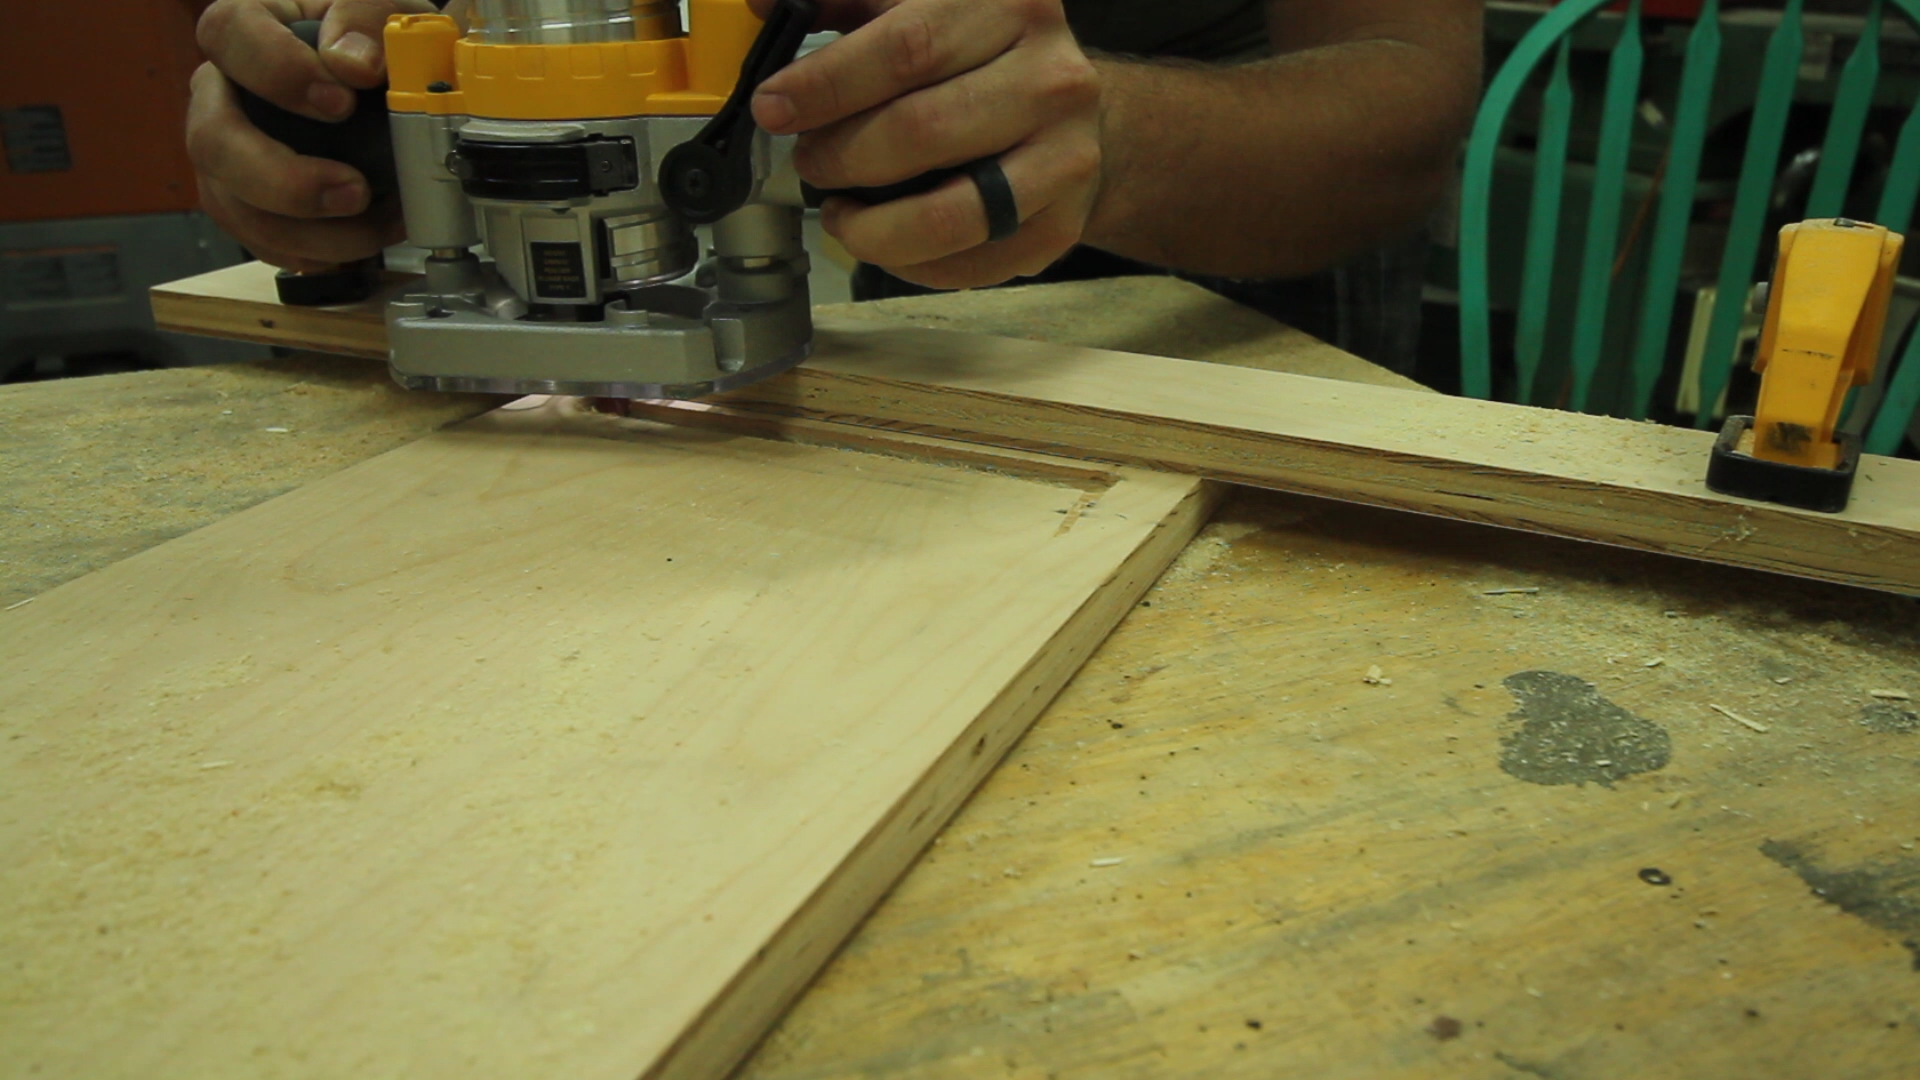 To enable the top sliding rail to be adjusted and locked down tight, I needed some kind of sliding & locking nut. I routed out the bottom side of the base's slots to about half the depth of my material. I then cut some pieces of wood that would fit in those slots, sit just under flush but not turn and then installed some tee nuts.
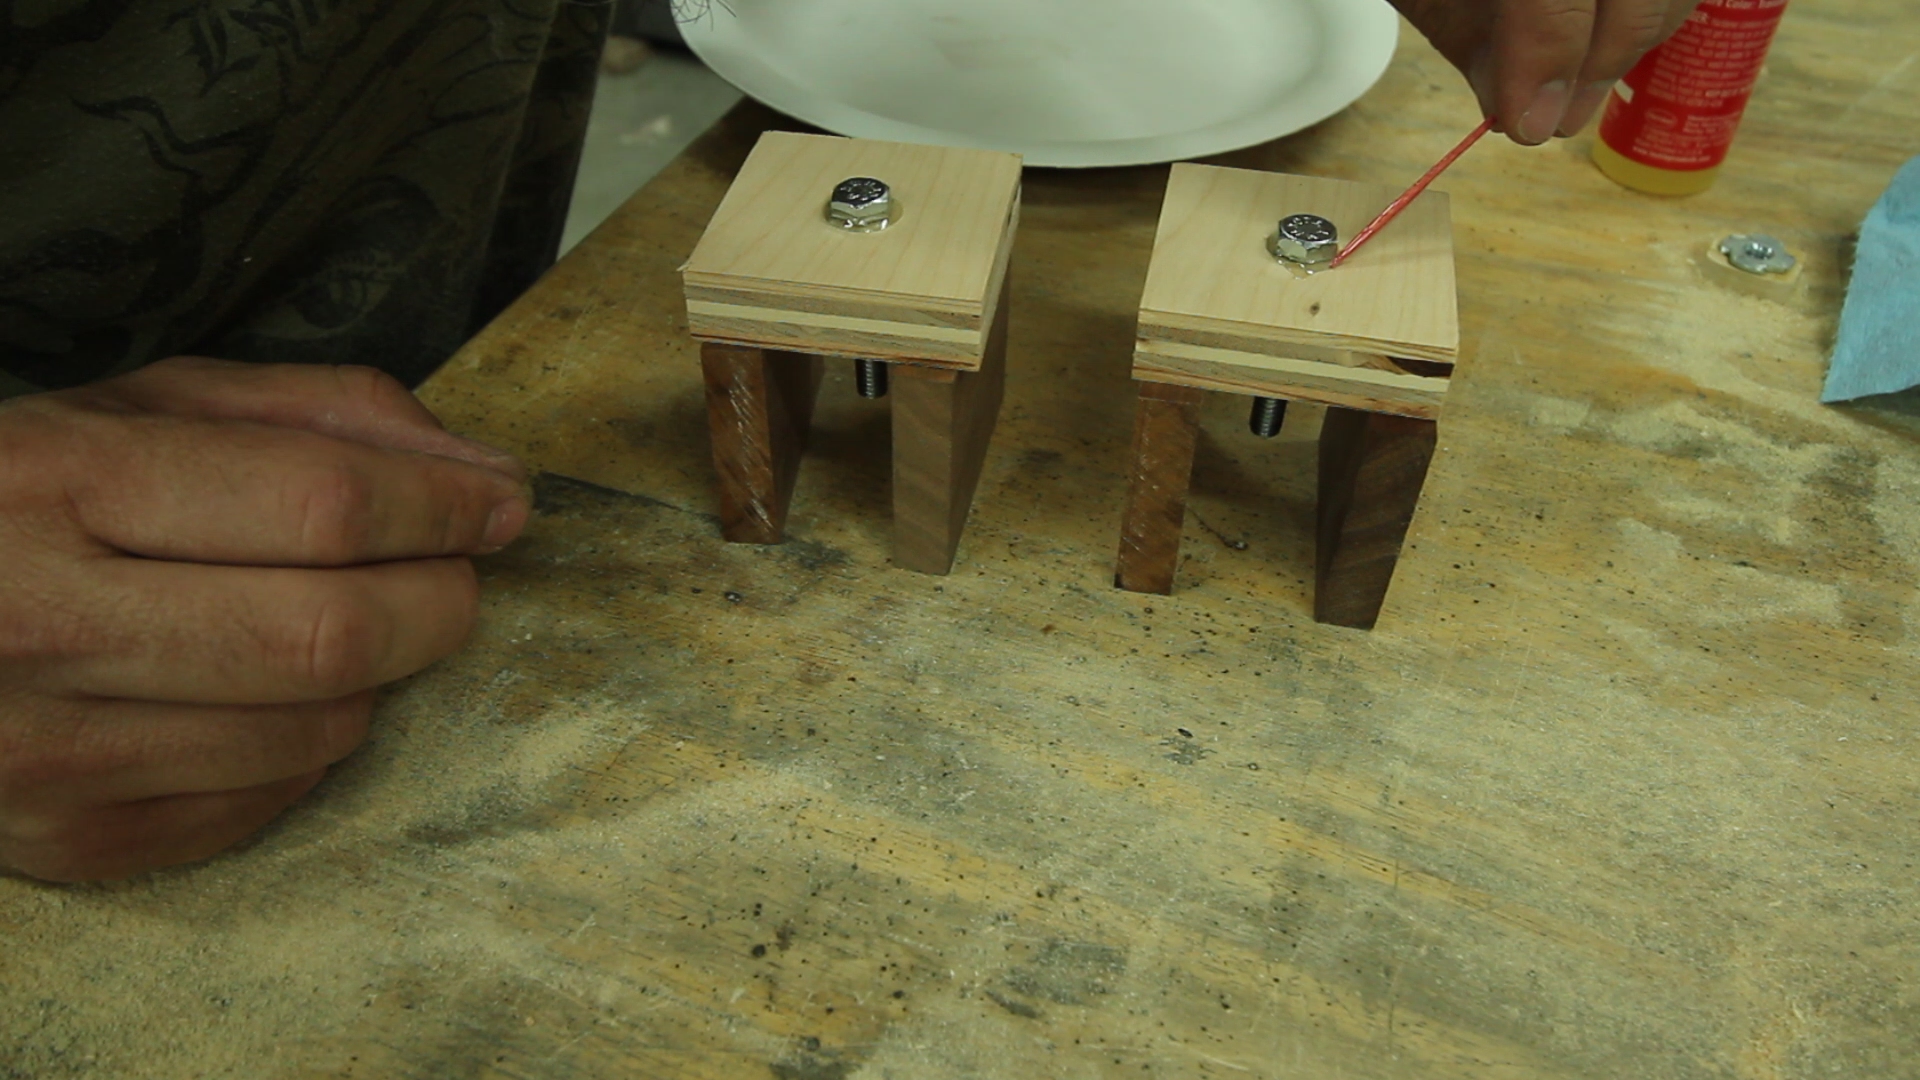 Using some random bolts I had laying around and more scrap wood I made the knobs that would make the sliding rail stay in place while allowing it to move within the slots. I originally planned to keep these square since I wasn't really going for looks but when turned at an angle, they ended up being larger than my sliding rail and had to be sanded round.[one_third]
 [/one_third][one_third]
 [/one_third][one_third_last]
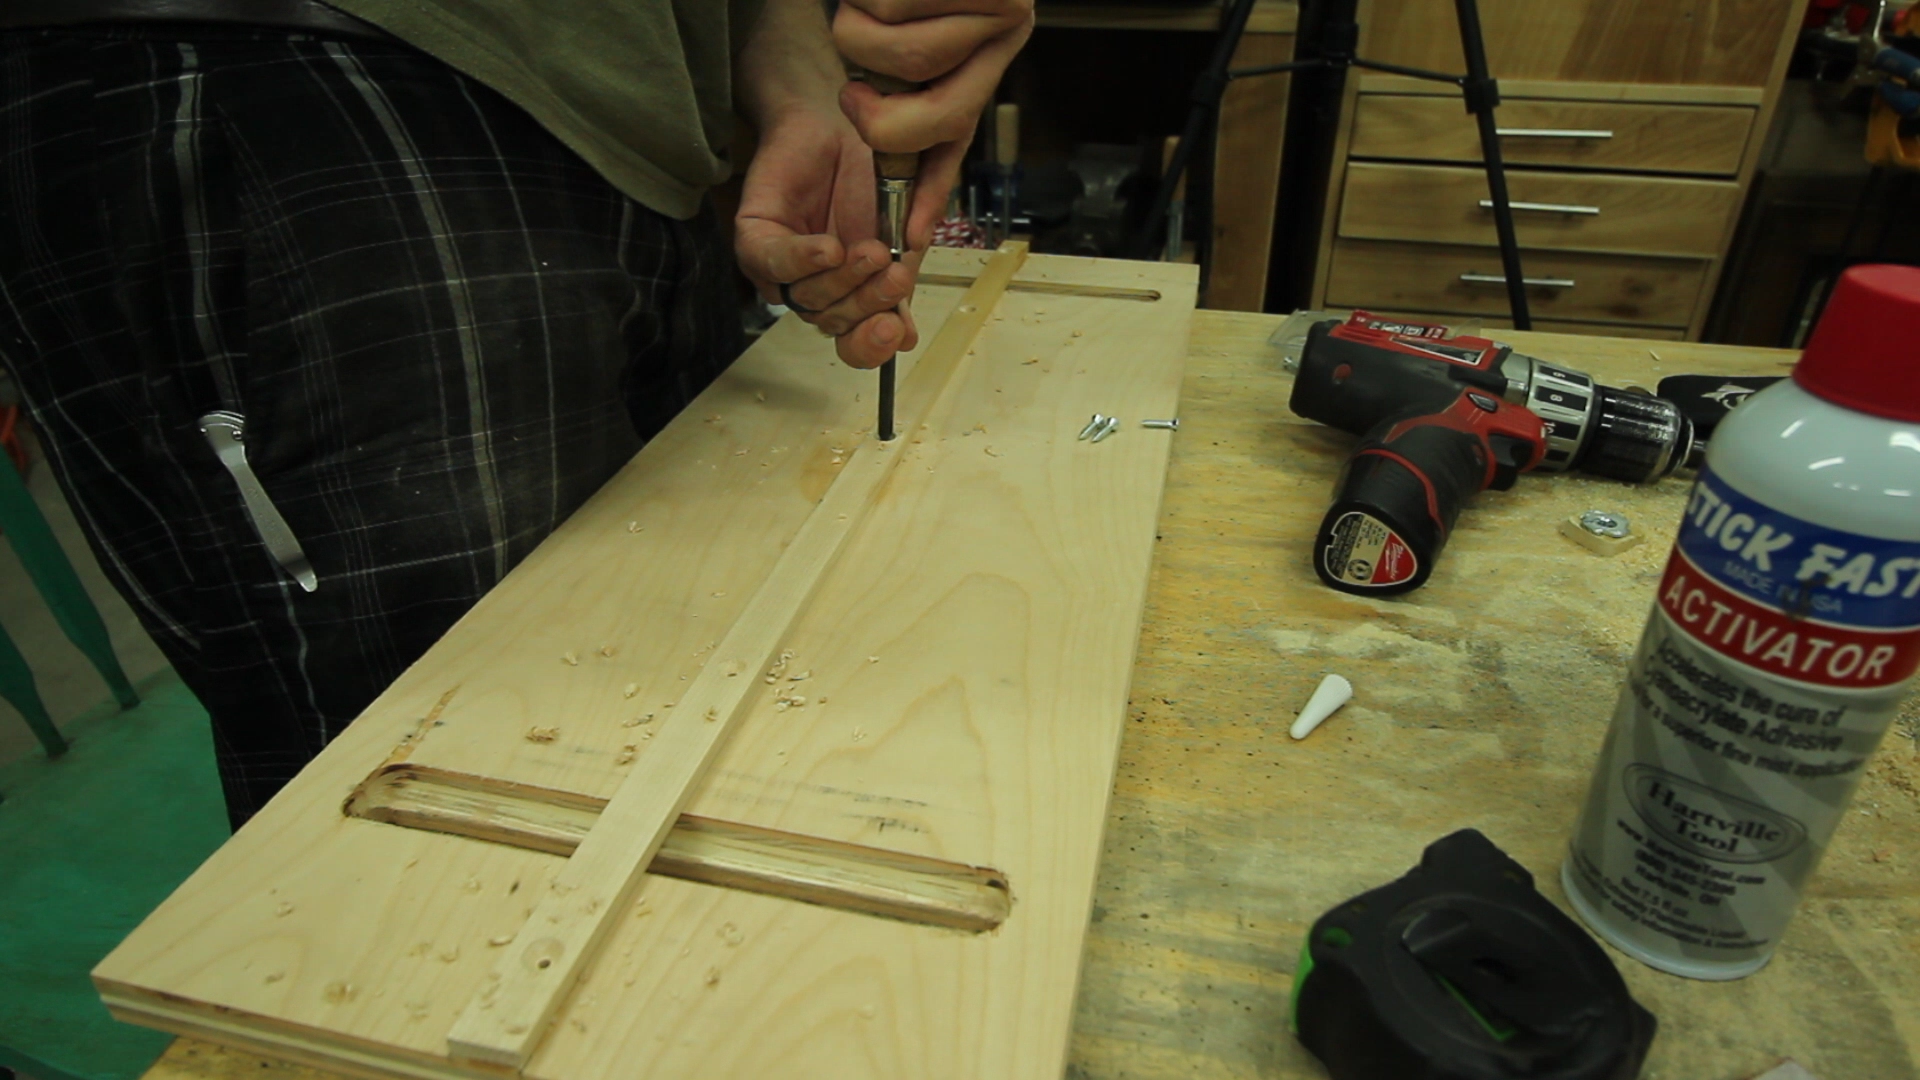
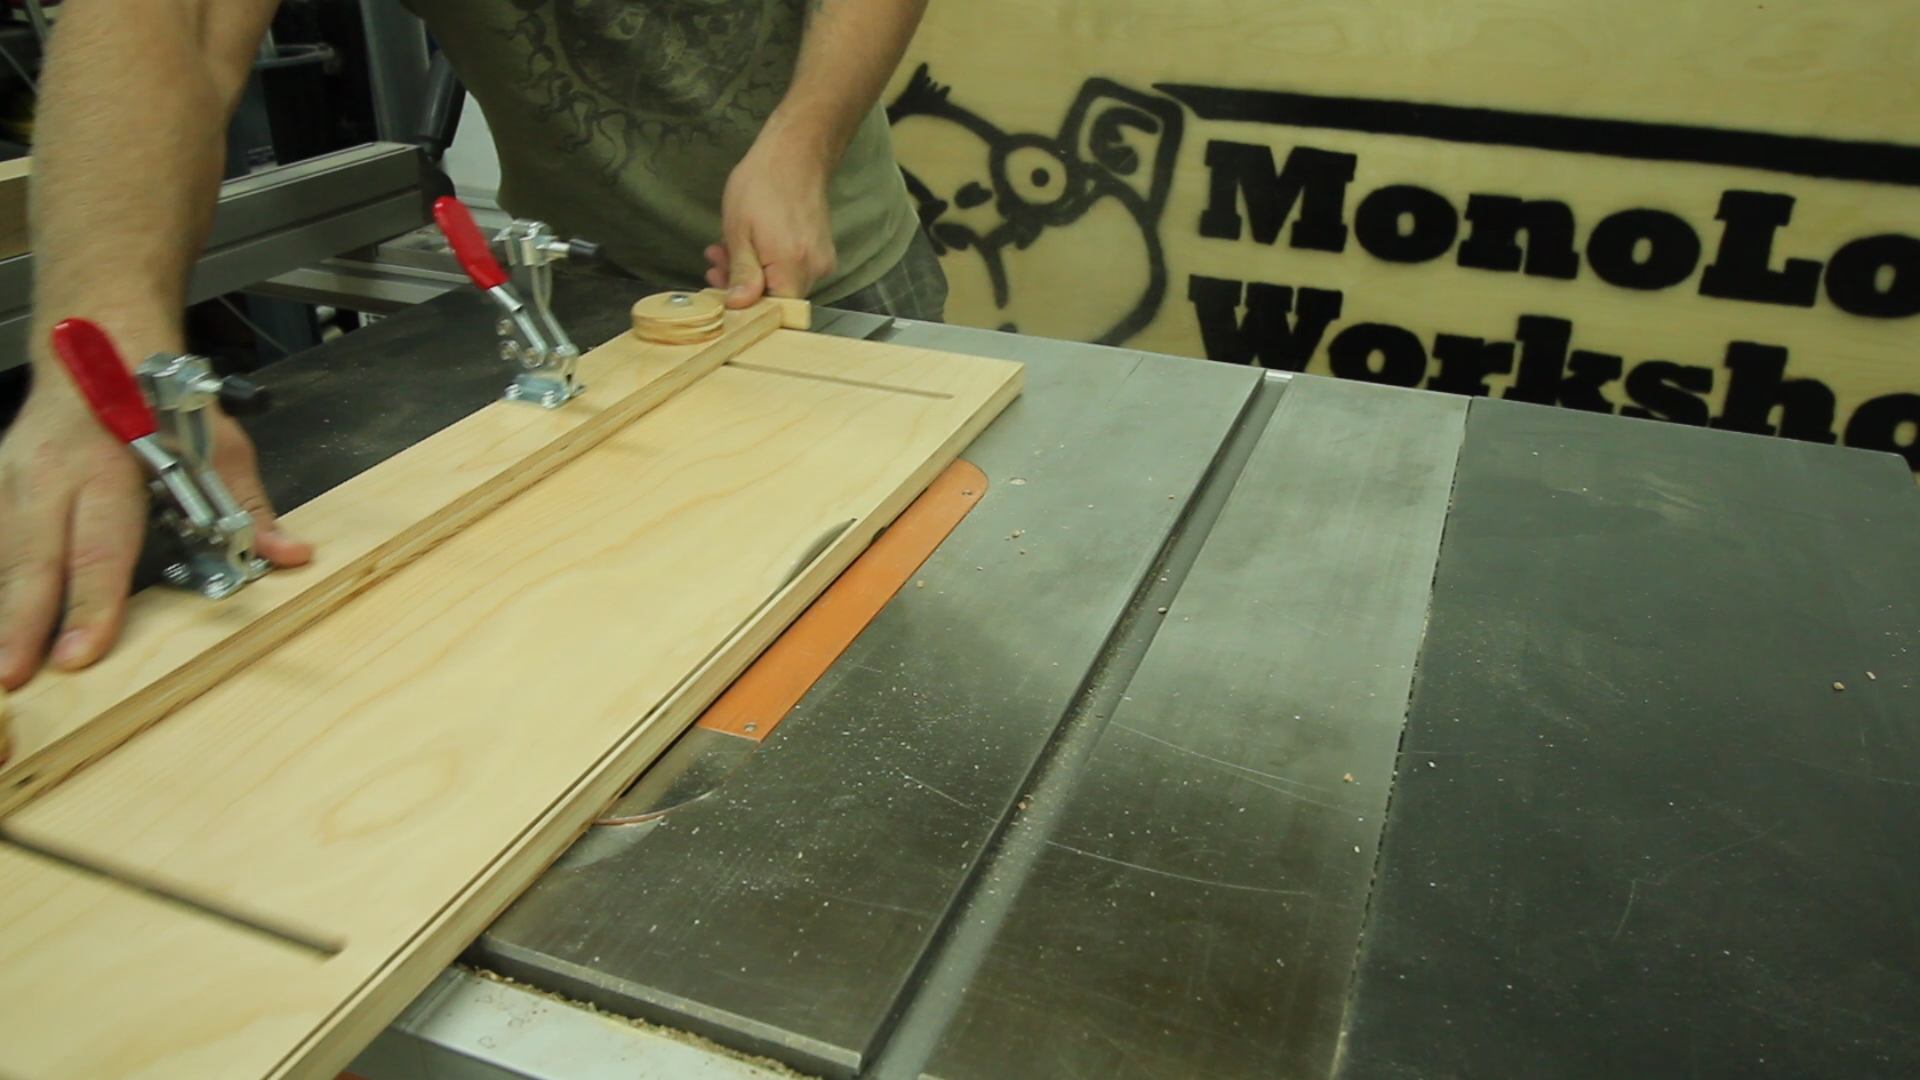 [/one_third_last]After the bottom slides were routed out, I could install the miter gauge slider. Using the table saw fence, I aligned the jig so it was about a 1/4-inch past the blade and marked where the miter gauge was. After securing the slider to the bottom of the base, I cut off one side with the slide in the miter gauge and just like that it was all nice and square to the blade.
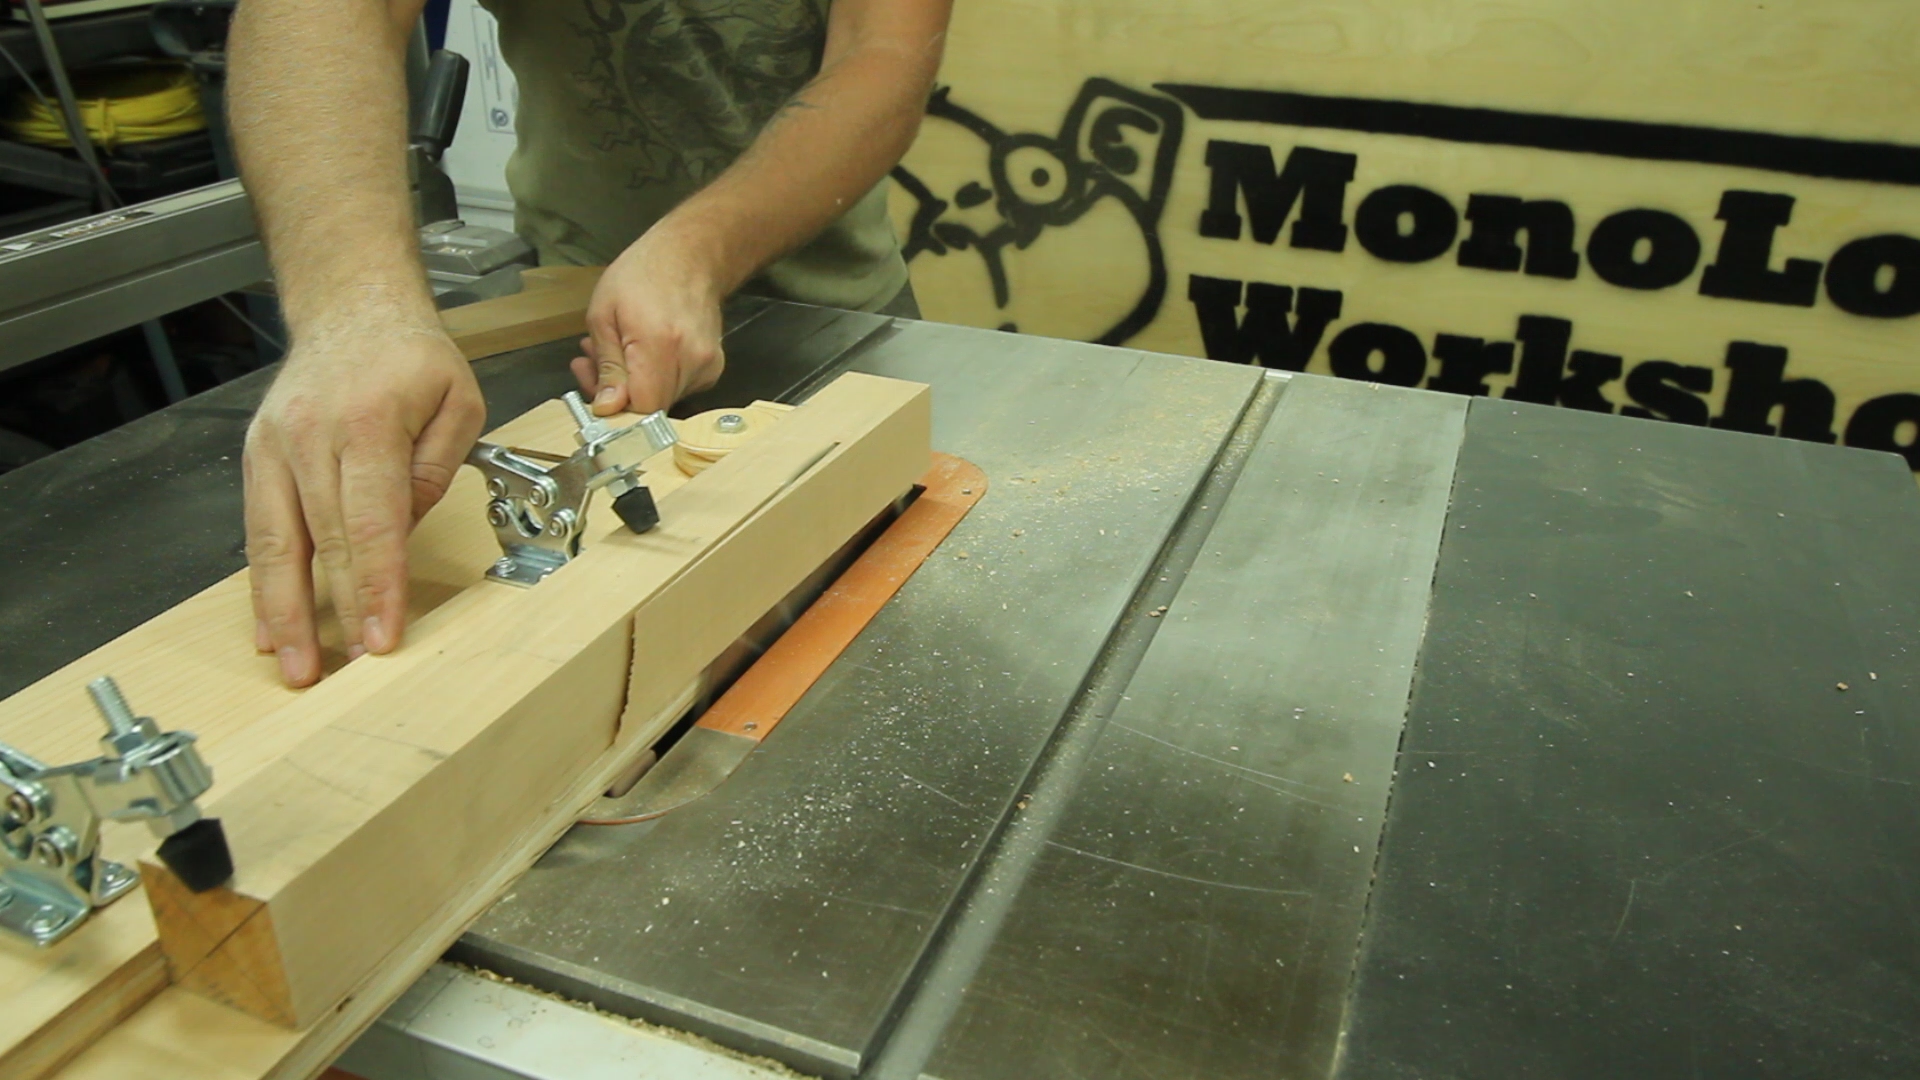 If you need to cut anything that's much larger than the sliding rail then you'll need to add some riser blocks for the toggle clamps. When I was cutting this example tapered leg which was more than twice as tall as the sliding rail, I scrapped by, by adjusting the rubber grippers on the clamps but had to hold the clamp handle down.
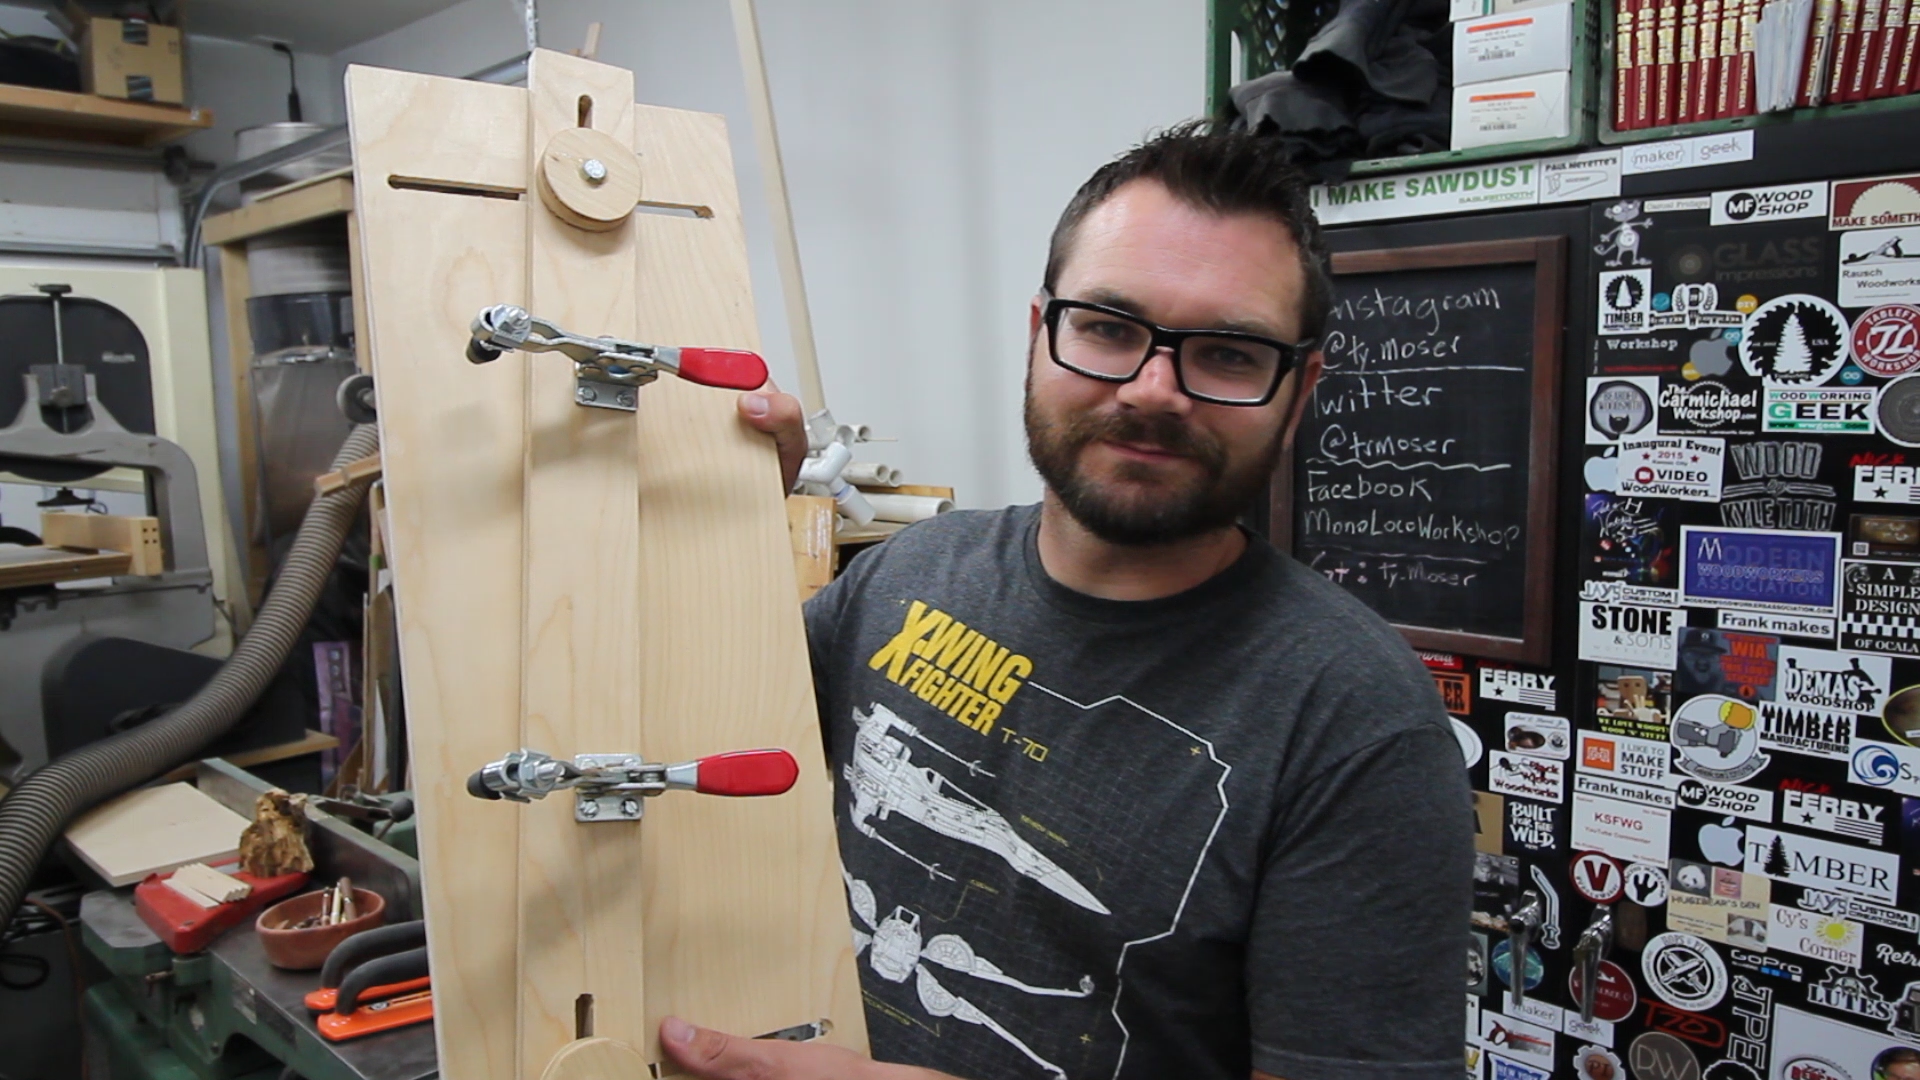 I know I didn't provide any plans to this jig since I pretty much just winged it. I will however provide a bunch of links to other styles of this jig so you can pick and choose what will work best for you.[one_half]
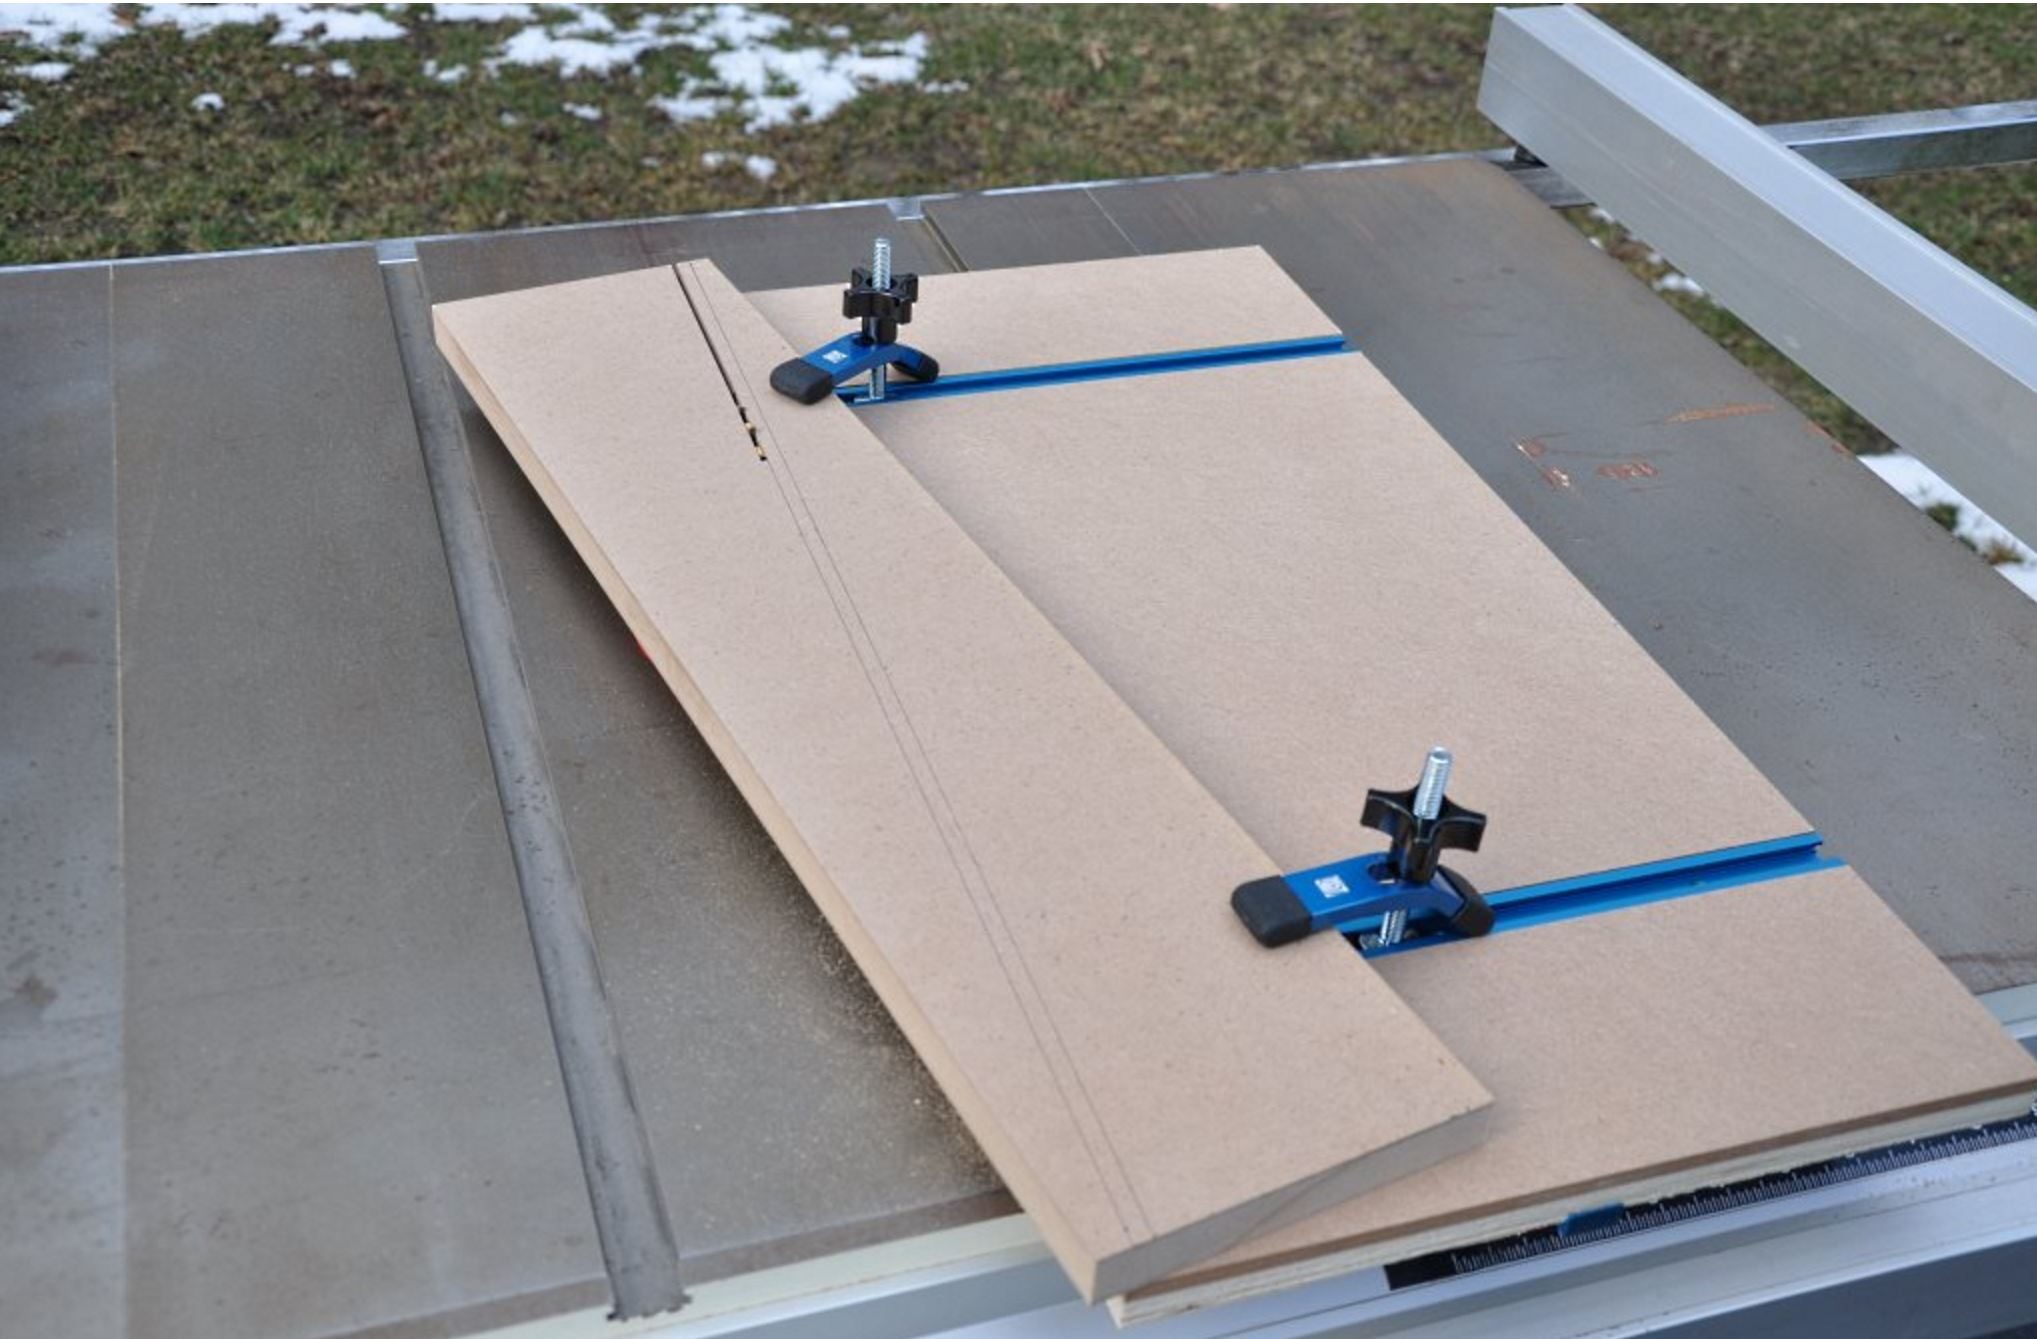 [/one_half][one_half_last]Here is a similar style tapering jig but instead they used some aluminum t-track. If I were to go about it again, I would probably pick this style even though the material cost is a little more. I really like how they got away from the sliding rail altogether.http://aviatorstudio.net/bdwithjig/bdw_wingjig.html[/one_half_last][one_half]
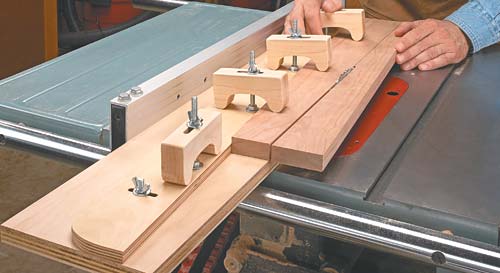 [/one_half][one_half_last]Another similar style but in this version, ShopNotes made their own clamps and used the fence as a reference instead of the miter gauge.http://www.woodworkingtips.com/etips/2007/08/17/sn/[/one_half_last][one_half]
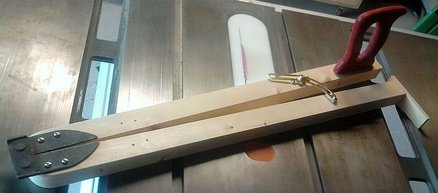 [/one_half][one_half_last]This is the other style I see a lot of but I didn't like how it doesn't offer any clamping abilities to help hold your piece in place. This one was posted by routerisstillmyname on LumberJocks. One of the goo things with this style is you can actually buy aluminum ones if you don't want to go about making one yourself. [/one_half_last]

