Hanging Storage Shelves
Do you have a storage area that is over crowded with... stuff? A lot of people get storage shelves at an attempt to try to hold said stuff but they always have left me wanting more. Especially when there always seems to be wasted space above the garage door or up high on nearly every wall. Seriously.. How often do you use the top 15 or so inches of your wall?
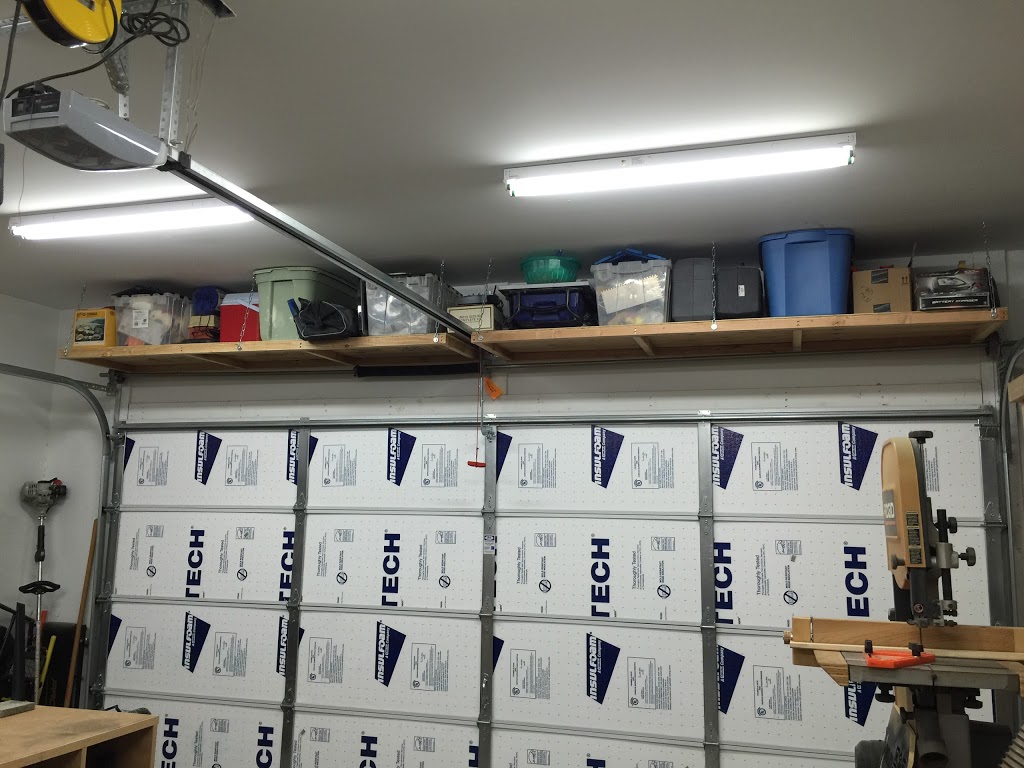
The two shelves I built for this article cost me less than $50 in materials and an afternoon in time. I'm now kicking myself for not doing it sooner and marveling at how much space I reclaimed in my garage.
Here's a list of the minimum tools and materials you'll need for this project.
Tools:
- Wood Saw
- I would suggest a table saw but a circular saw would be fine. (If you really wanted a workout I guess you could go for a handsaw.)
- Drill
- I prefer to use a drill for drilling and an impact driver for screwing but use what you got.
- Measuring Tape
- Unless you want to eyeball everything and have your shelves looking like they came out of a Dr Seuss book.
- Metal cutting device
- Angle grinder or large bolt cutter would be great!
- Stud Finder
- I guess you could also use your ears if you don't mind a couple extra holes in your drywall. Locating studs by knocking on the wall and listening for the difference in tones has been a somewhat reliable method.. forever.
Materials:
- Plywood
- You don't need to go fancy here, if you have some lying around, use it. The stuff I used was just over 1/2-inch thick.
- Two-by Wood
- Since I have a table saw I was able to get by with 3 x two-by-fours for my two shelves but if you don't have anything to rip them in half you might want to get some two-by-twos. (I'll be instructing for the two-by-four route.)
- Chain
- About 10-feet of chain should do it. Your local big box store should have a pre-packaged container of chain that is rated for over 350 lbs. I wouldn't get something super weak here unless you like your stuff falling on the ground but also remember that the weight will be distributed and not all held by one chain. (For Example)
- Lag Screw Hooks
- You'll want 3 hooks per shelf and you'll want to make sure they are somewhat heavy-duty and open-ended. I used 1/4"x3-3/4" lag screw hooks because thats what I found at my local big box store. (For Example)
- Lag Screws and Washers
- These will be used to hook the chain to the side of the frame. I used 1/4"x1-1/2" lag screws and then washers that fit.
- Wood Screws
- I used 2-1/2-inchers for the frame and 3-inchers to attach the frame to the wall. (It's these longer screws that make the impact driver come in handy... and pre-drilling.)
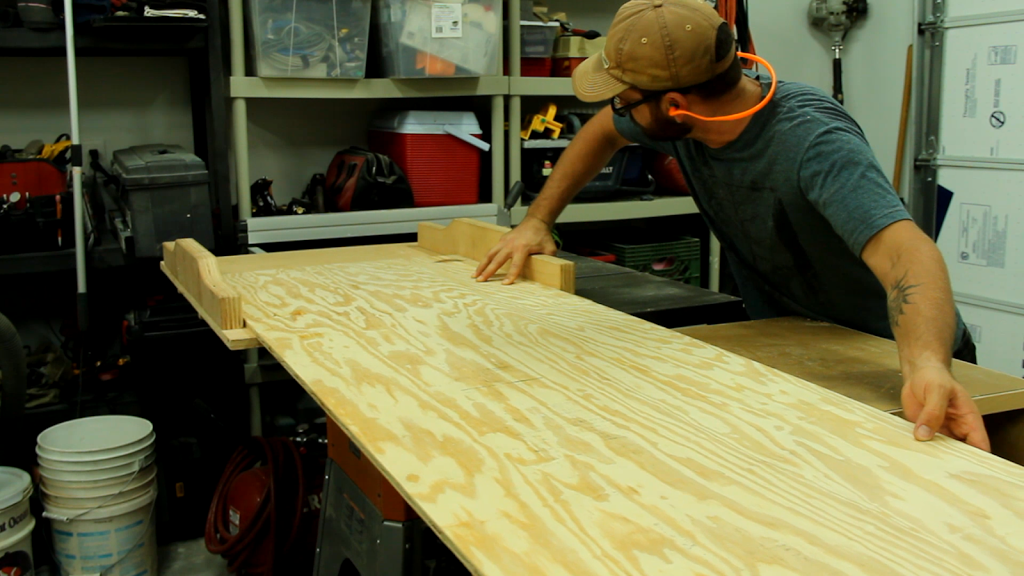
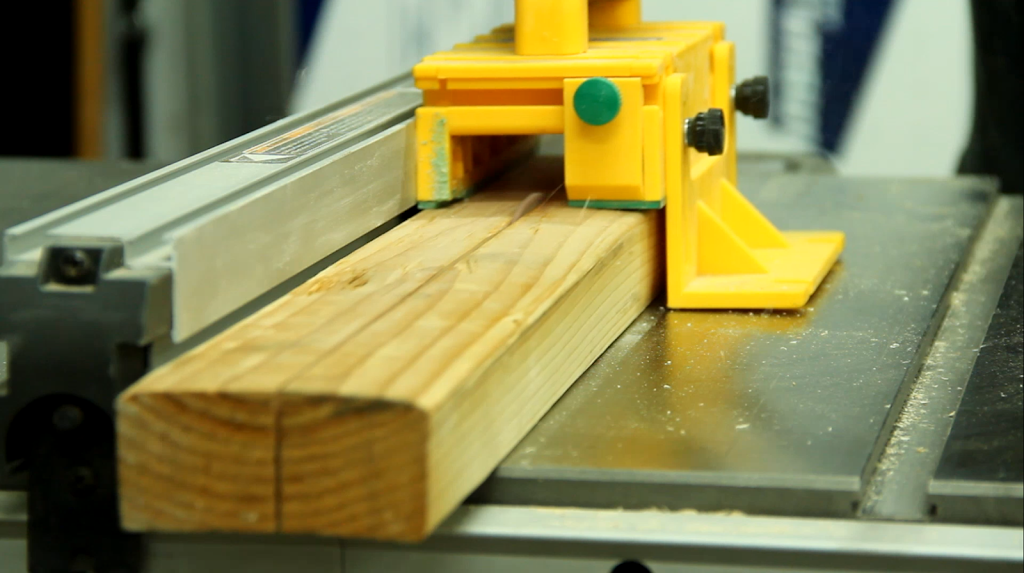
2-foot x 8-foot shelves are about as good as they get, especially since you can get two shelves out of a single piece of plywood and three two-by-fours. Start off by ripping the plywood down the center into two 2-foot by 8-foot pieces. If you don't have anything limiting your length then great. Unfortunately, I had some wood framing around my garage door that limited each of my shelves to about 92 inches. (Now would be a good time to check if you don't already know.)
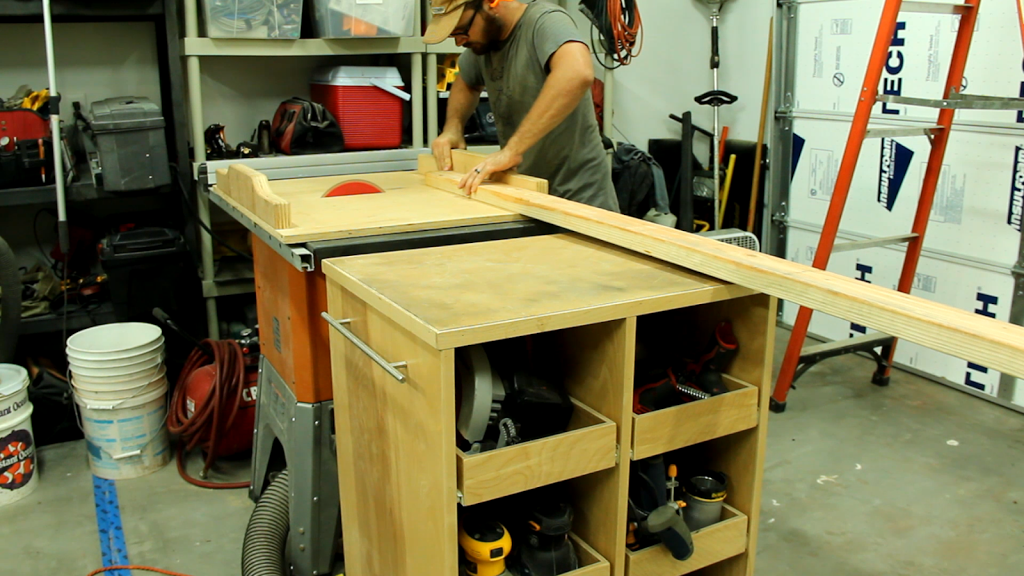
You'll want to cut the 1st two two-by-fours to the same length as the plywood (total length of shelf) and cut the 3rd two-by-four into 21-inch sections. At this point you should have two long boards that are 8-feet or less long and four boards that are 21-inches long.
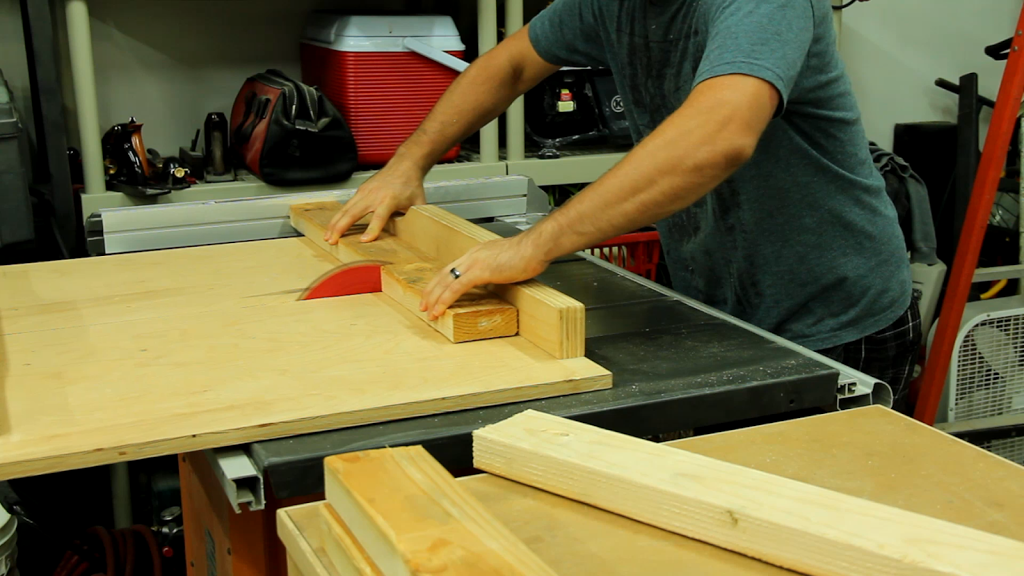
Now that the two-by stock is somewhat smaller and easier to handle, rip it all in half giving you enough for both shelves.
Ideally, your rafters will be running perpendicular to the wall you are installing the shelf on. If that is the case then measure and mark three of them about 2-feet out from the wall. You'll want them to line up as best as possible with the ends and center of each shelf.
If your rafters don't run perpendicular then it should be easy to align them with the ends and center of the shelves but you might not be able to put them right at the 2-foot mark from the wall. Luckily you shouldn't be more than a few inches off in either direction but you may need to account for this with slightly longer chains. You'll also want to re-think keeping a few tons of gold bars on the shelves as that might be somewhat disastrous all hanging from one rafter.(Mine where running parallel to the wall in this case and my shelves are holding a great deal without an issue.. but something to keep in mind if you have something ridiculously heavy.)
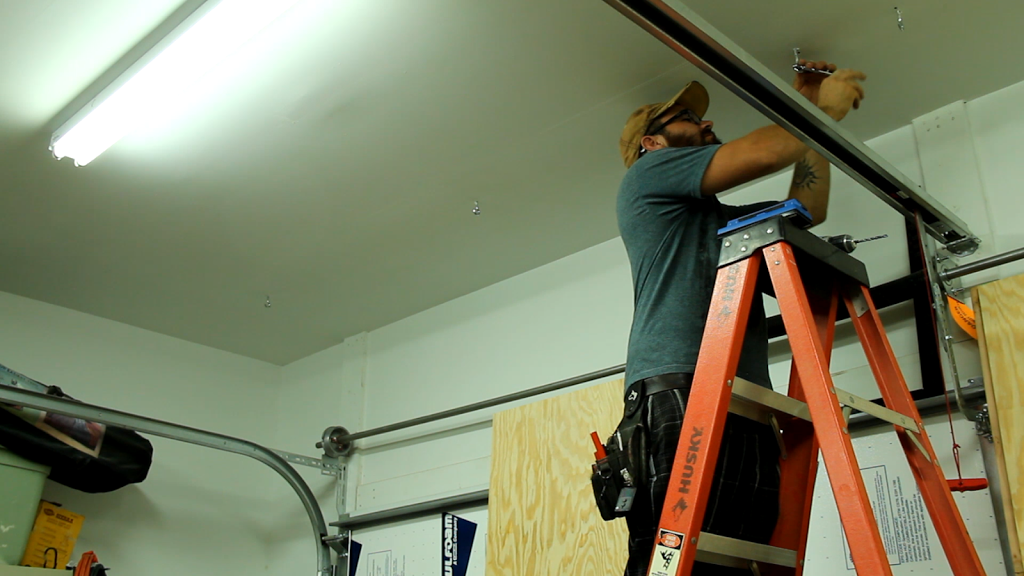
After you have figured out where all of your chains are connecting, pre-drill the holes and insert the lag screw hooks. These can get fairly hard to turn by hand but I find just using the enclosed end of a small wrench helps install these pretty quickly and without hurting my hands. I would insert these about 75% into the holes leaving room for adjustment in both directions.
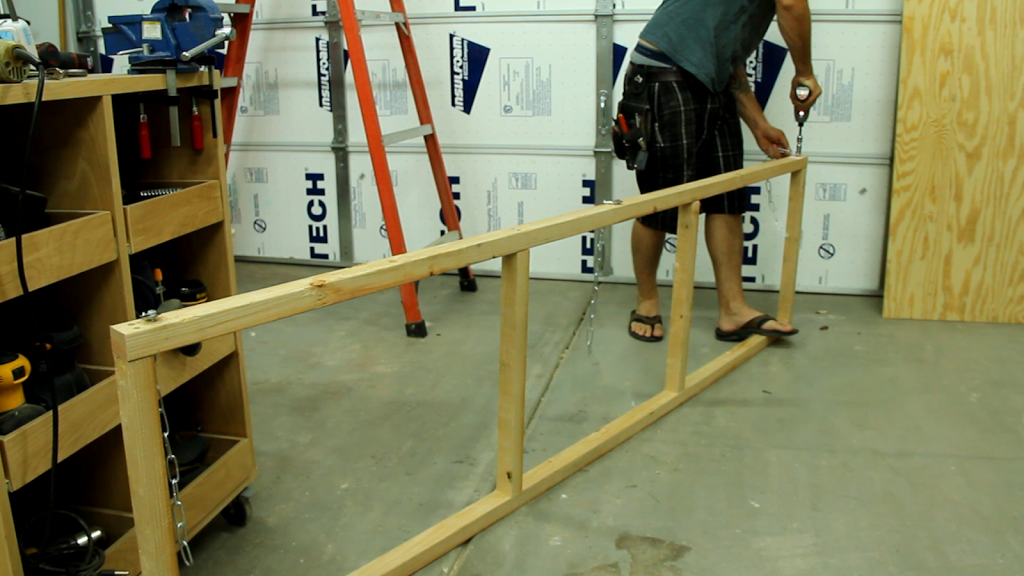
Each cross support will get two screws in each end and you'll want to make sure every screw hole is pre-drilled and counter sunk if possible. This will keep the wood from cracking and make sure it lays flush with the wall. One support will be added to each end and the other two should be evenly dispersed in the middle. (2 or 2-1/2-inch screws should be fine for this.)
Cut all your chain down to size using an angle grinder, bolt cutter, hack saw or the person in Home Depot's chain department. You'll want to make it slightly over-sized because.. well undersized sucks and you can always have an extra link or two hanging down.
Mark out the location of where the three chains will be screwed to the frame and pre-drill holes slightly smaller than the lag bolts. I put the end two chains a few inches in on either side to get away from the screws and then other one went in the center. Then using the lag bolt and washer, screw a chain sections into each hole leaving them slightly loose until later. (Depending on the positioning of your rafters, the location of these holes may need to change a bit.)
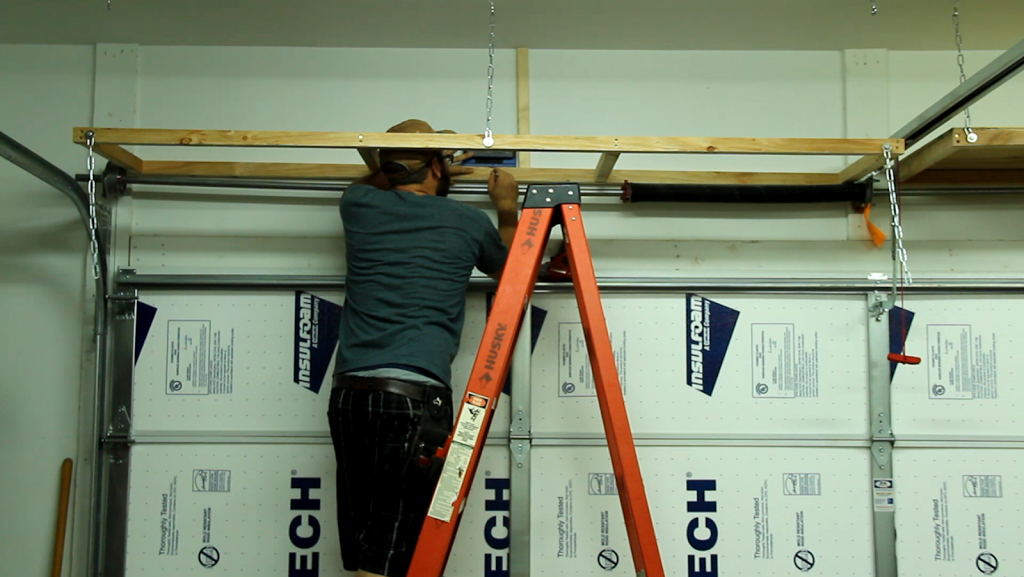
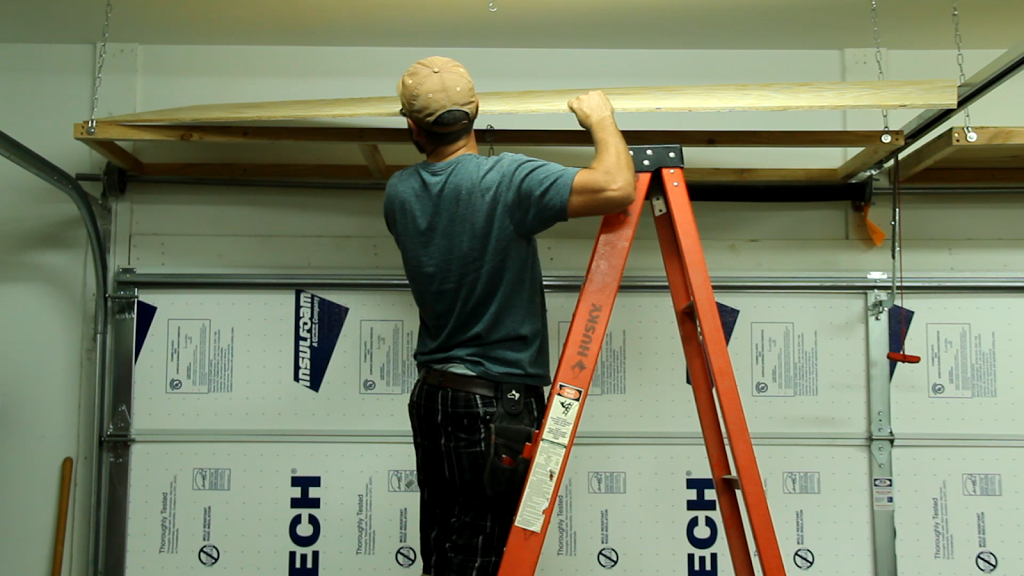
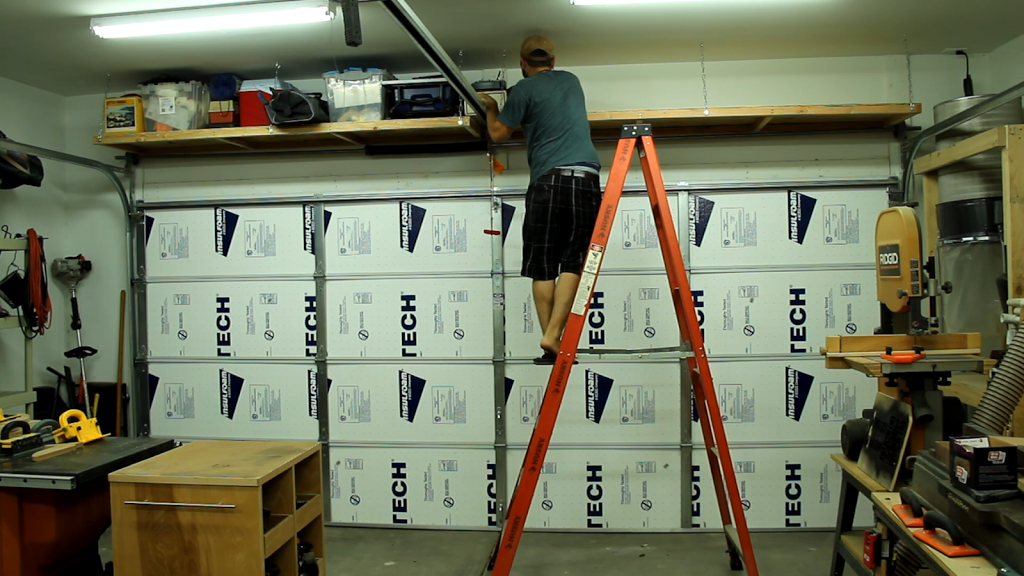
Hanging these shelves are pretty easy and if you don't have a friend nearby then don't worry. The frame is pretty light so holding it above your head and hooking the chain onto the hooks will be pretty simple. With the frame hanging there, swing the other side of the frame up to the wall and measure down to the height you have planned.
I cut a piece of scrap wood to this length so I didn't have to keep fiddling with my measuring tape. If you have anything nearby that can be sacrificed, I would greatly recommend it.
Using a stud finder, locate all of the studs on the wall and pre-drill, counter sink and screw in some nice long (3-inch) screws through the frame and into the wall. The more studs you get the better.
After the wall side of the frame is screwed to a few studs, you can un-hook the middle chain from the ceiling anchor and place the plywood onto the shelf. Re-hook the middle chain and adjust each chain/hook until the front of the shelf is level with the back of the shelf.
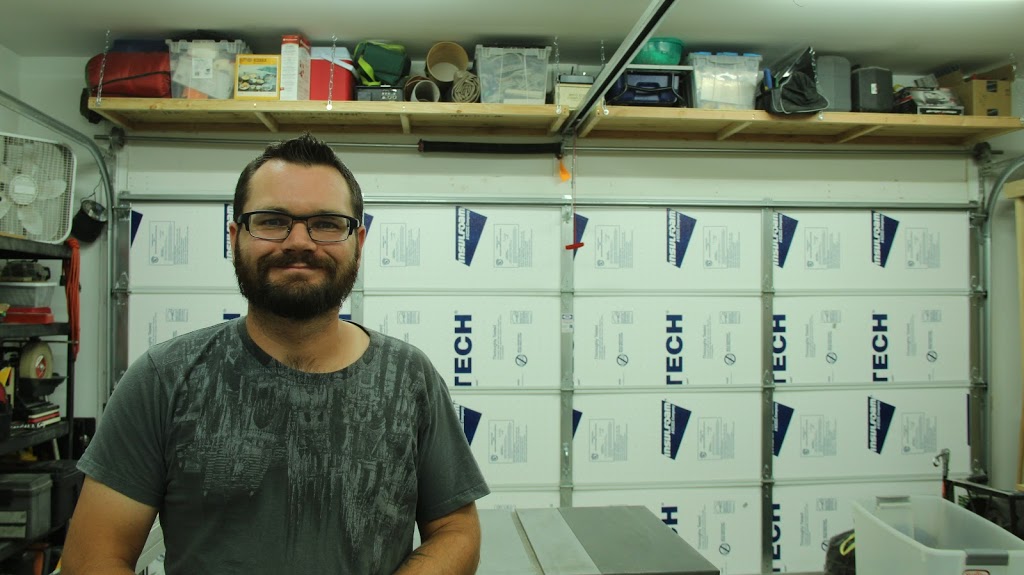
Now that you've spent a few hours building some nice storage shelves, you can spend much longer filling them up, re-arranging them and then re-arranging the empty spot left by all the stuff you put up there.
I was so happy to see the amount of space that was freed up by removing the two shelving units that were previously storing my "junk". My shop was getting cluttered and now I have so much free space, I am trying to figure out what new tools I can get! I'm also considering building another set of shelves on the other side to store anything else that I don't find my self using on a regular basis.


