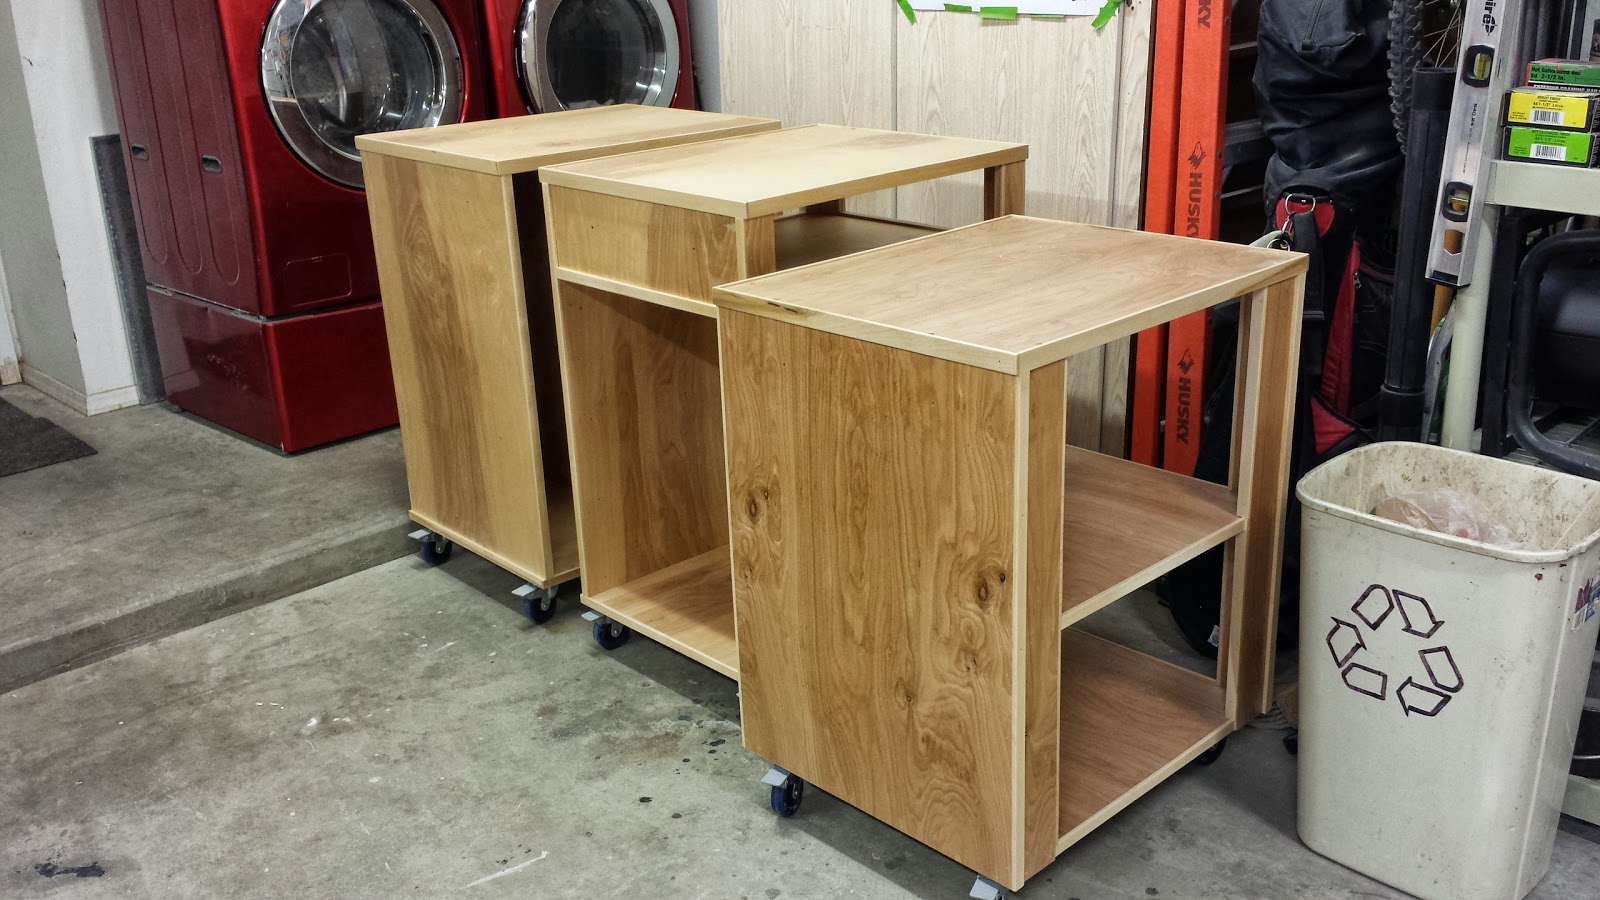
Rolling Shop Carts
It was getting time to reorganize my garage/shop so I was on the lookout for a few months for ideas. I came across an article on startwoodworking.com about a the Roll-Away Shop and fell in love. I kept thinking about starting this project when I had enough time and it finally happened.
  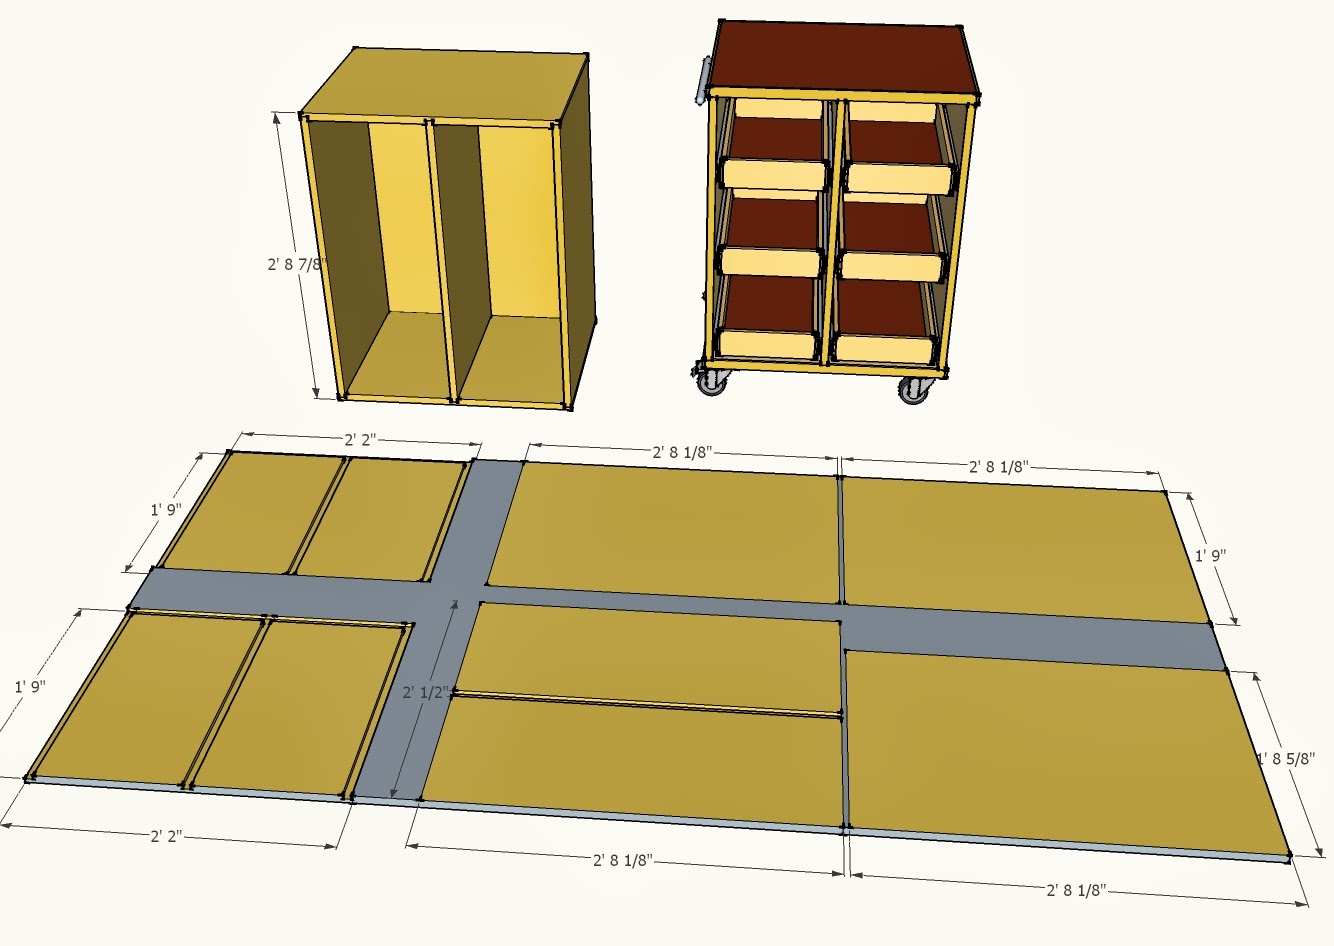 |
| These SketchUp files can be found on my Plans & Designs page. |
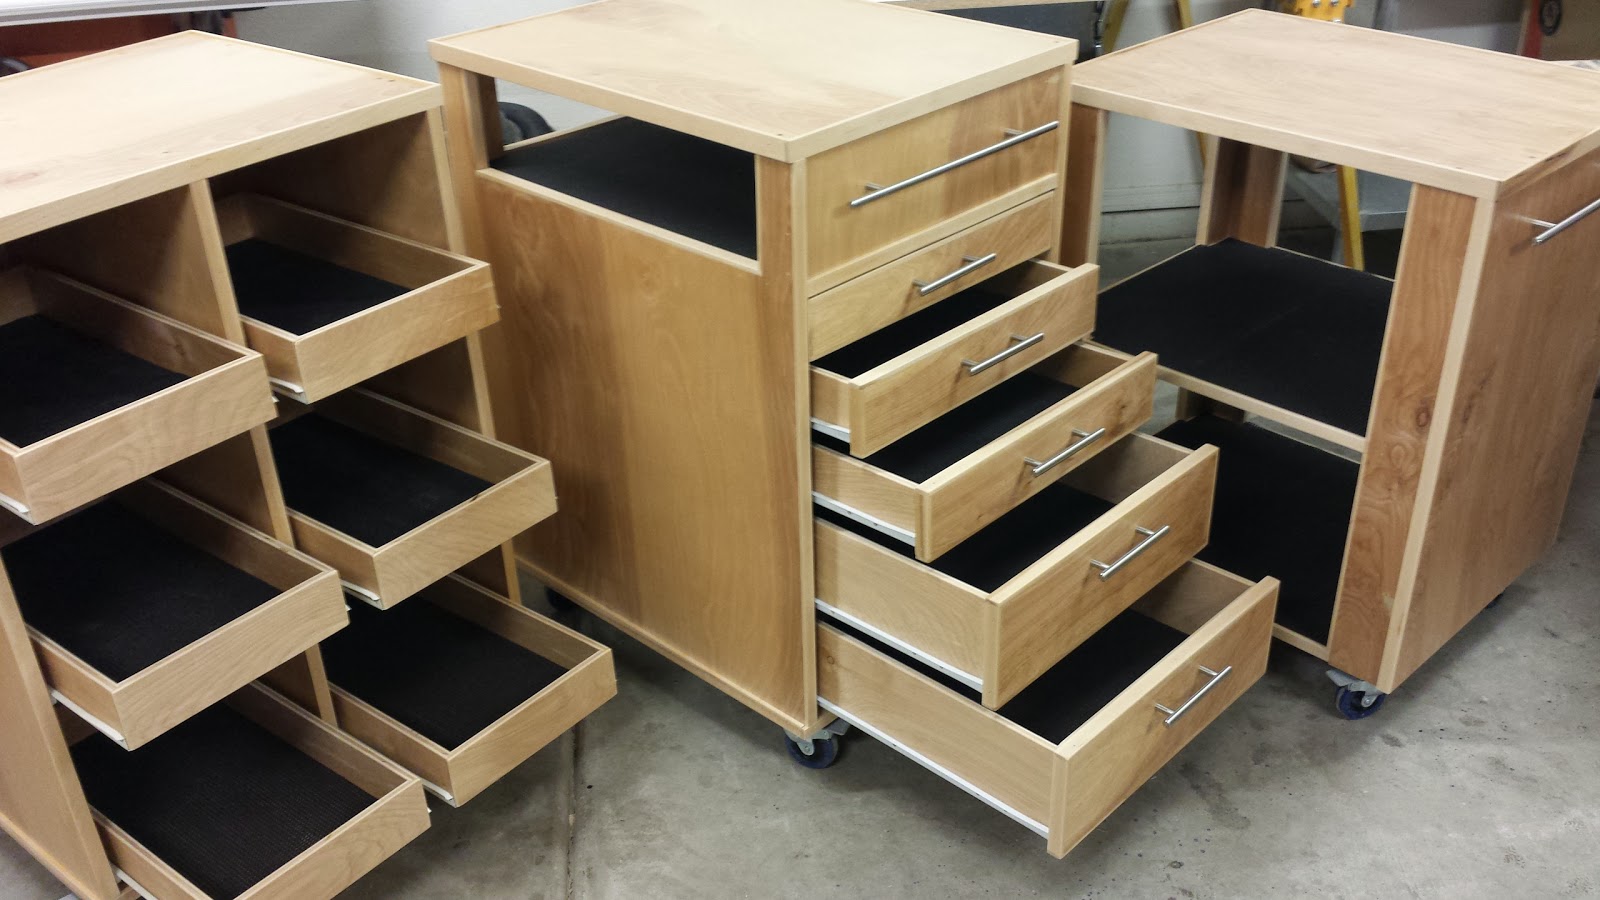
I came across Brad Maces SketchUp drawings in the 3D warehouse and used them as a starting point. I Modified two of the carts to match the height of my table saw and the smaller cart to be used for my miter saw. I also added a plywood cutting layout which came in real handy when I got started.
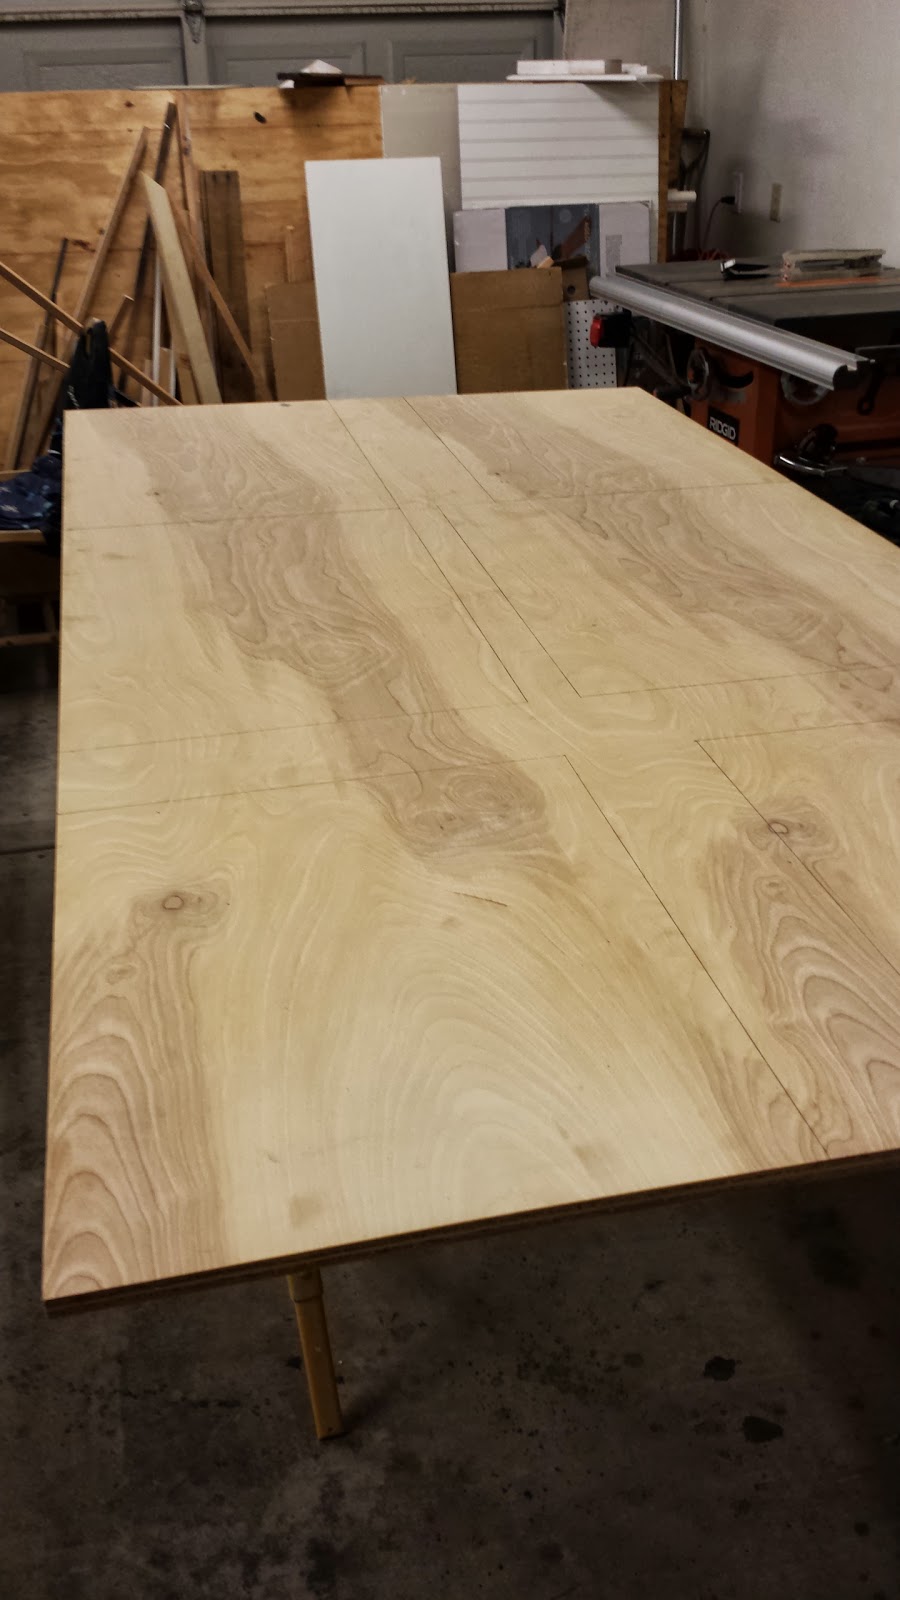
I transferred the cutout layout I made in SketchUp to my beautiful birch plywood and saved a lot of time and waste when getting my saw out. If you look at the picture closely you'll notice every component of the large drawer cart is drawn on including which direction to cut. The only way this could have gone better would be if I had a nice track saw. (Christmas anyone?)
All of the cabinets had rabbits and dados cut in each so everything pieced together really nice. After this project I almost felt like a real cabinet maker. My new table saw really came in handy with this since my first one didn't have an arbor long enough to use my dado blade stacked up to 3/4".
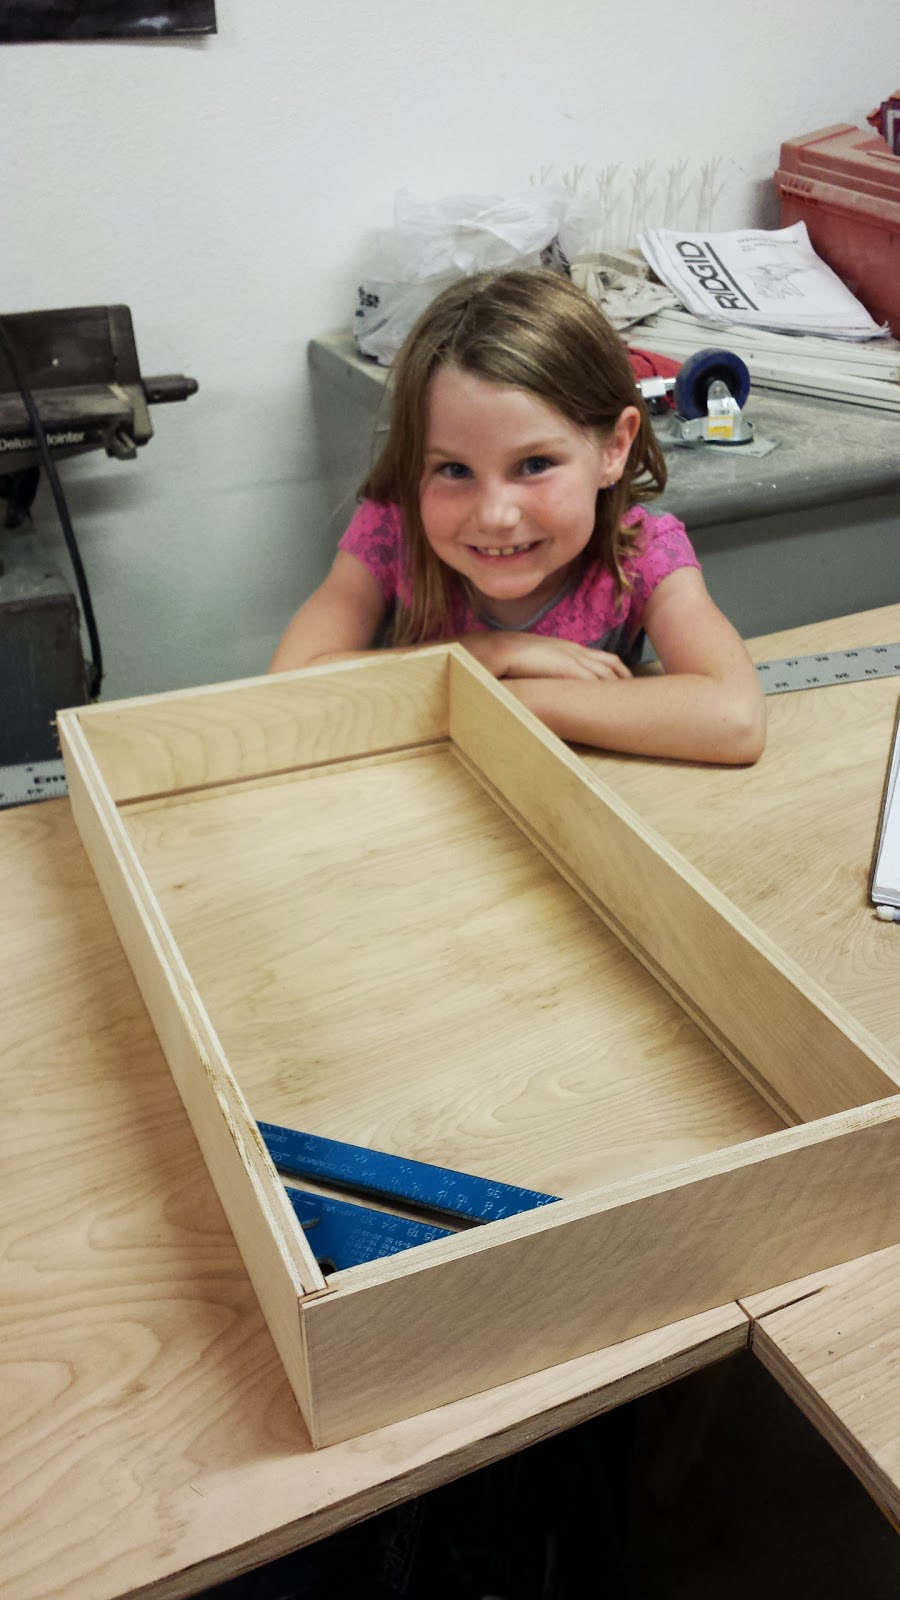
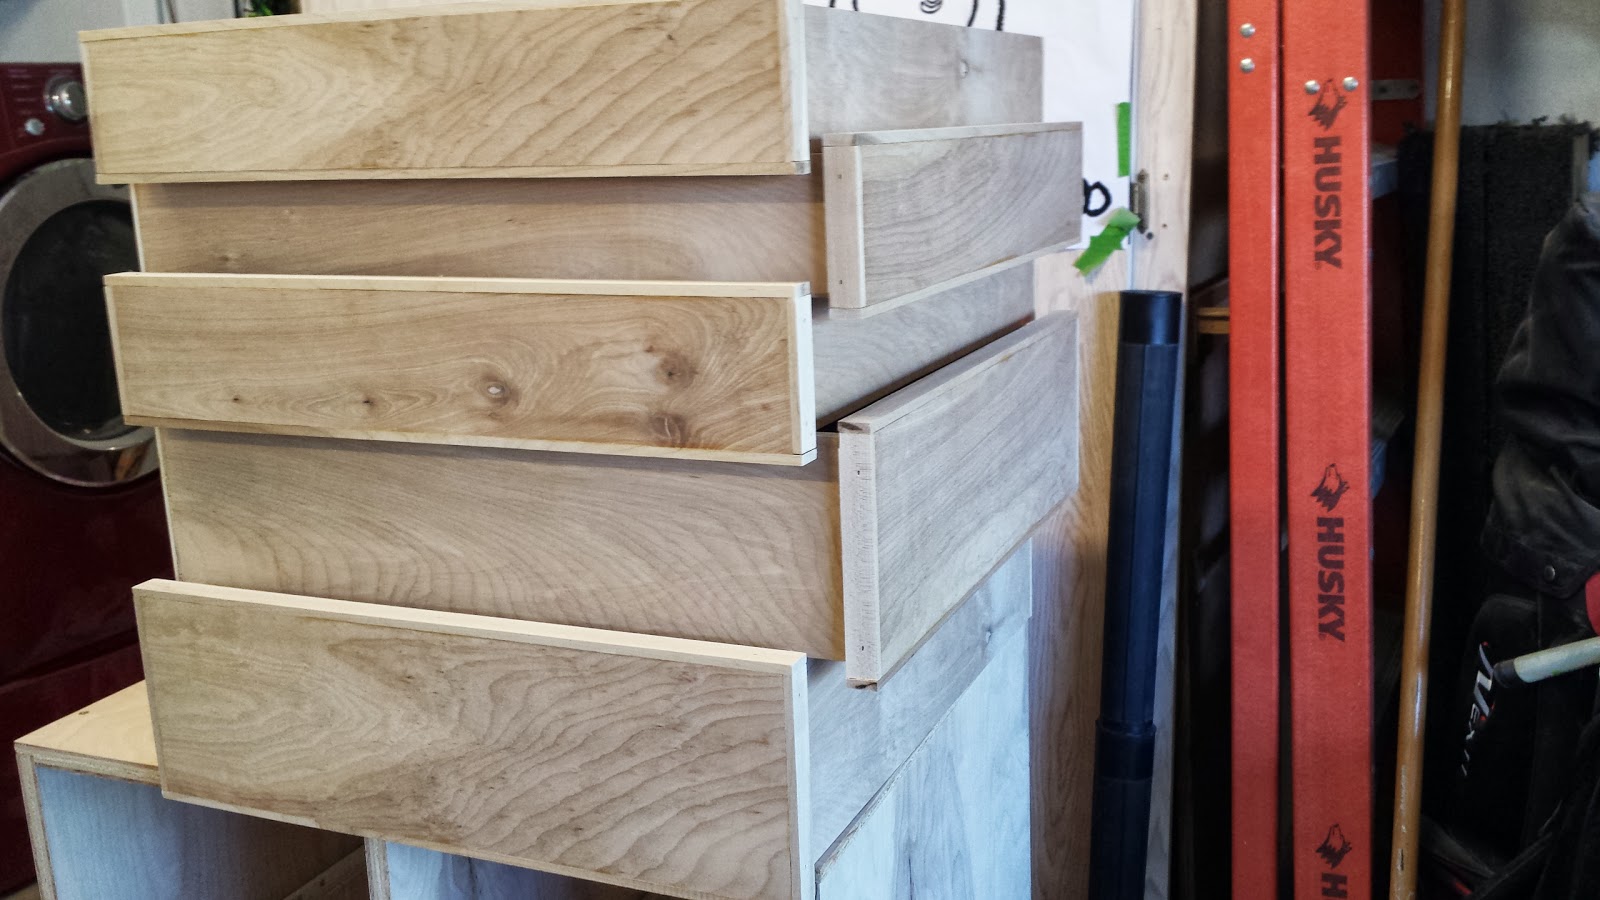
All of the cabinet drawers were made out of 1/2" birch plywood sides and a 1/4" bottom. The cart with the smaller drawers got a 3/4" face wrapped in 1/4" strips of maple. Jaylee helped square and put most of the drawers together before her bed time.
I had a 3/4"x4"x8' piece of maple that has been in my wood cart for the better part of a year so I figured I would use it as the edging. I cut the whole thing into 1/4" strips using the saw blade that my table saw came with. Almost every piece of plywood was burnt from the saw blade and had to be sanded. After that I started doing a little bit of research into the best blades for different cuts. Turns out there are ripping blades, cross cut blades and multipurpose blades. I gave in and spent about $50 on a good ripping blade (Freud 30 tooth Rip blade) and when I ran out of 1/4" strips and had to cut some more, not a single one had a burnt mark and the maple cut like butter.
With everything put together and the painful process of installing the drawers completed it was time to do some finishing. I didn't want to paint or stain anything and since these carts are going to be getting a lot of use I decided on a nice hard oil based clear coat. I got out my HVLP sprayer and put a couple coats on everything in an afternoon and declared my projects complete.
Not only have I made a lot more room on my shelves, I have also achieved a new level of organization to my tools. I can now easily cut large pieces of wood by using the large carts as in and out feed tables on the table saw and extensions for my miter saw. The only thing I'm missing now is a sound proof cart for my shop vac that also holds all of the accessories. I think with a new baby in the home that 4th cart might become a reality sooner than later.
Lessons Learned
- If you're going to start getting serious about cutting wood you should probably buck up and get a good Riping and Cross Cut blade for your saw. I finally made the plunge and it has made a world of difference.
- Harbor freight wheels might be less than half the price of other casters but you get what you pay for. Will I stop buying them? Probably not but the locking mechanism truly does suck compared to the more expensive casters.
- I went with the cheap drawer rails that were a few bucks per pair. I wish I would have gone with the full extension rails because I constantly find my self digging in the back of the drawer where I can't see because I cheaped out.
UPDATE *4/24/15*
Check out the review on these carts after years of use in Monkey Talk Episode 1.


