Custom Cabinet & Counter with Inlaid Metal Band
 I recently took on a large wrap around custom cabinet job that quickly became the largest commissioned project of my life to date. I've done cabinets and commissions in the past but I don't think the size, time and cost of materials have come anywhere close to this build (yet). I'm sure some people are going to laugh when they hear that I built "only" 14-feet worth of cabinet. Seriously though, if you have been following me long, you'll know that I don't normally do commissions and I work out of a two car garage. Due to my limited space and self-centered focus, large projects aren't really my forte.
  This project ended up using nearly 40 bdft for the face frame & doors and just under 100 bdft of wood for the counter and back splash. What really killed me was the 8 sheets of plywood required to get this done.I don't plan on going into full detail in this article since I did that on my two previous bathroom vanities that I built. (Single Vanity w/Concrete Counter and the Double Vanity for my Master Bathroom) What I will do is touch on some high level aspects of this project that were interesting or more complex for me to get through. I will also include a link to the SketchUp file if you're interested as well as a full gallery of the entire process at the bottom.
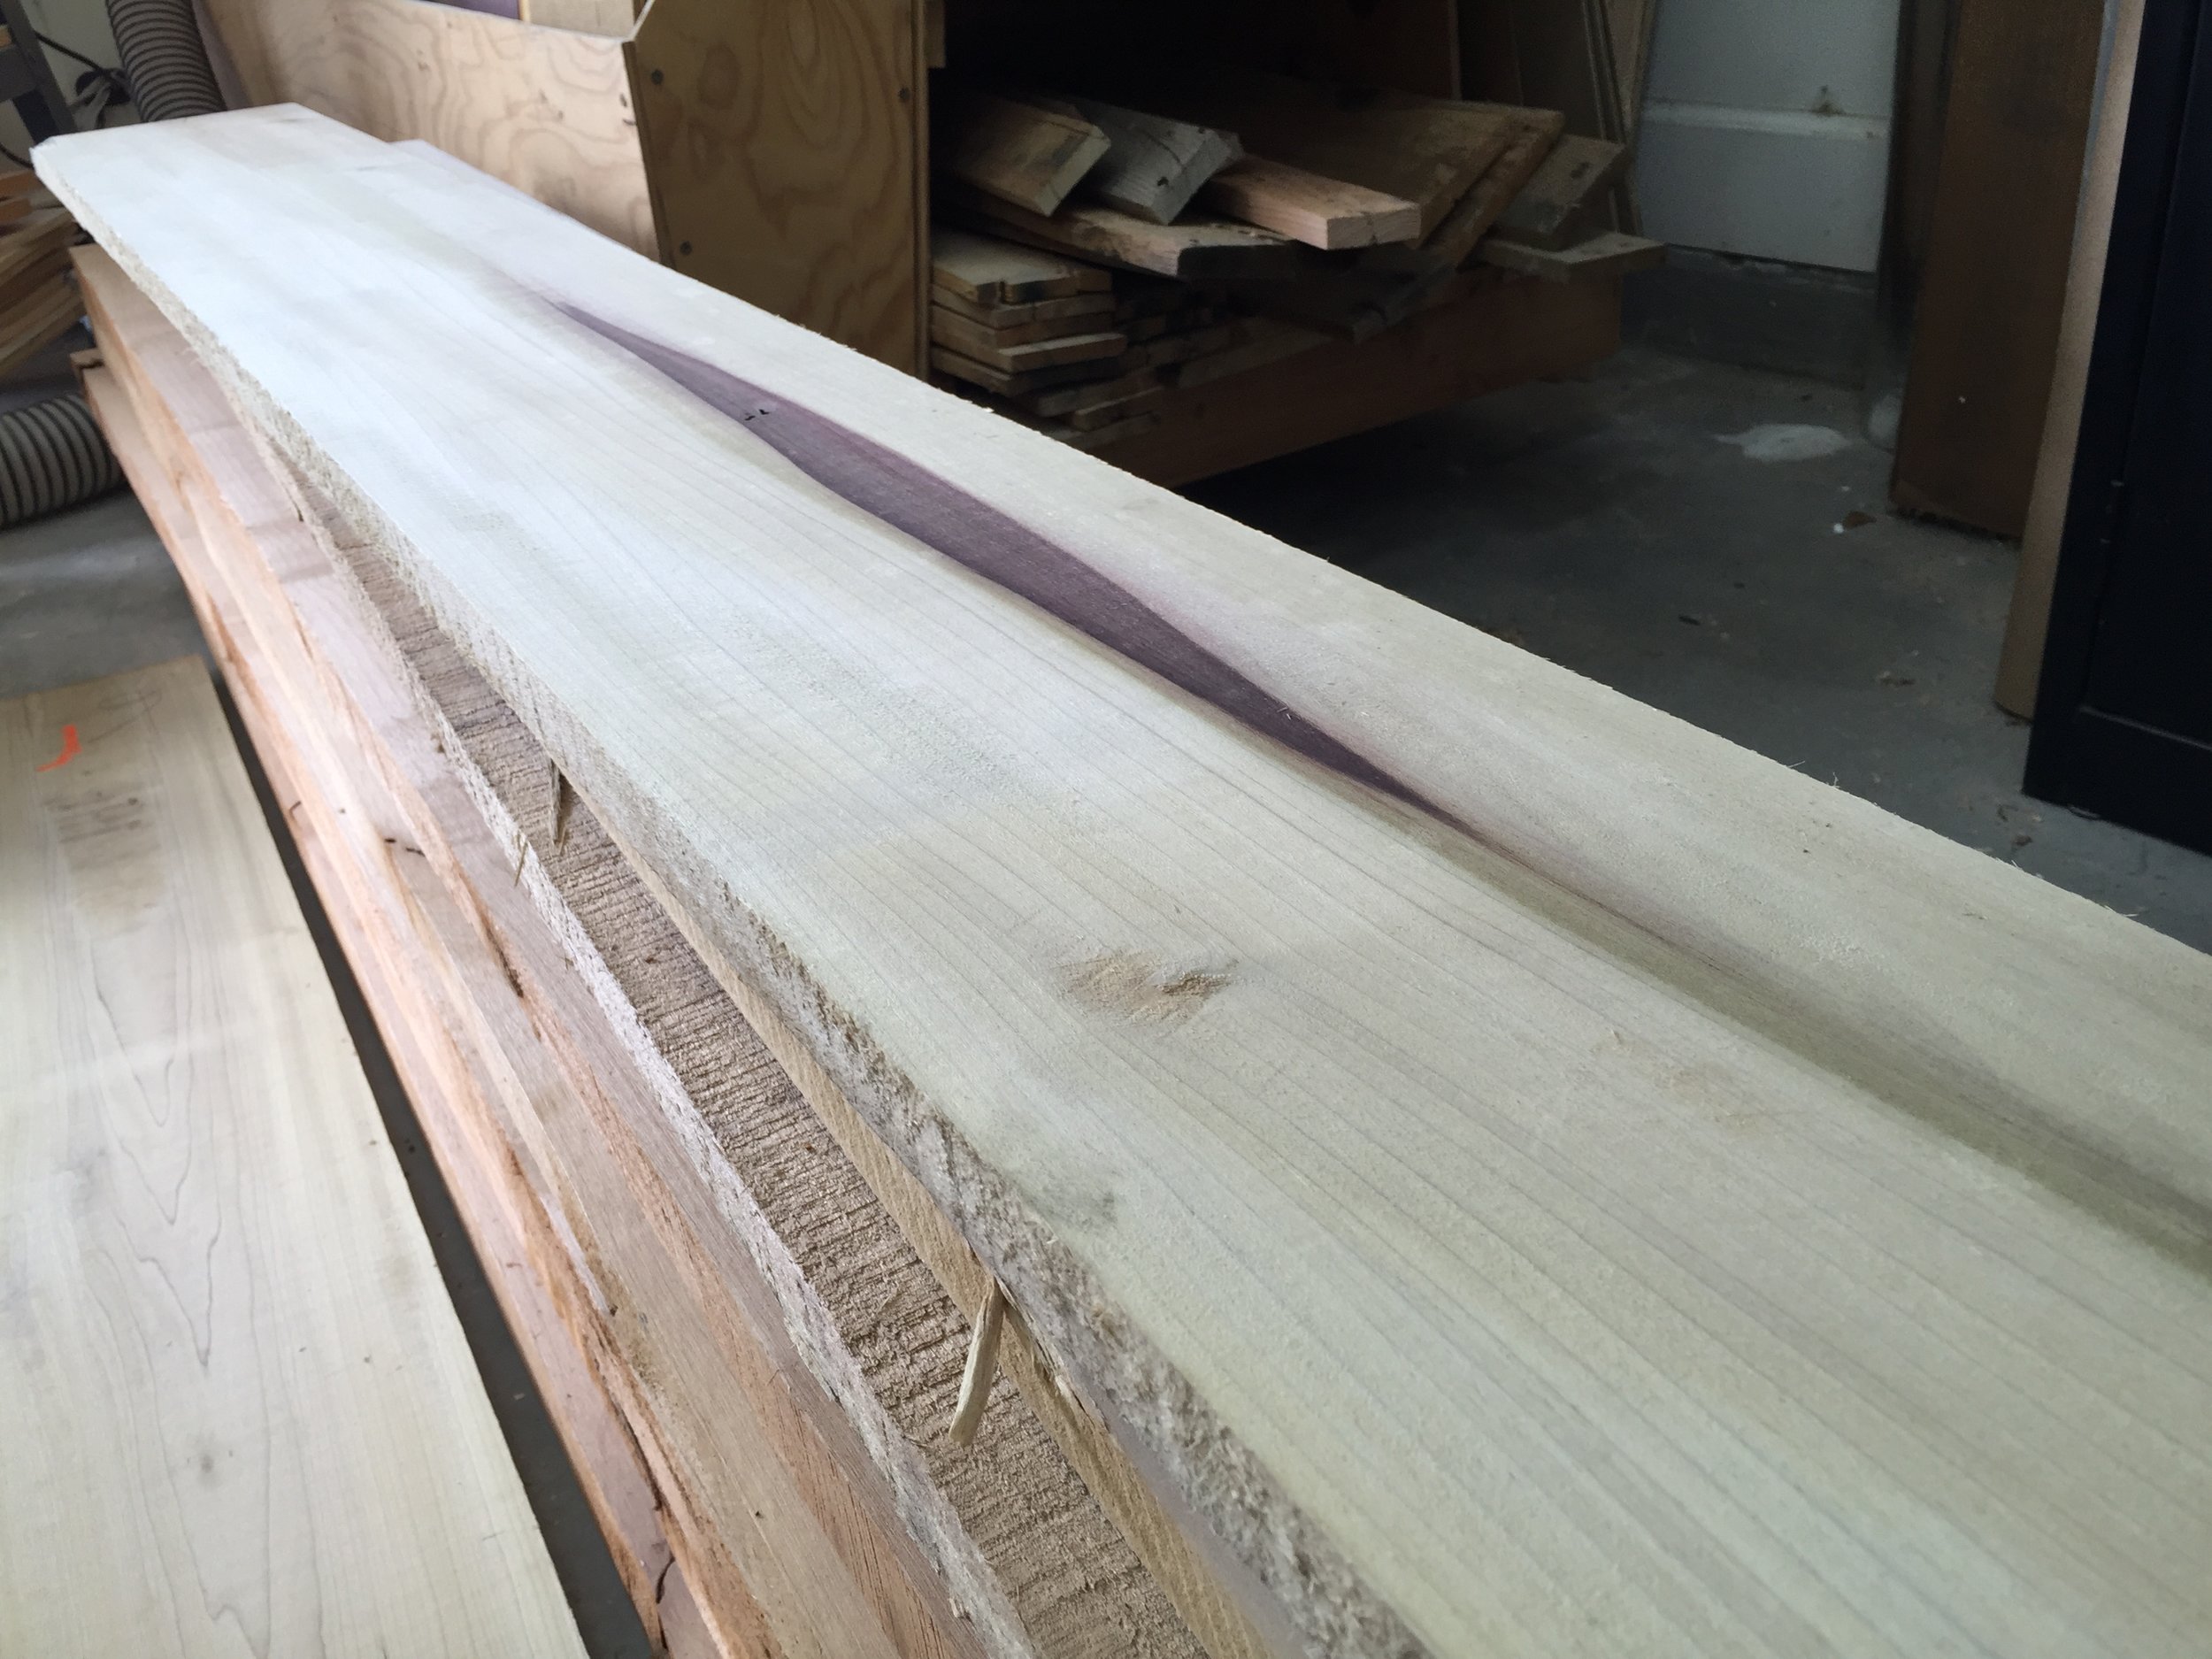
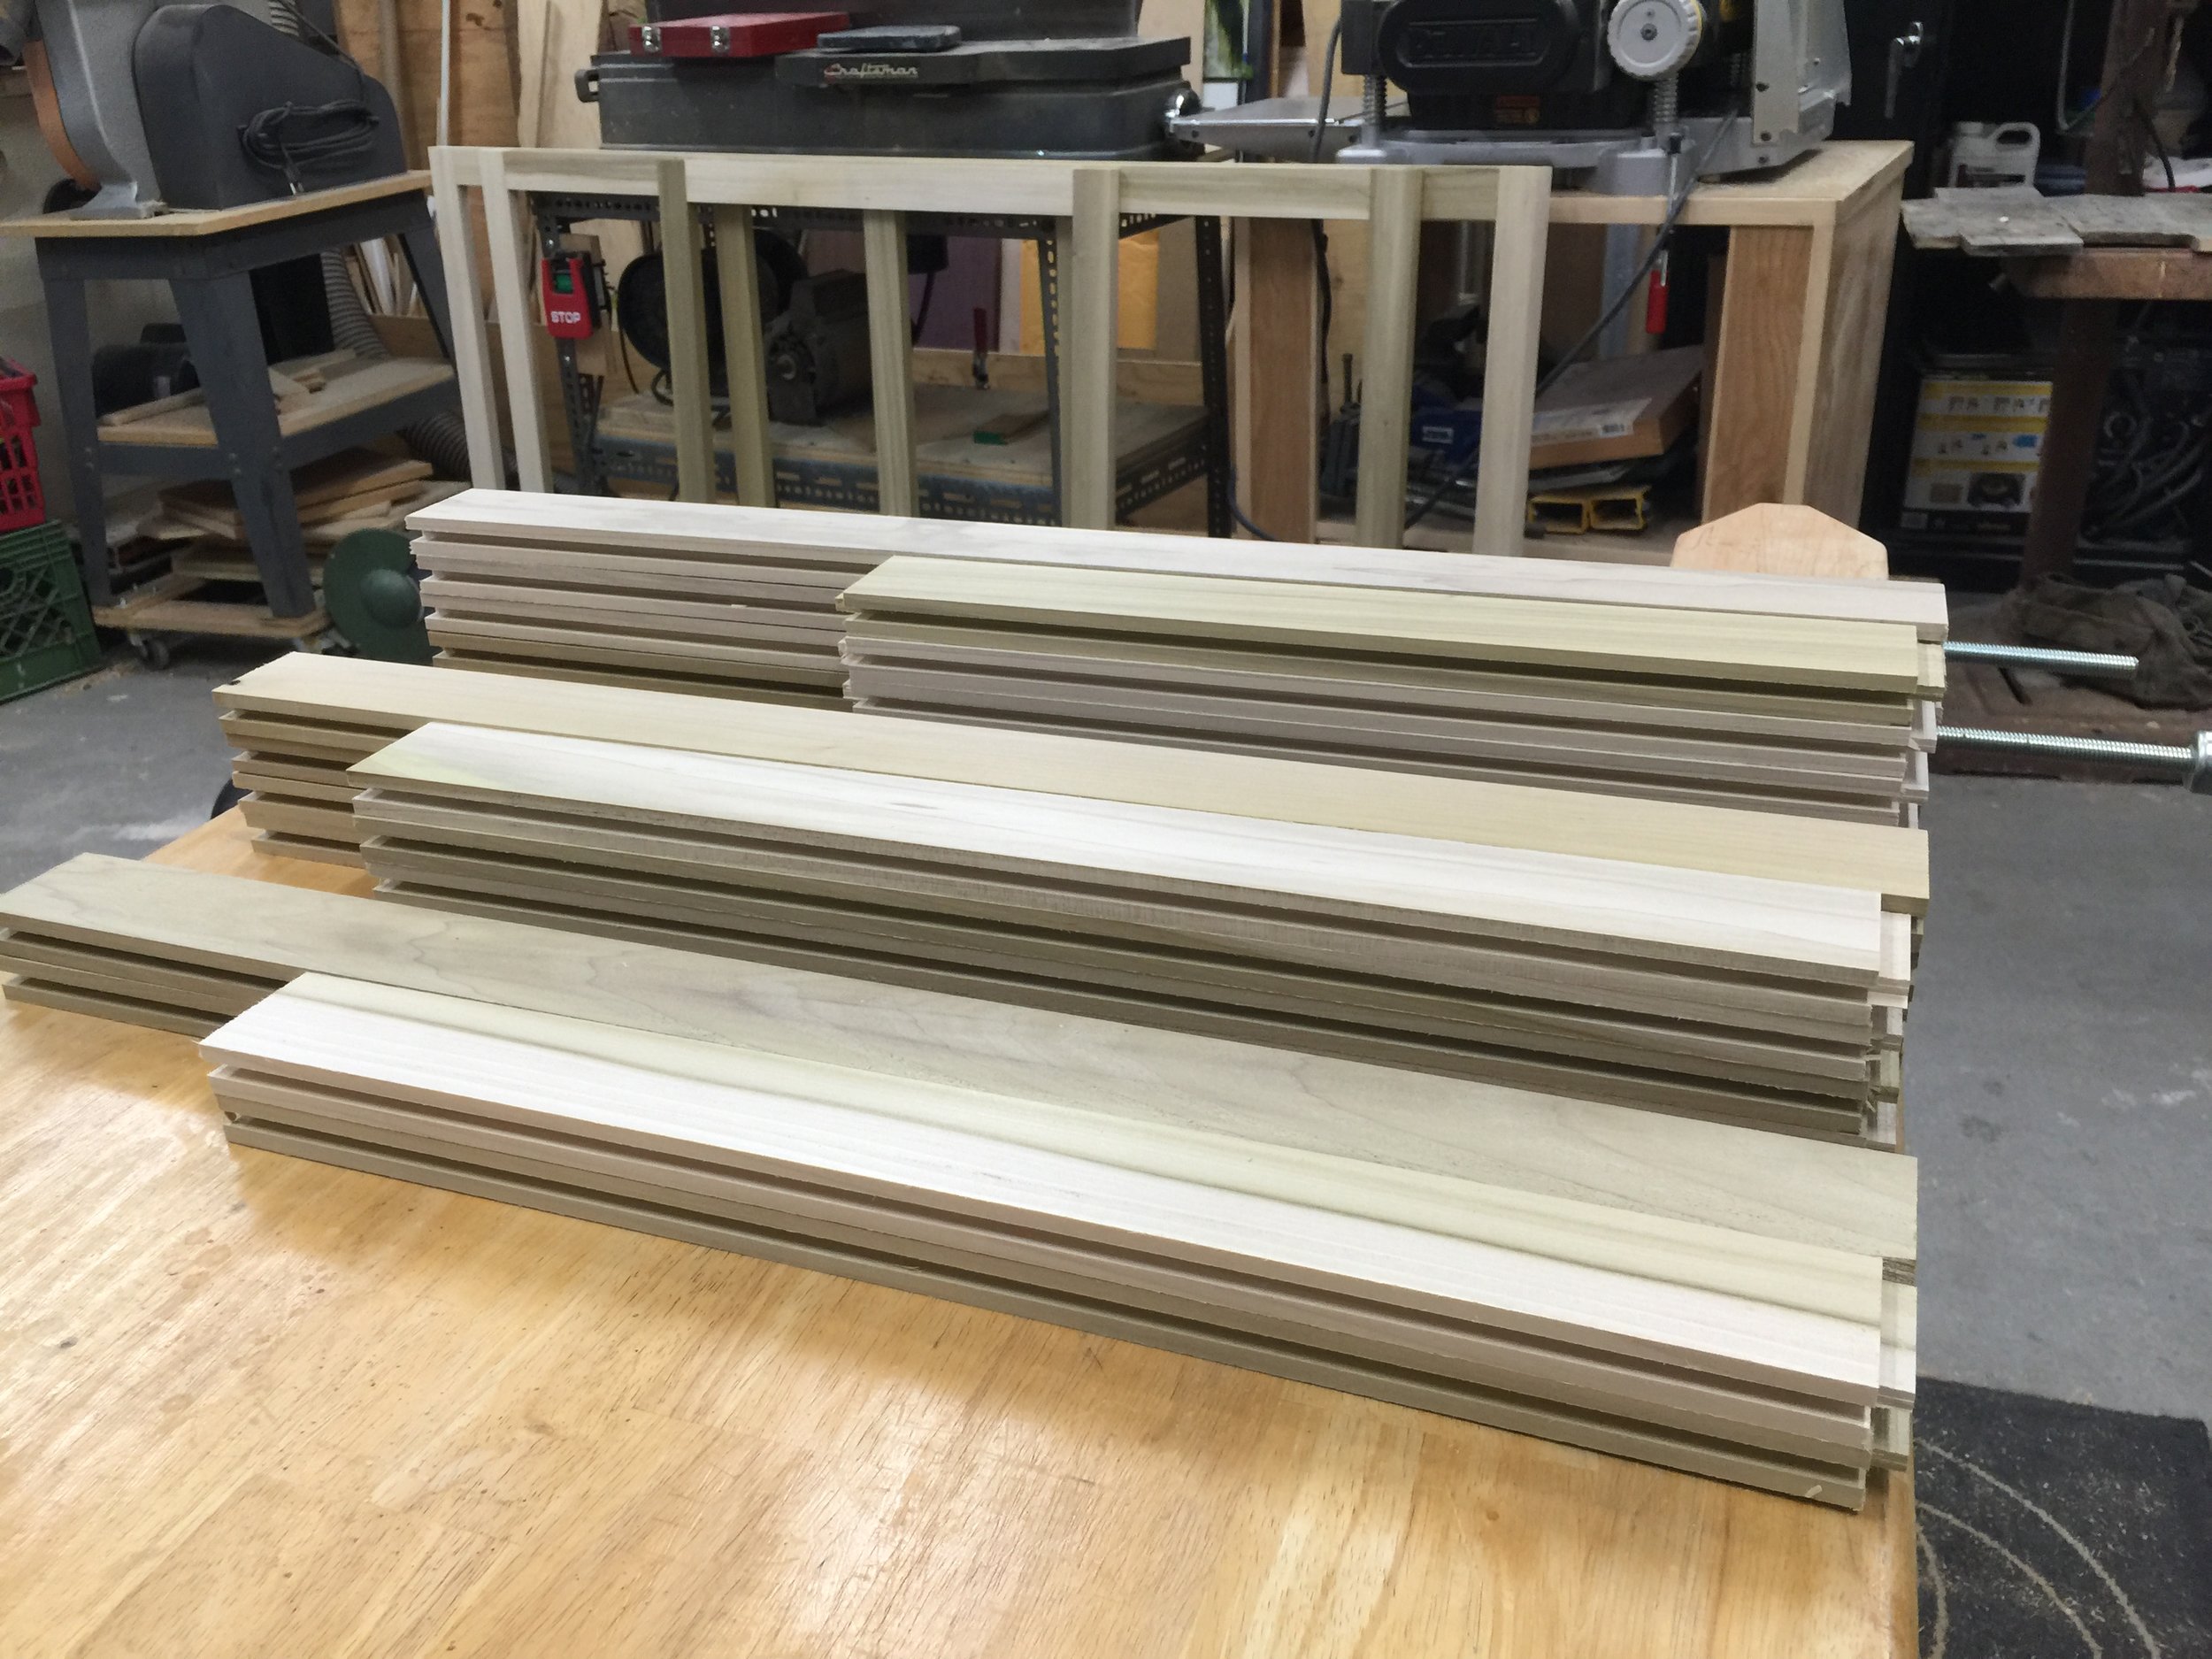
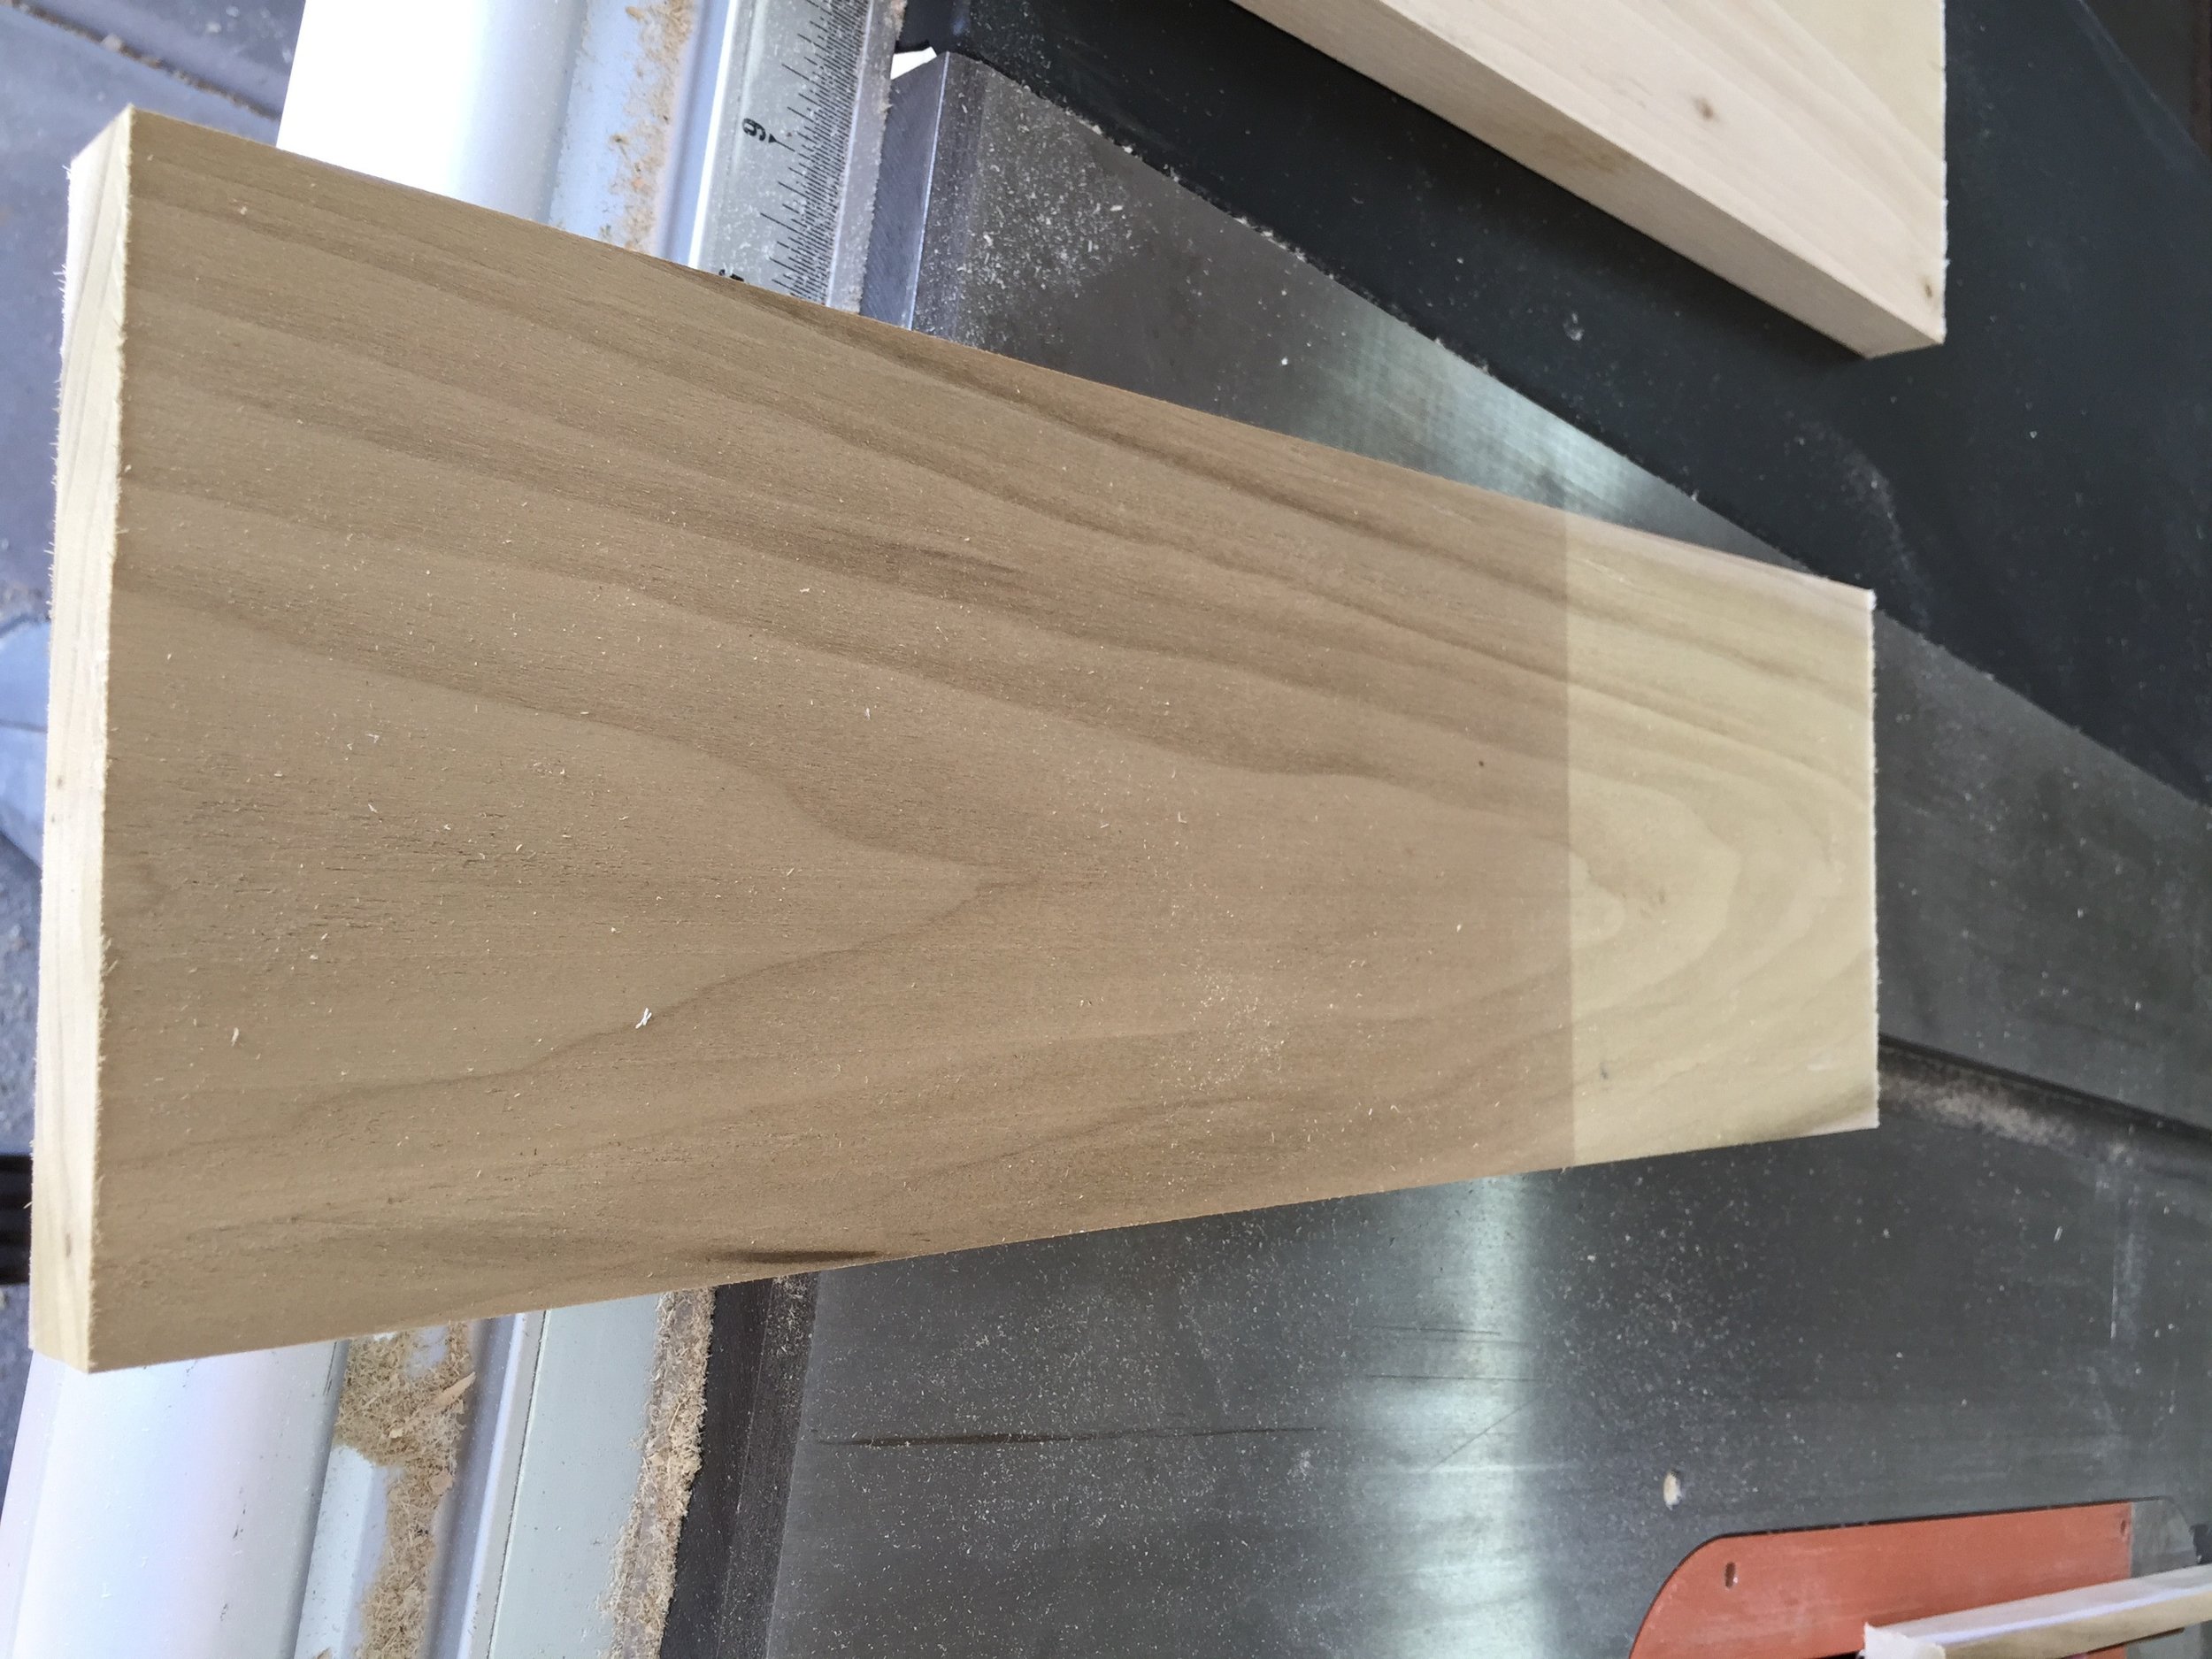 Since the entire cabinet was going to be getting painted black, I decided to use Poplar for the face frame and Birch for the cabinet. While milling down the Poplar I was stacking it back up in my trailer. About an hour later I started cutting it to size for the face frame and doors and I came across this sunburnt piece of wood. I know that wood changes color over time but I was really surprised when I pulled out a freshly planed board and it was drastically darker where it was exposed to the sun. I'm not sure if it was a particular board or a really sunny day but I tried to reproduce it a different day with the same type of wood and didn't get the same level of change.
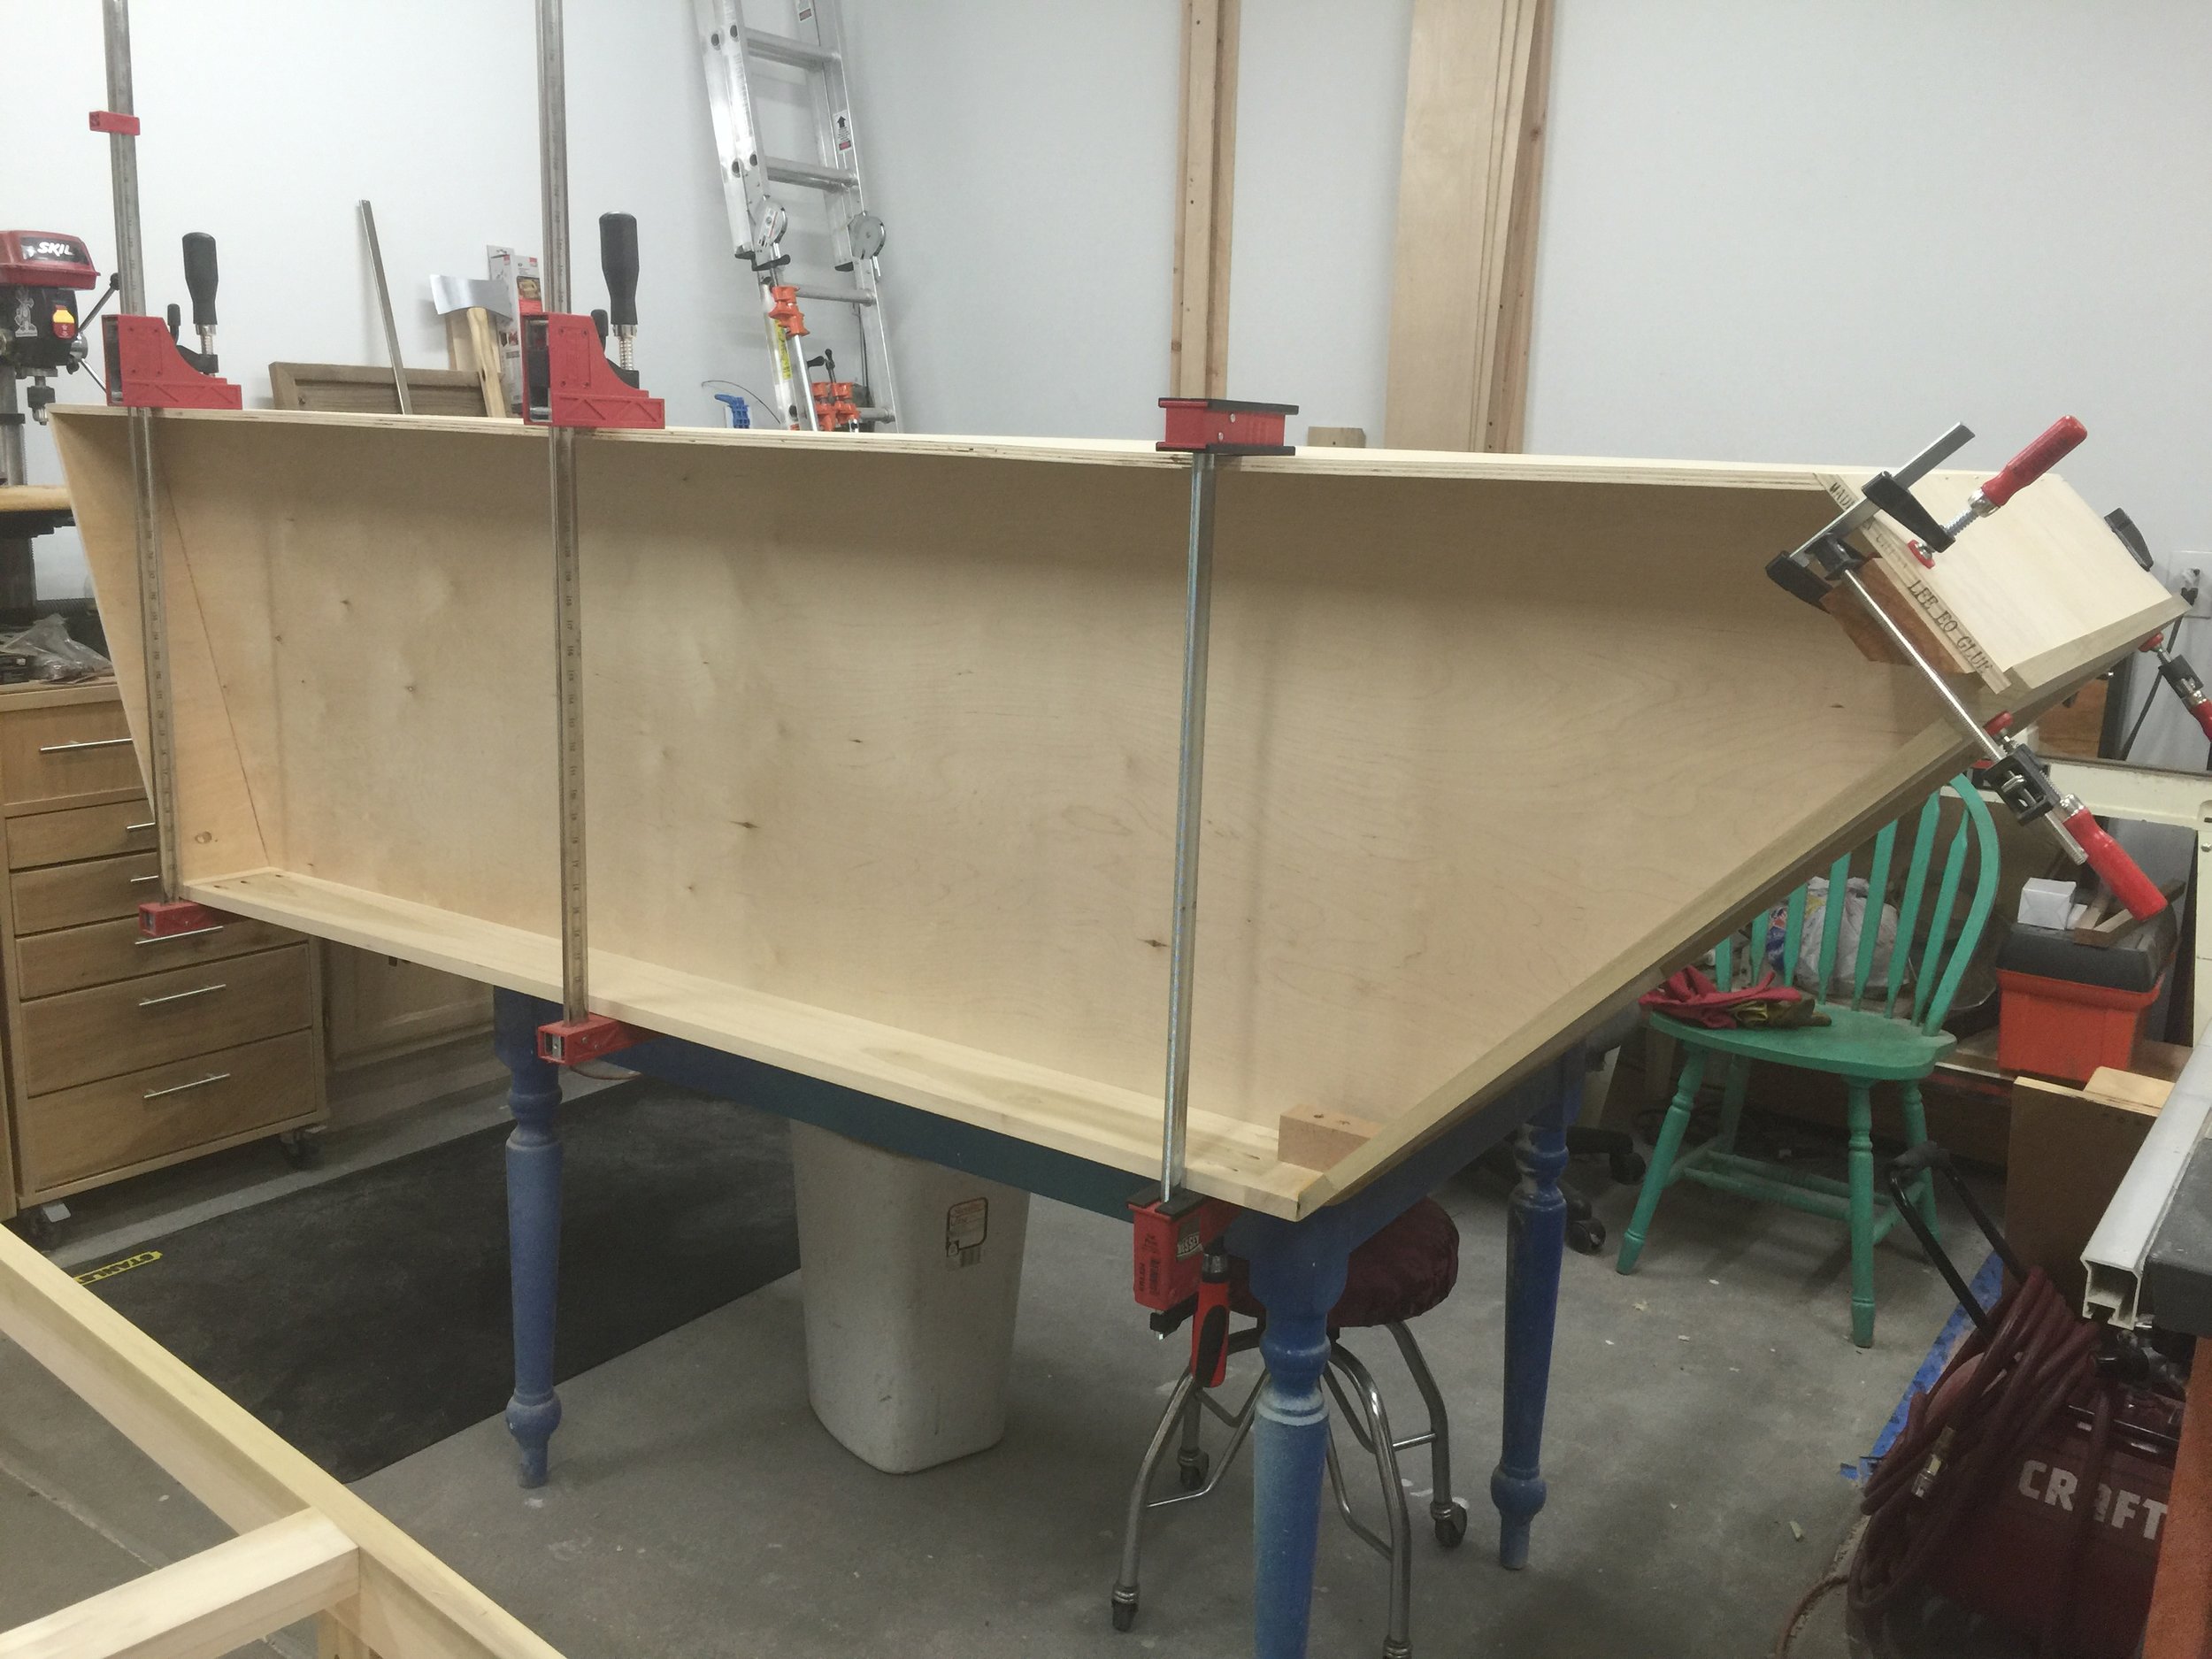
Cabinet Assembly
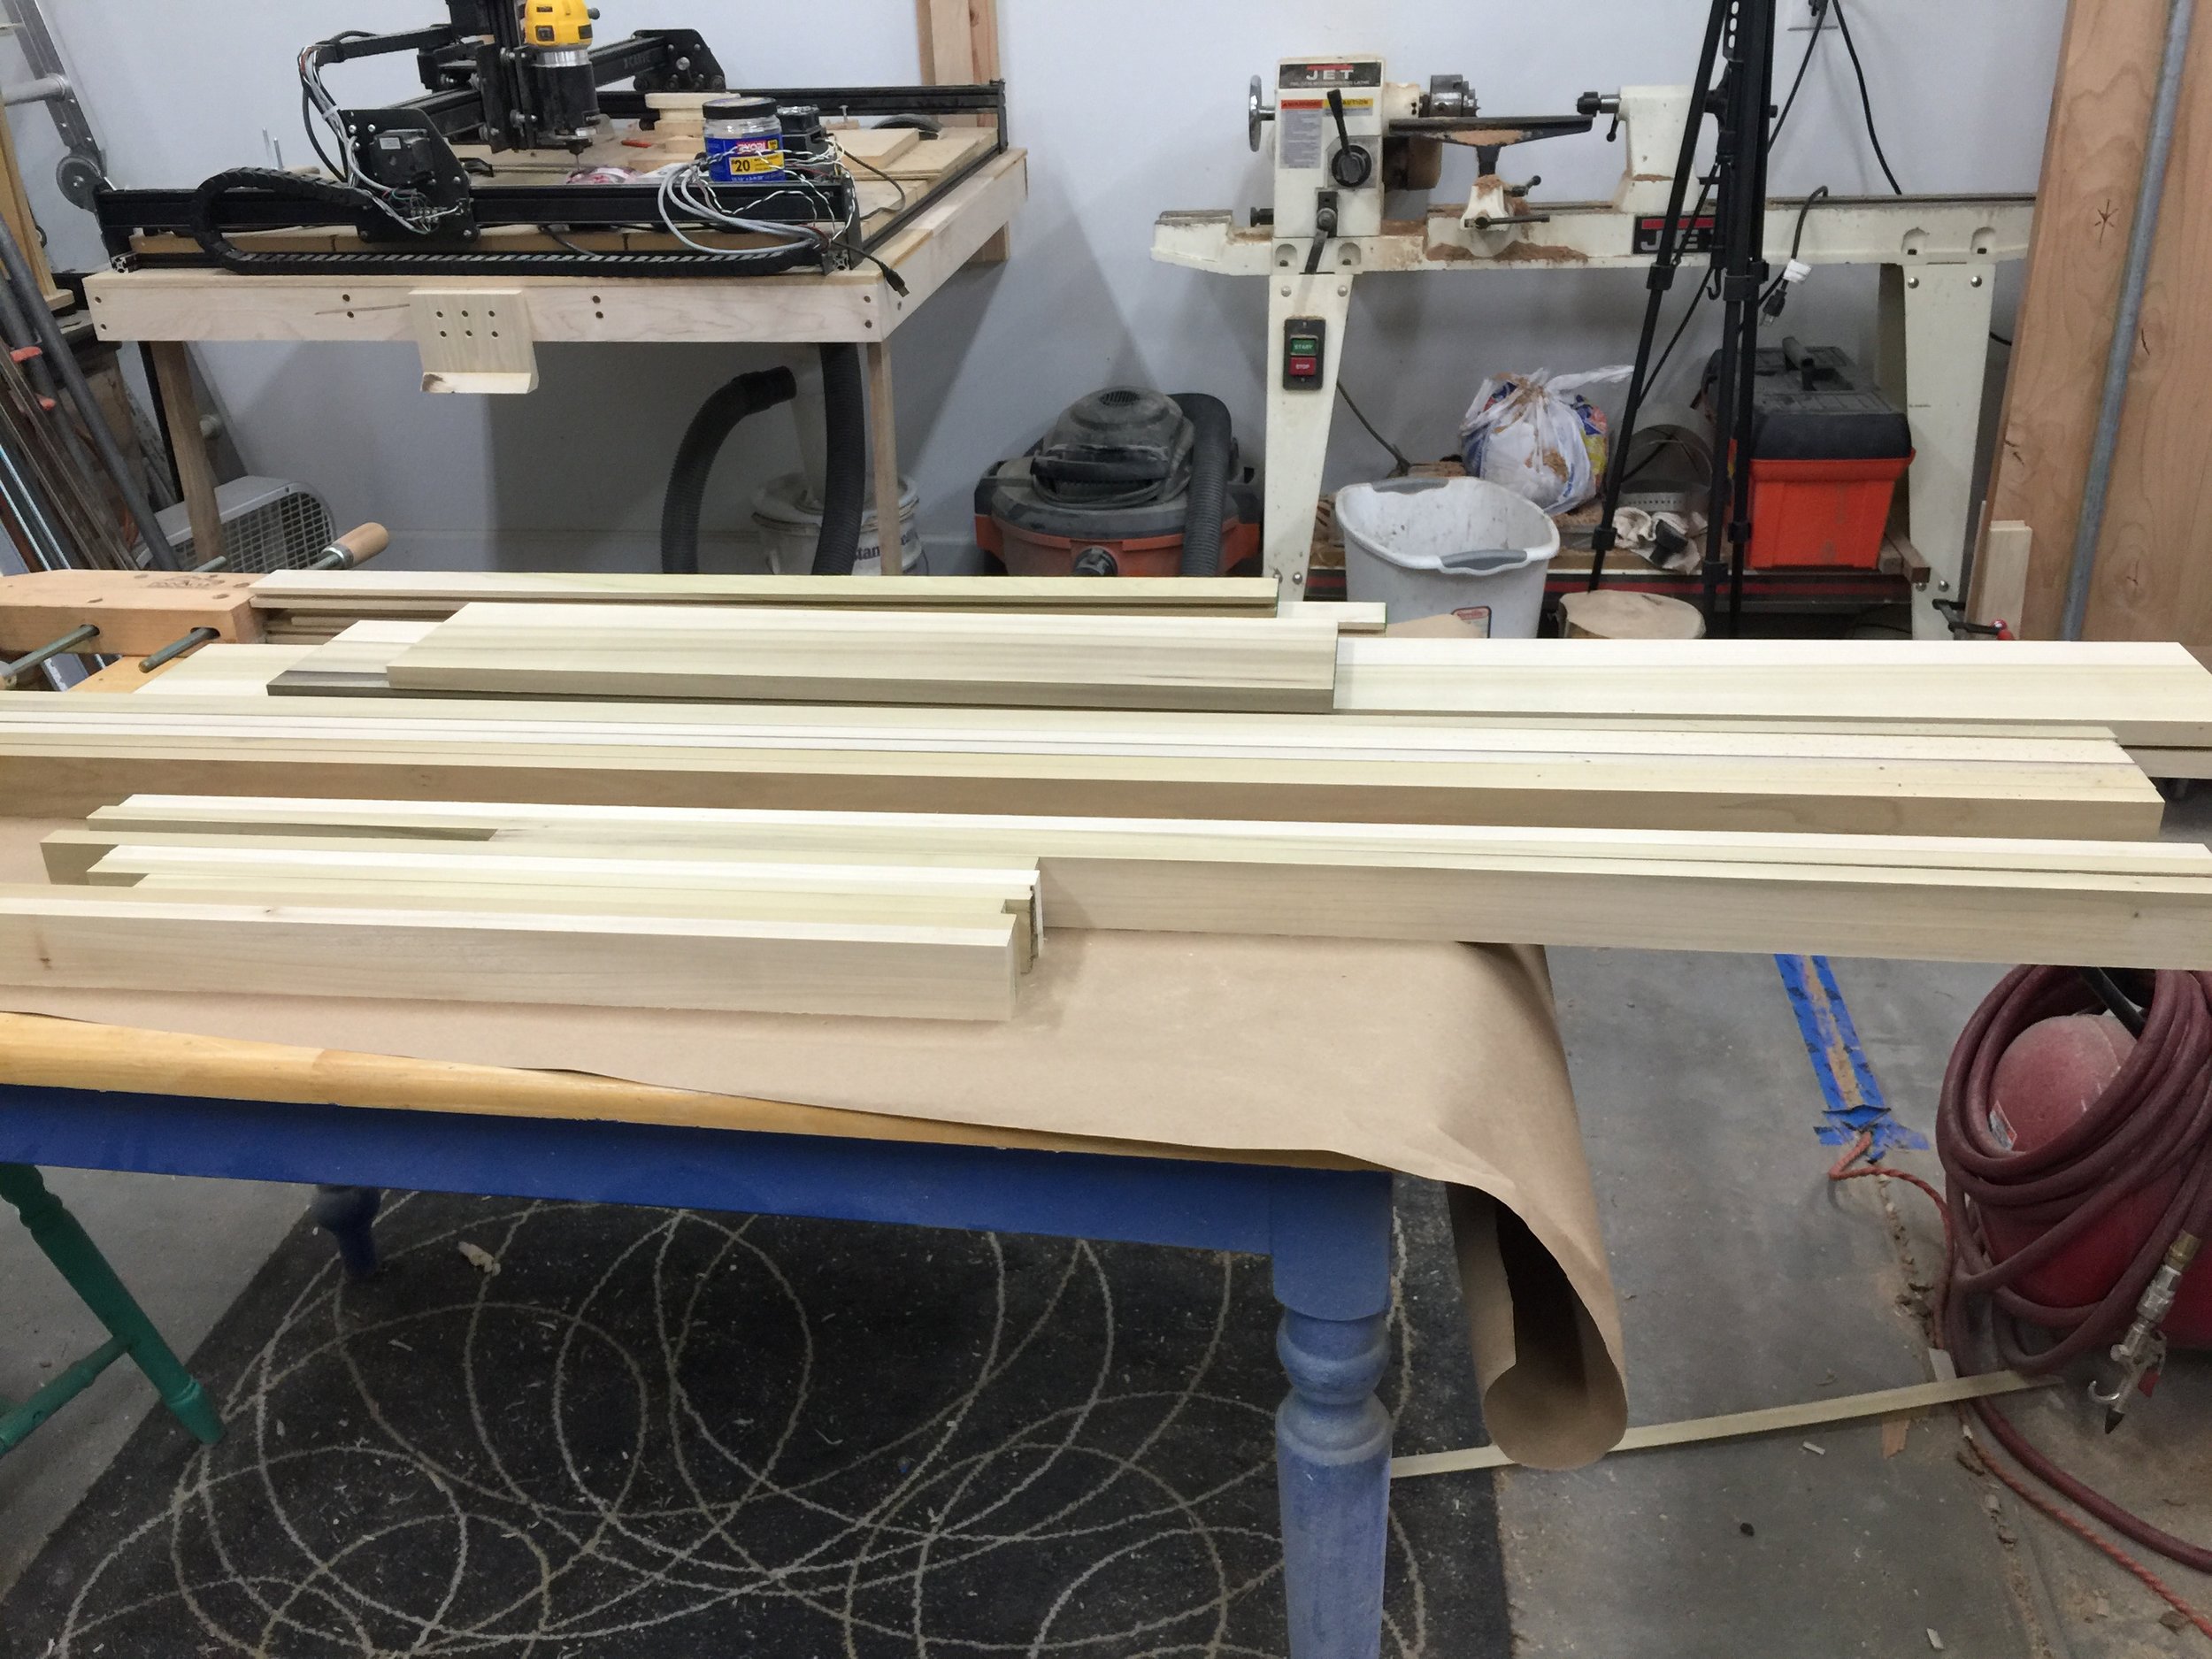
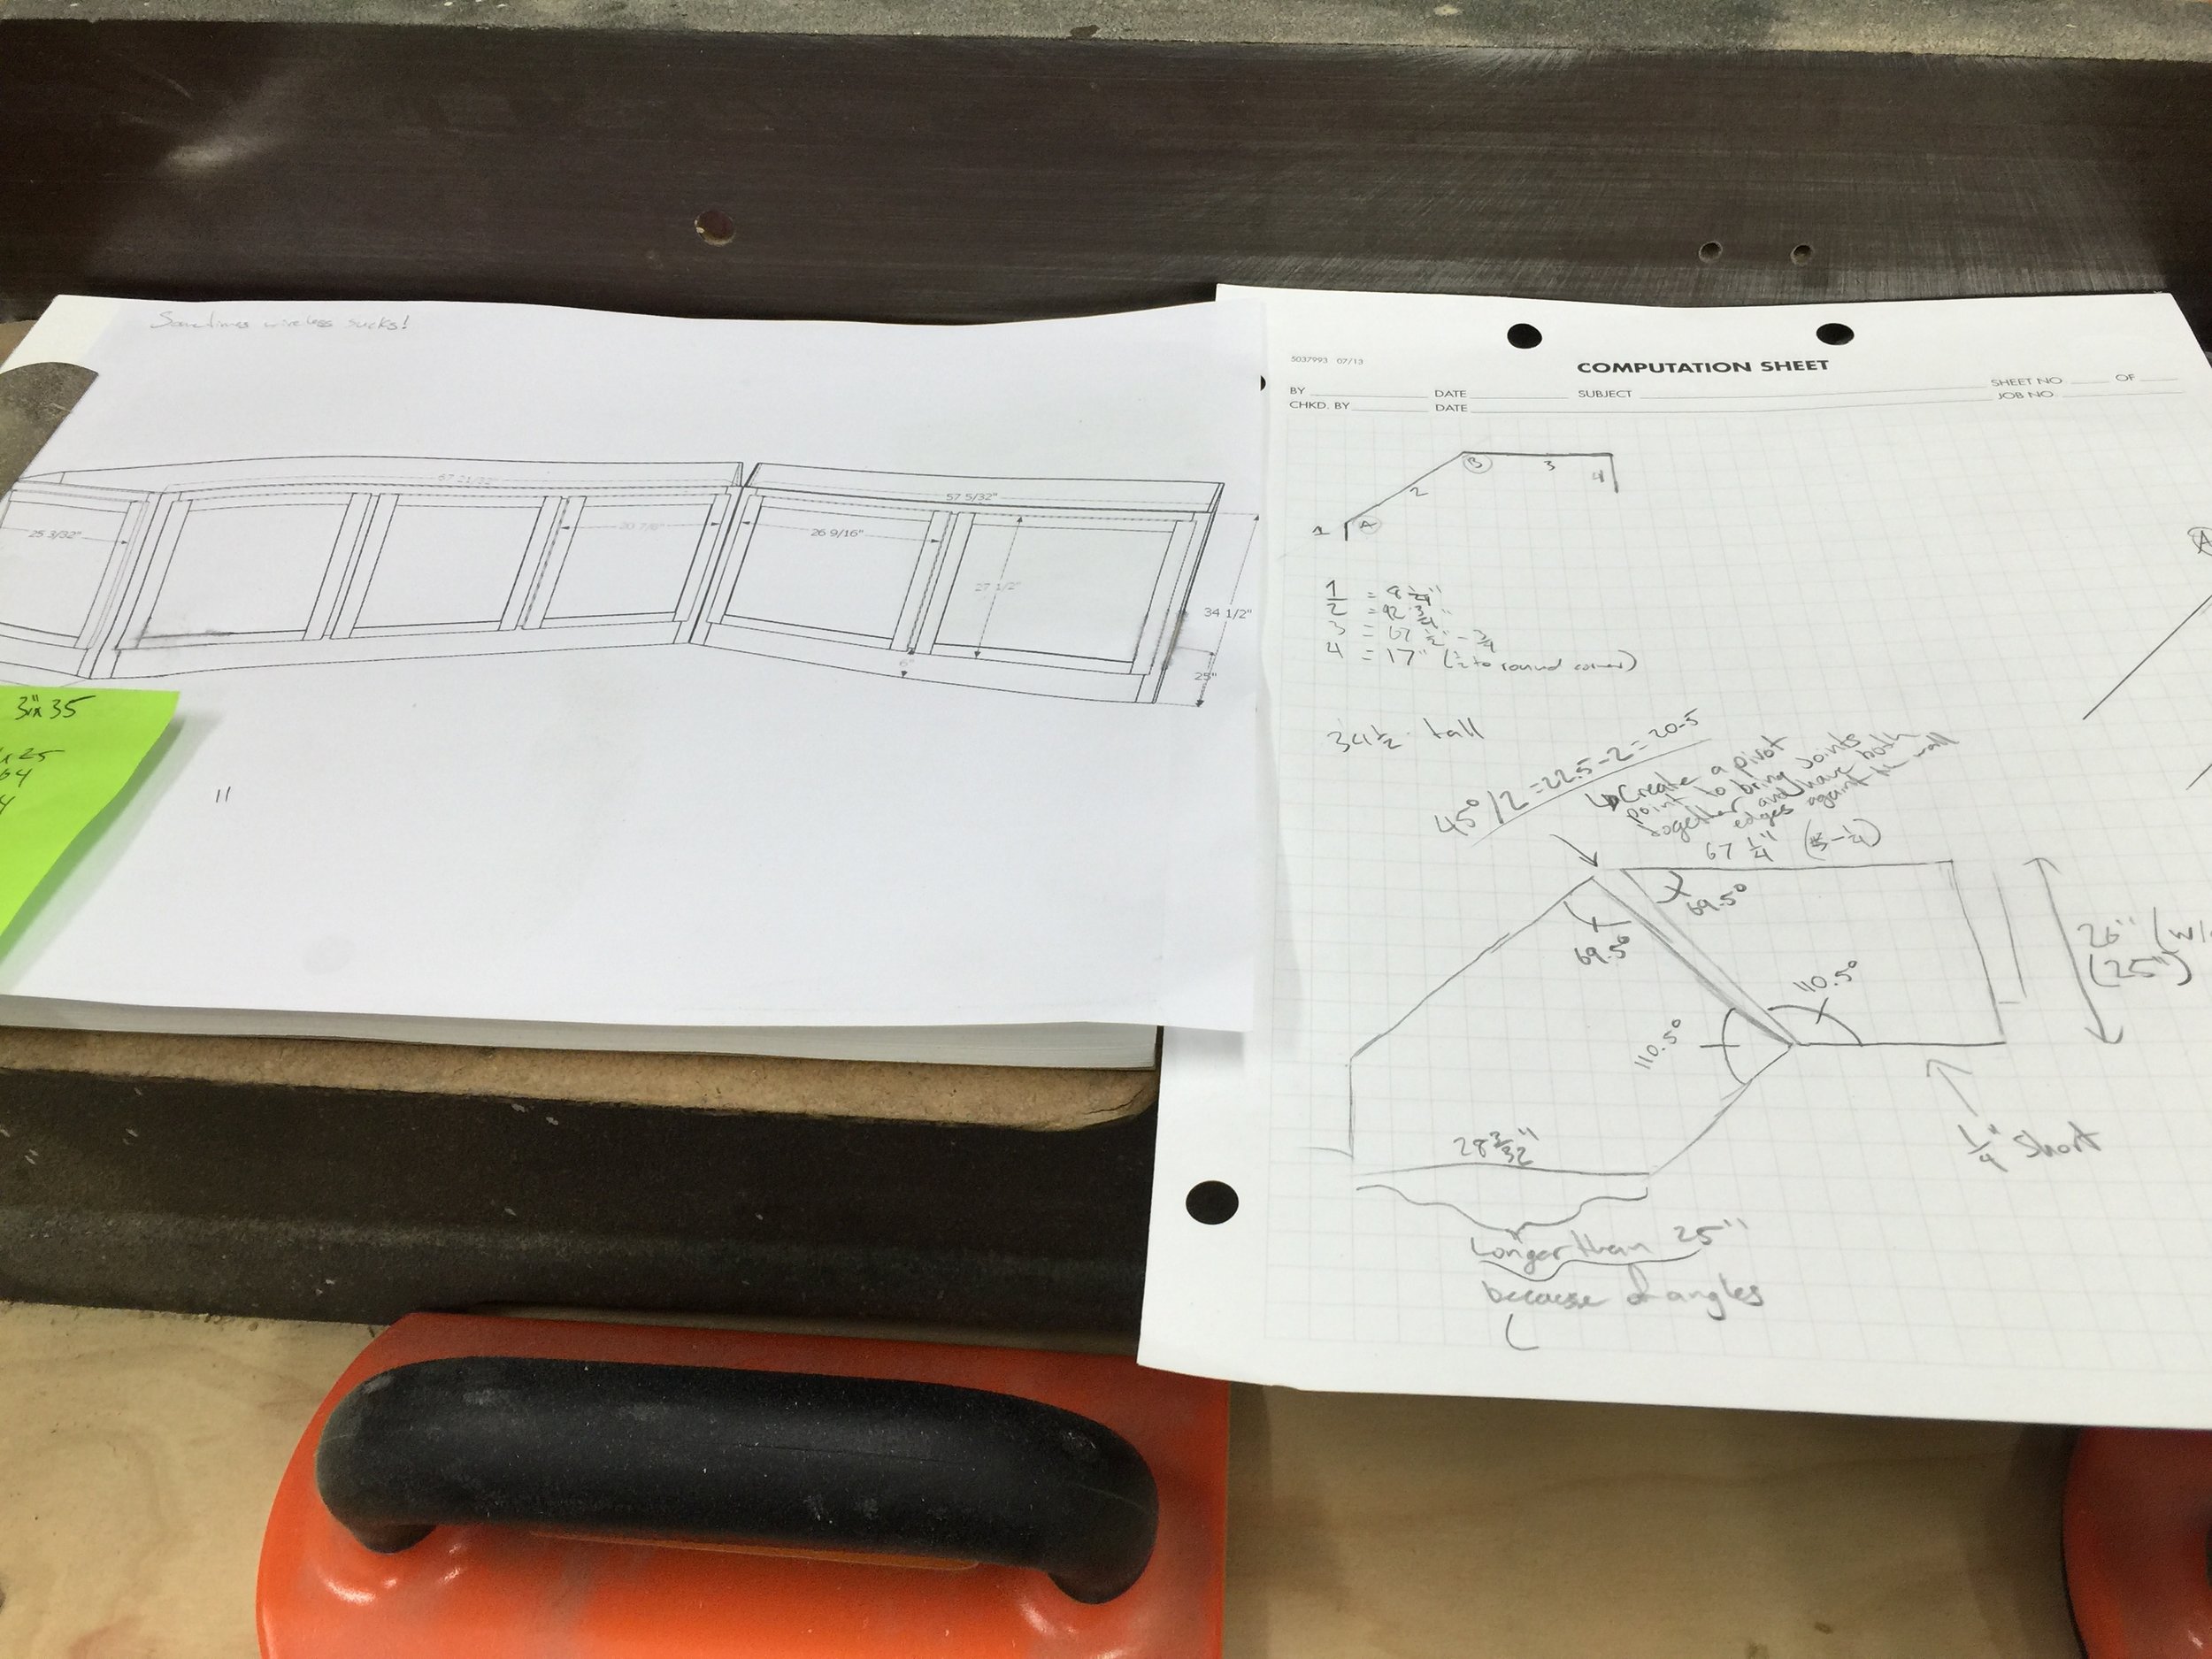
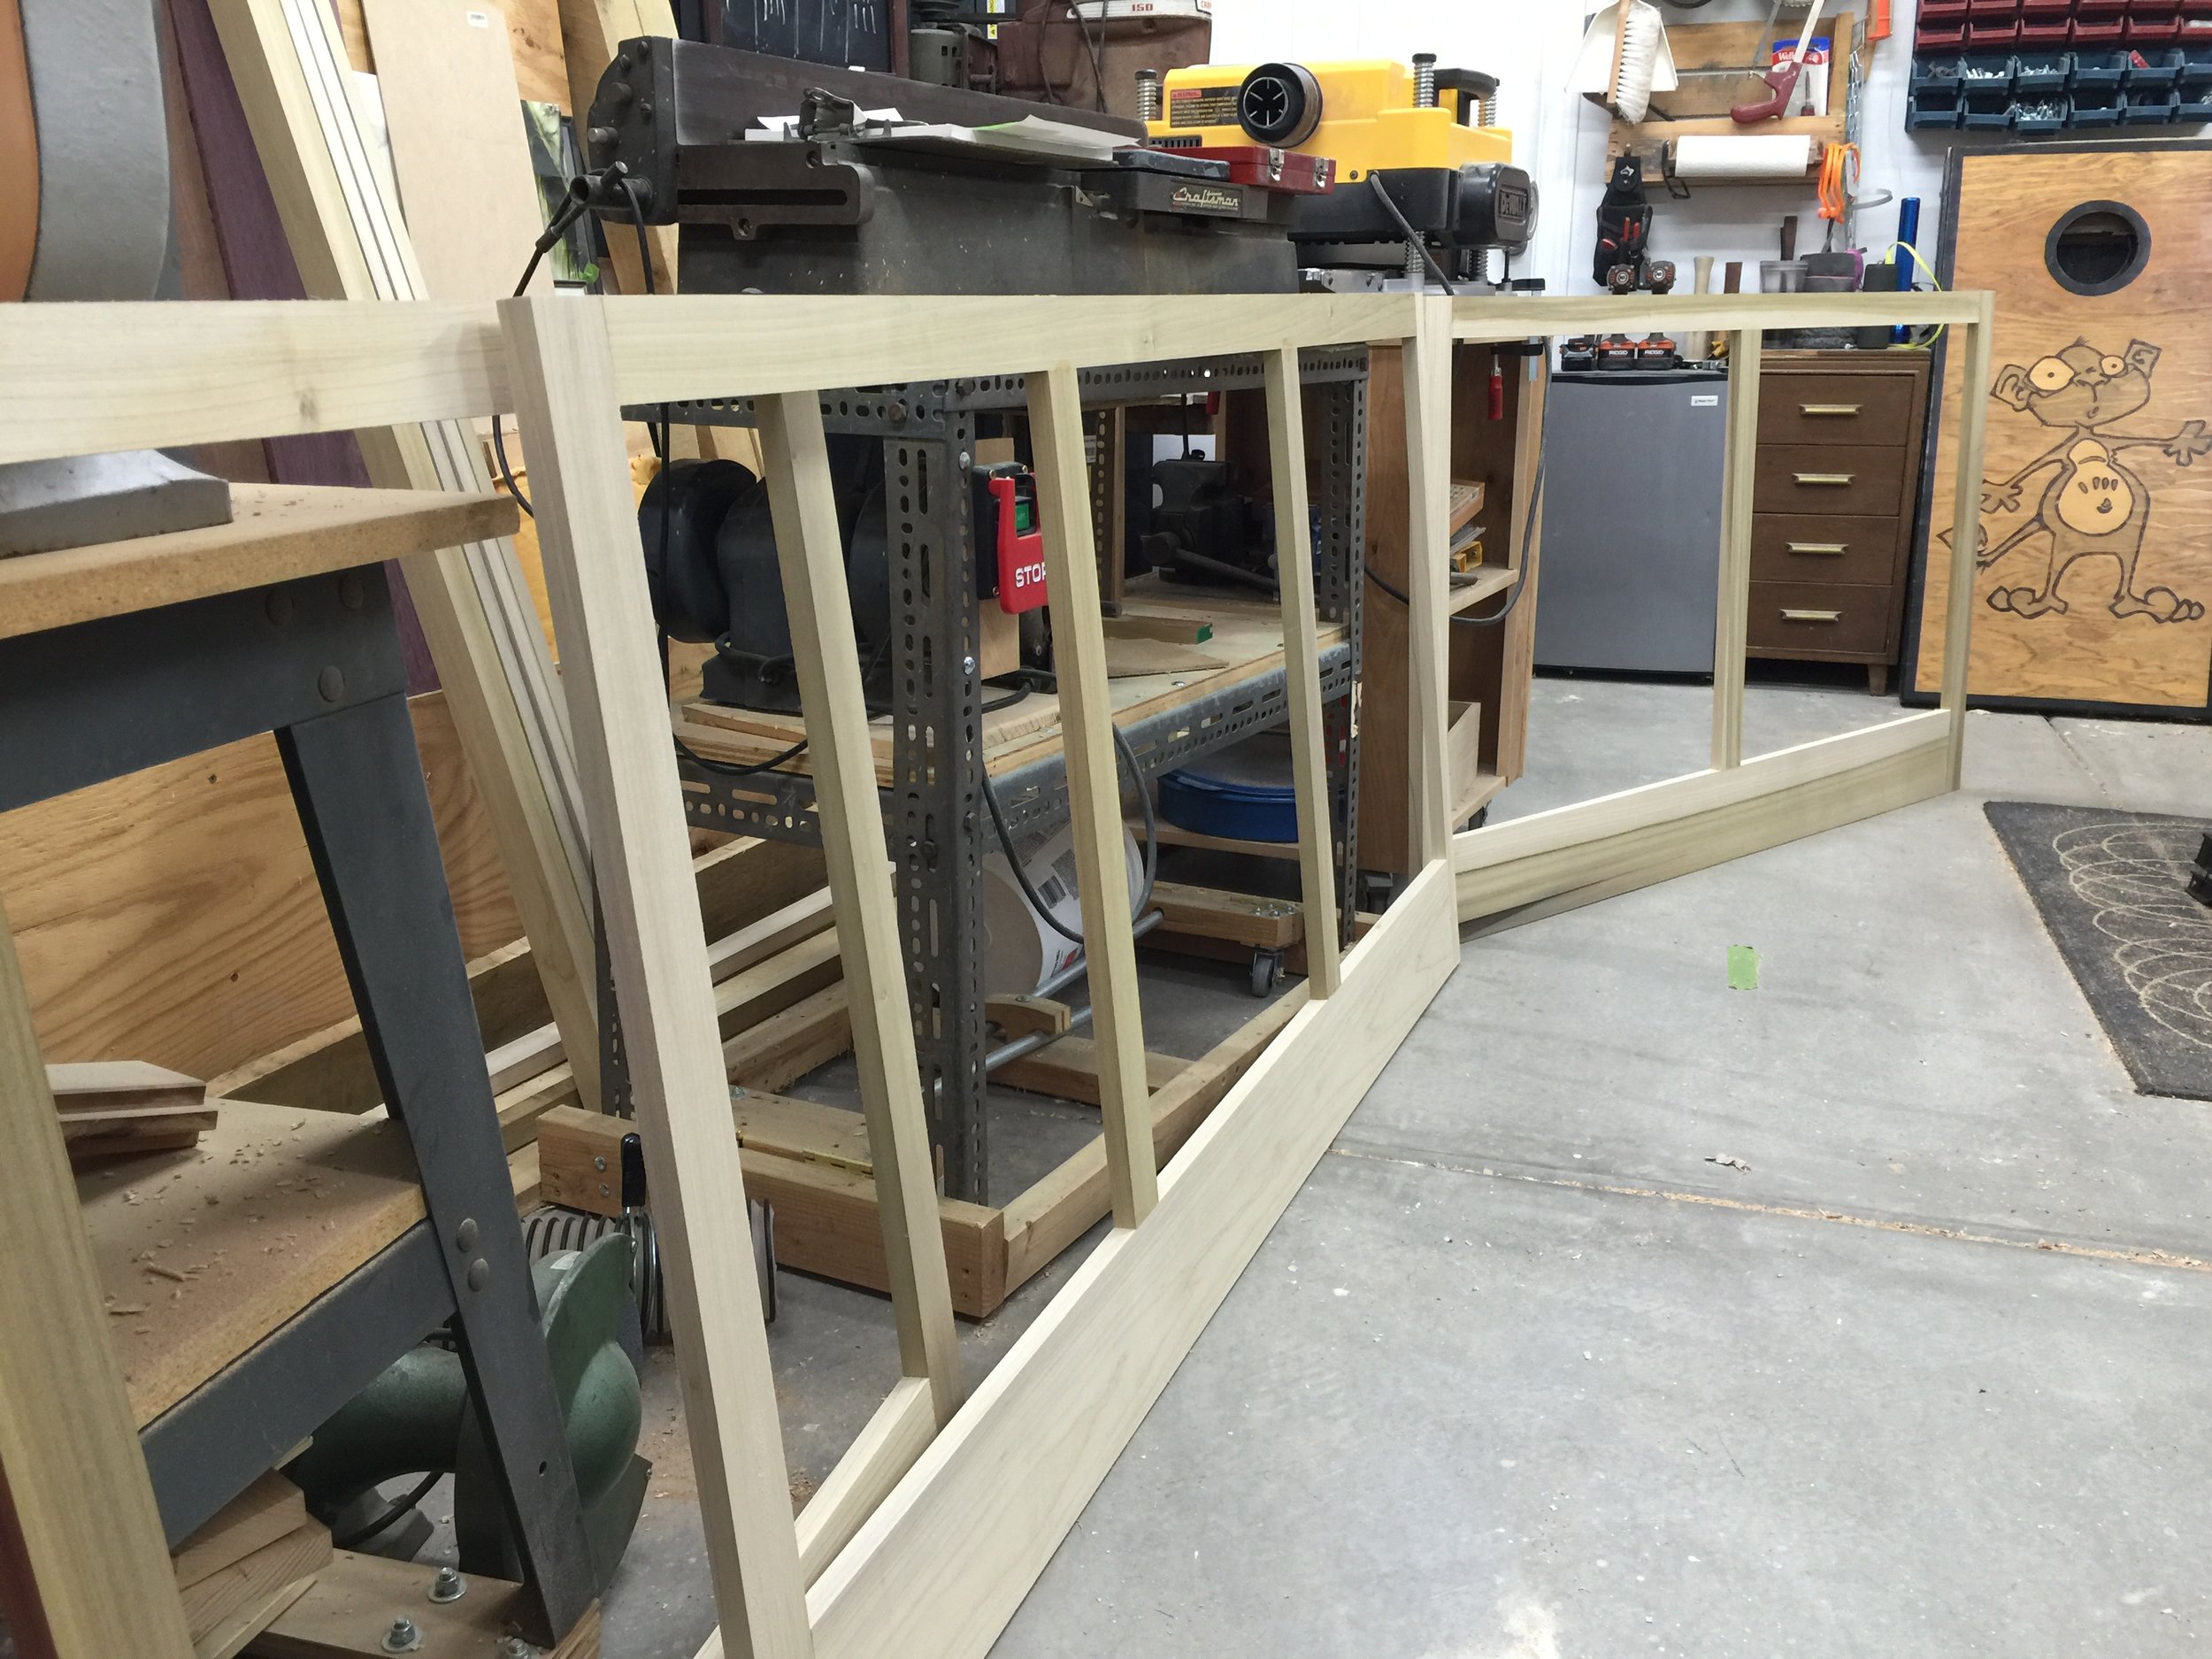
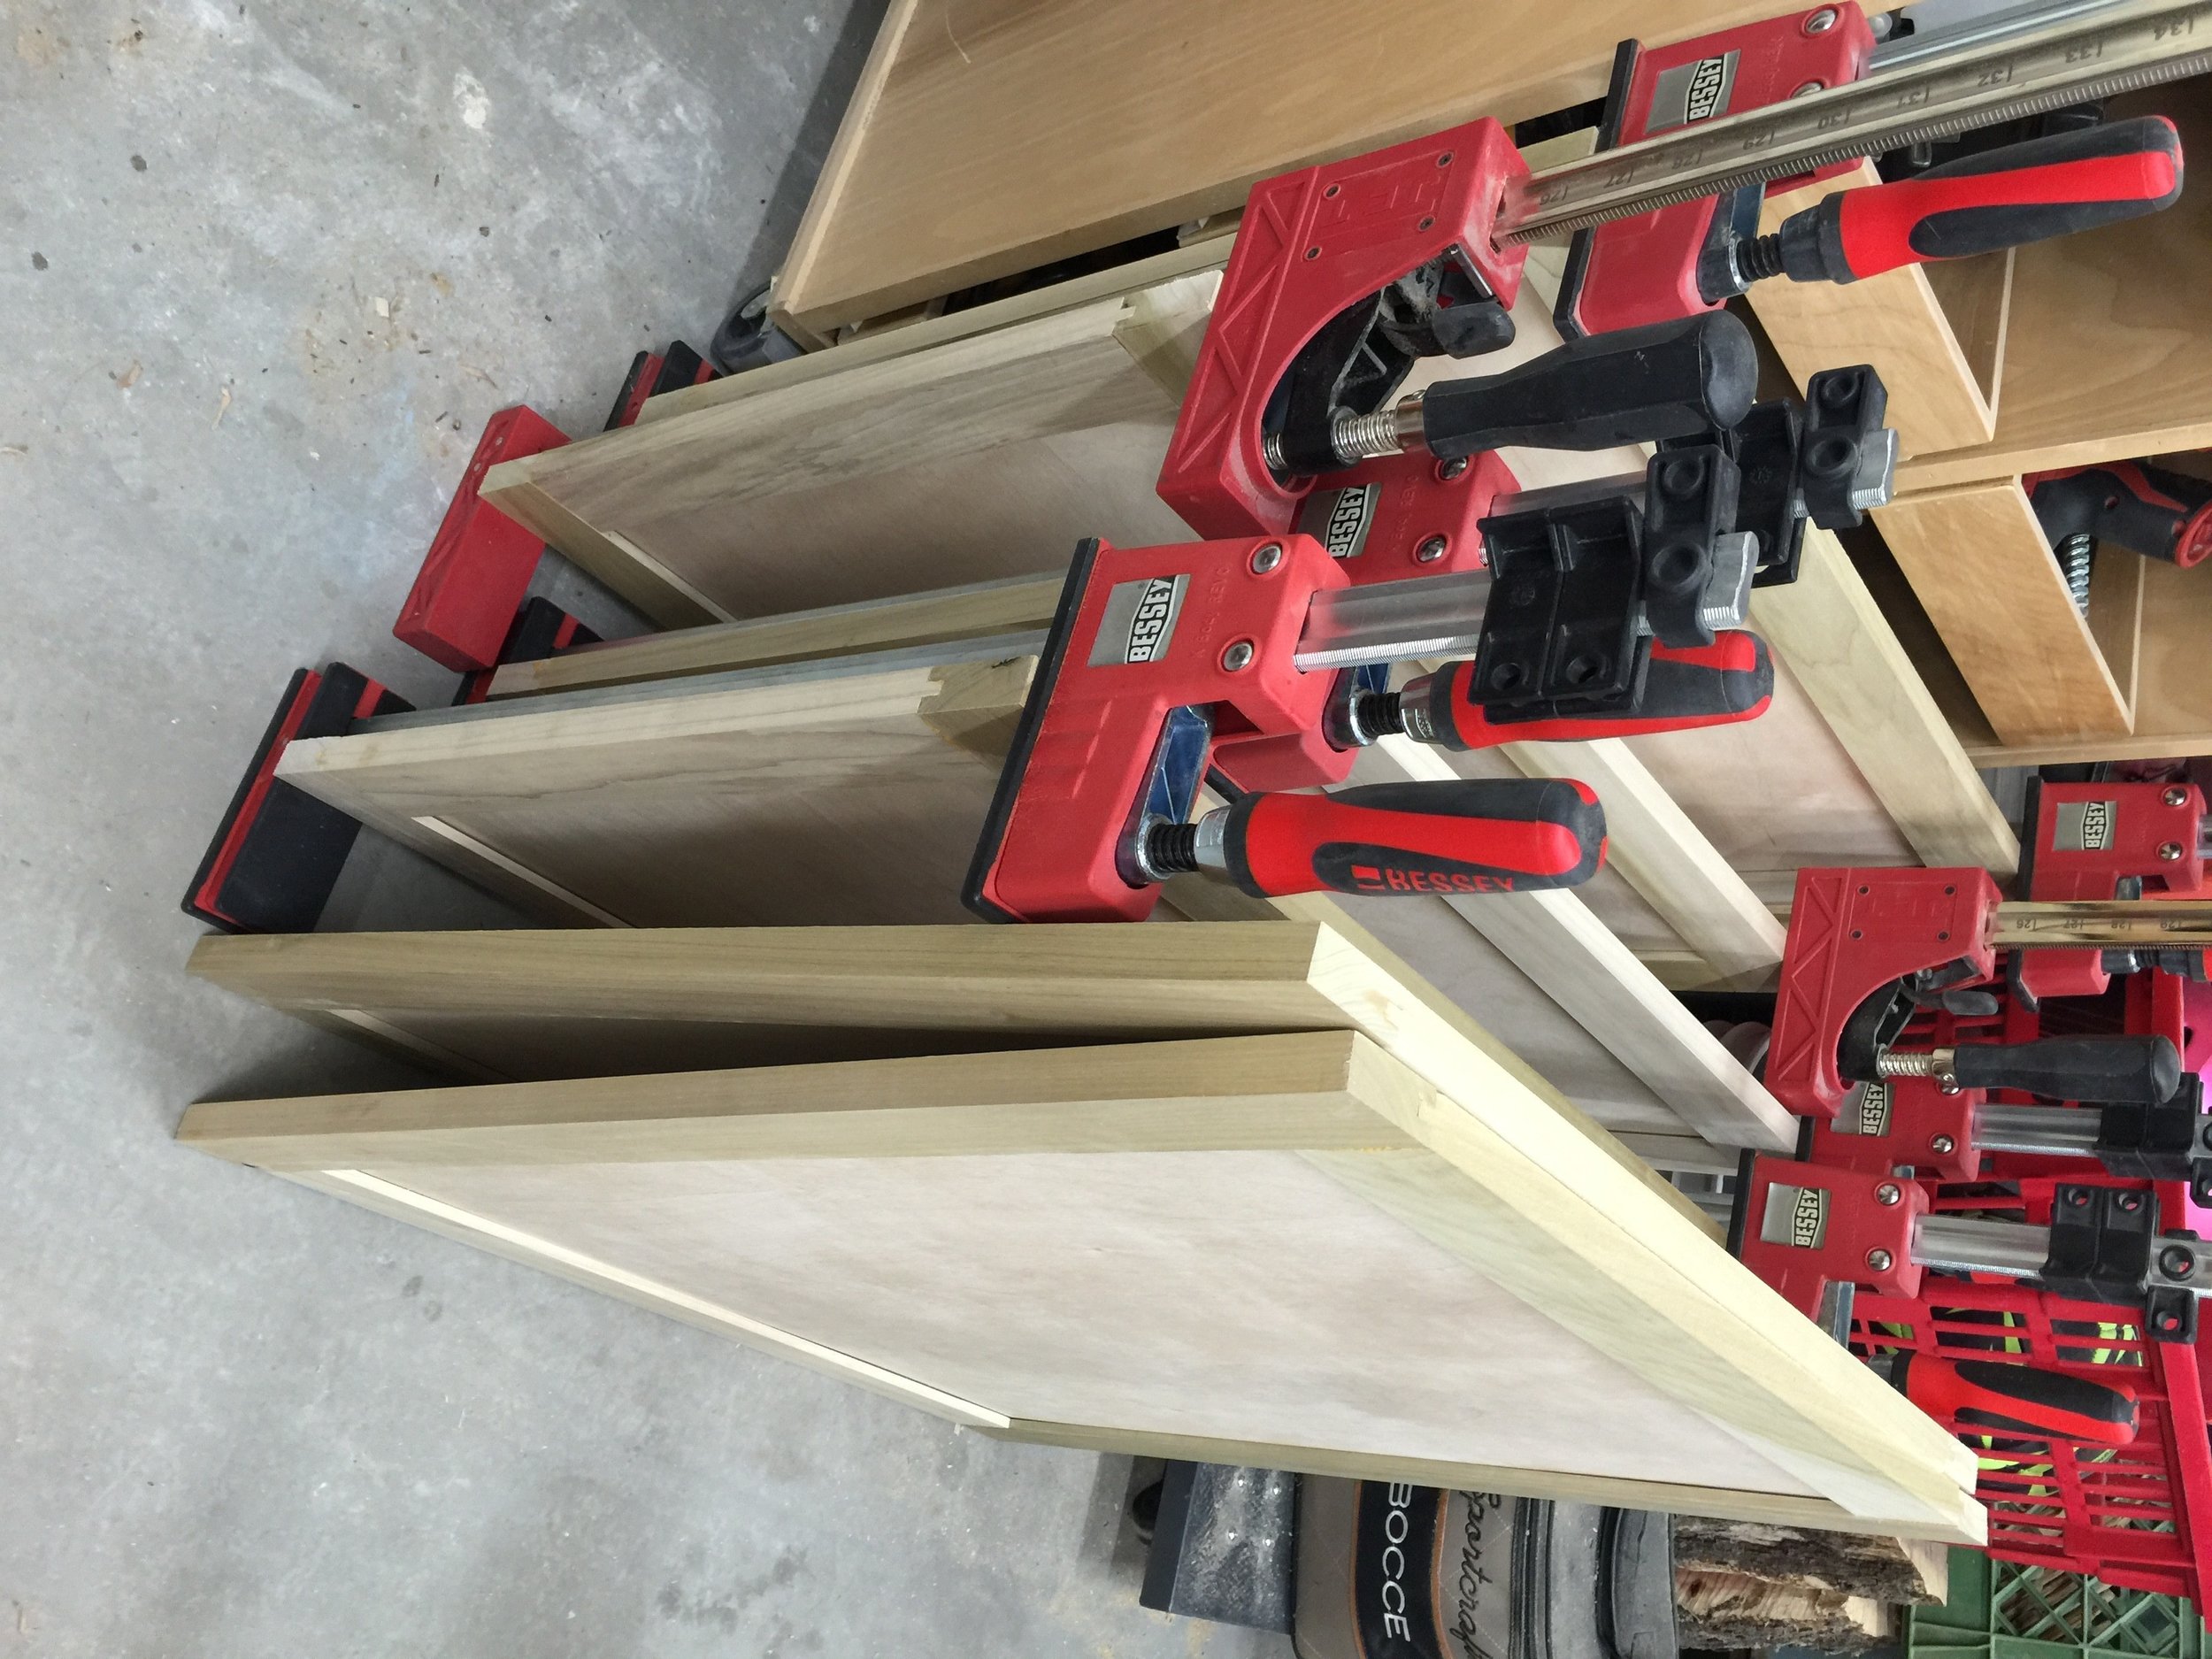
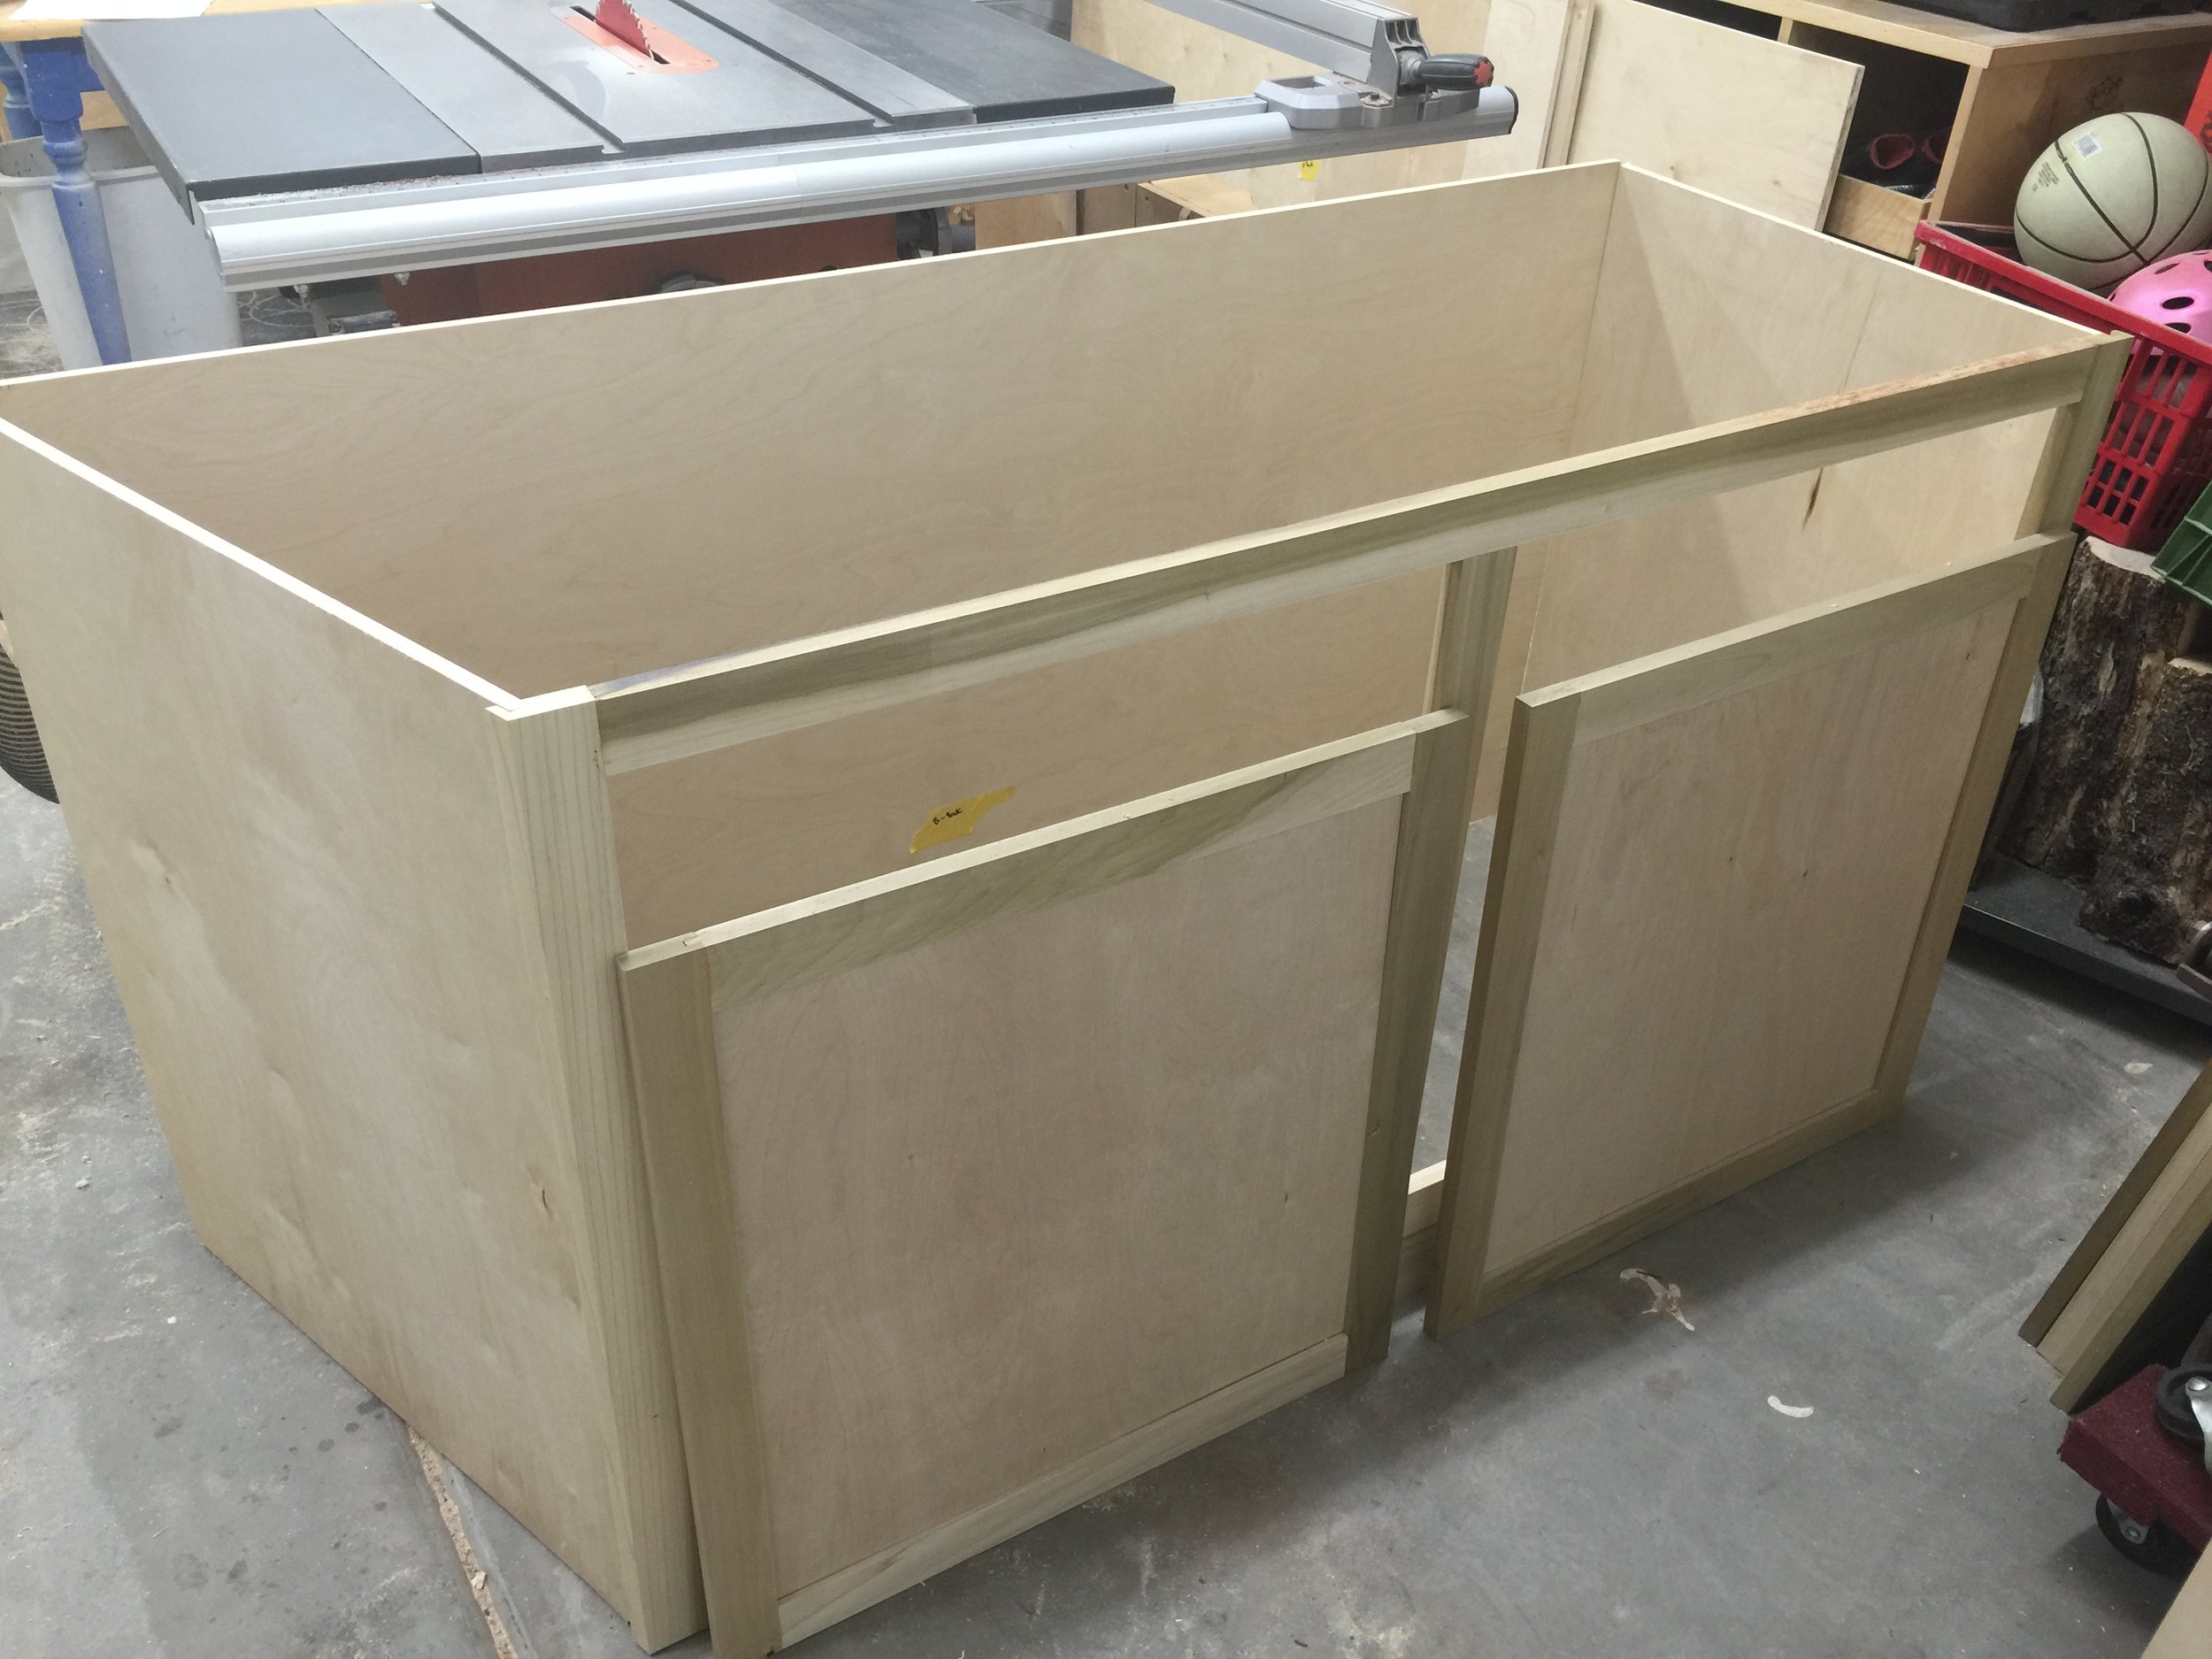
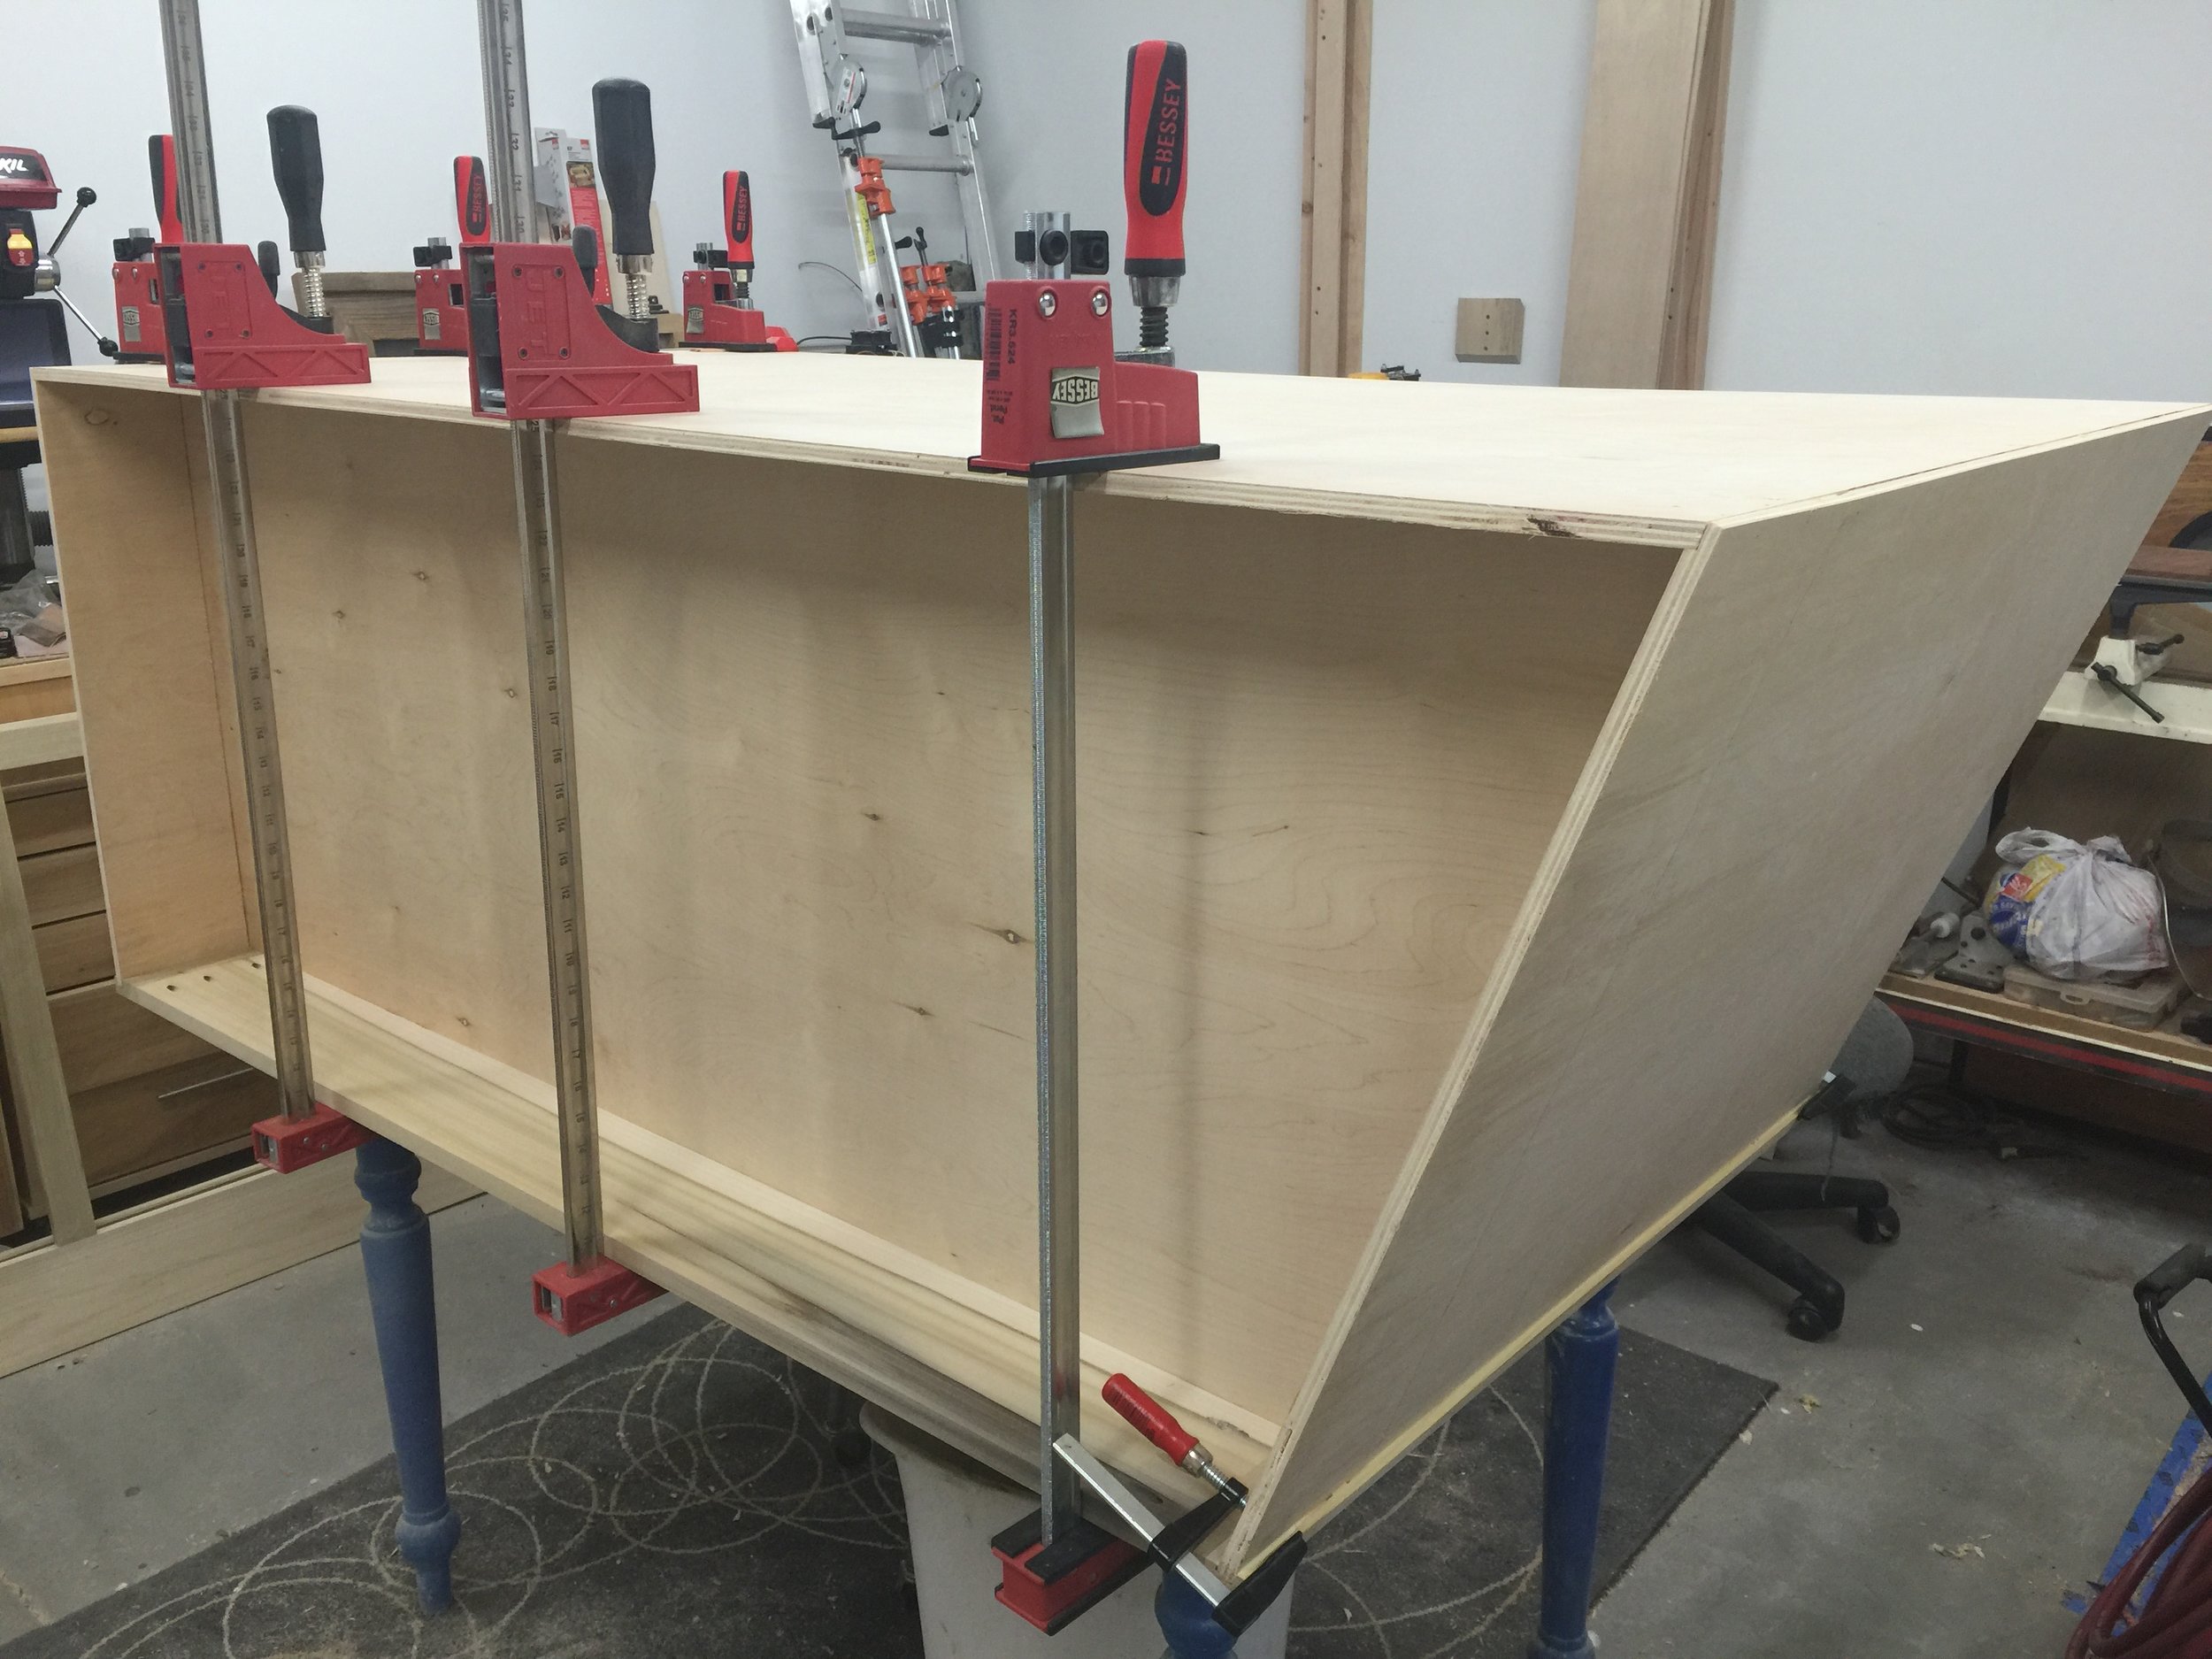
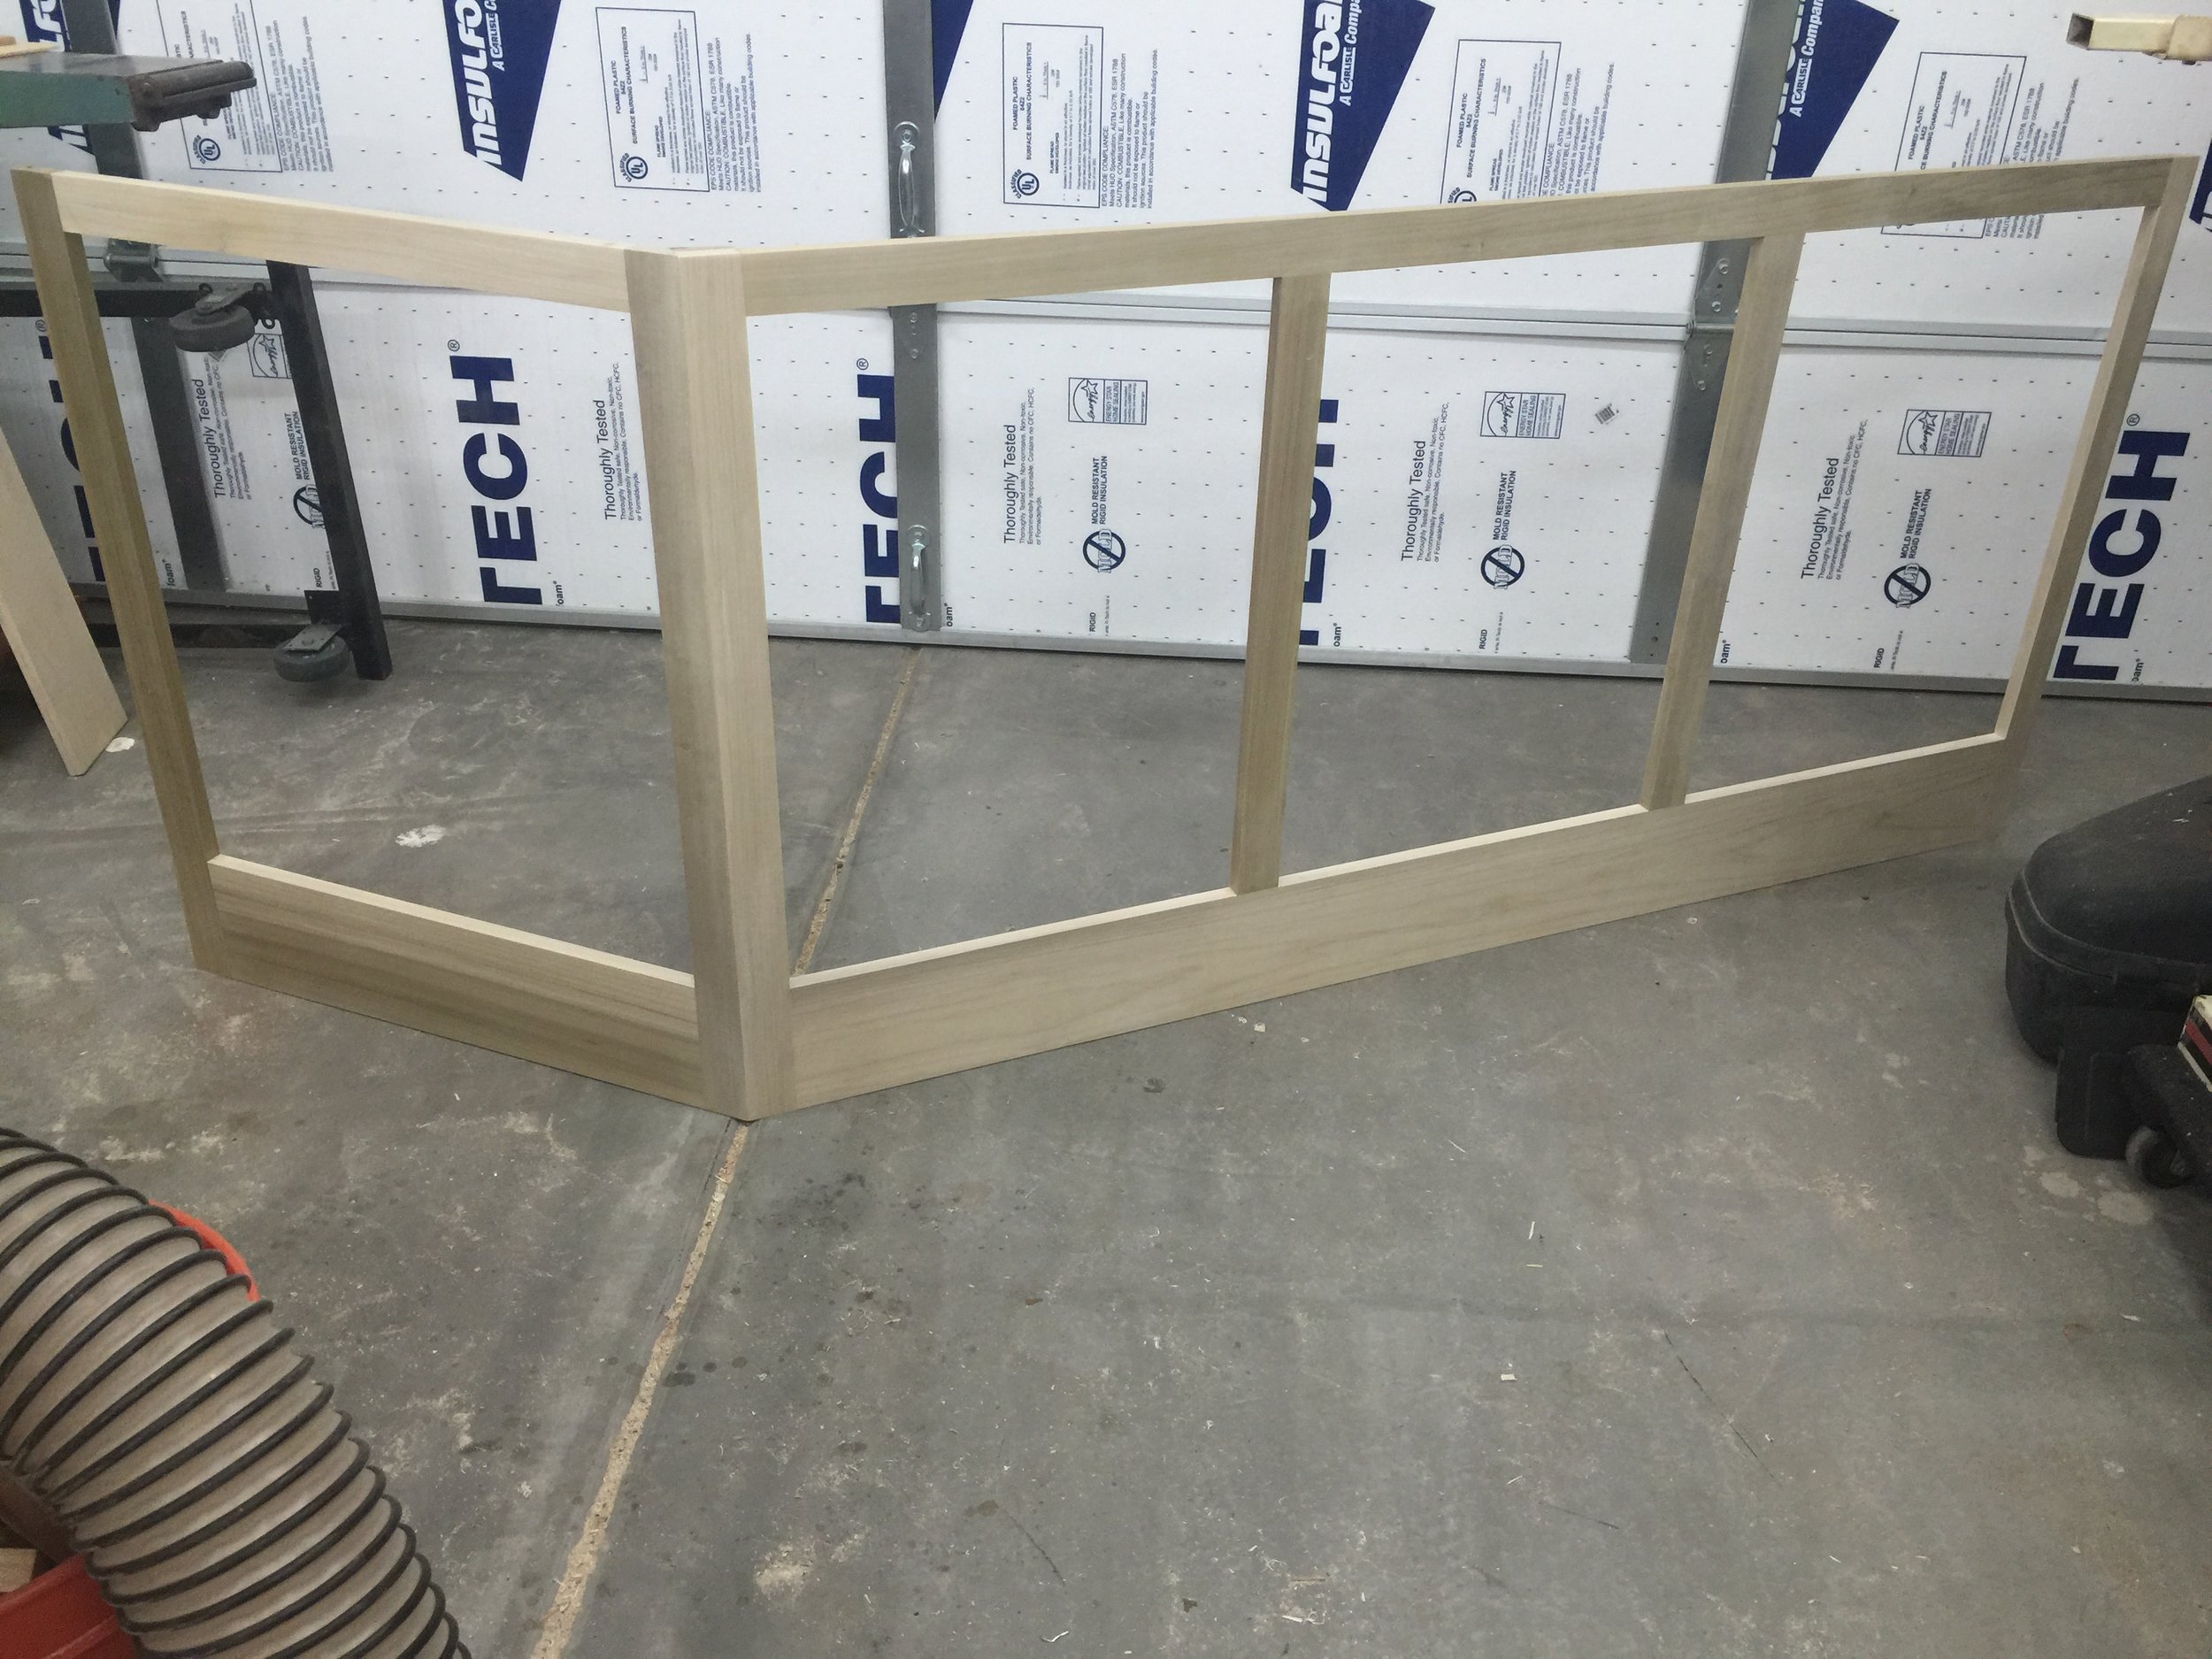
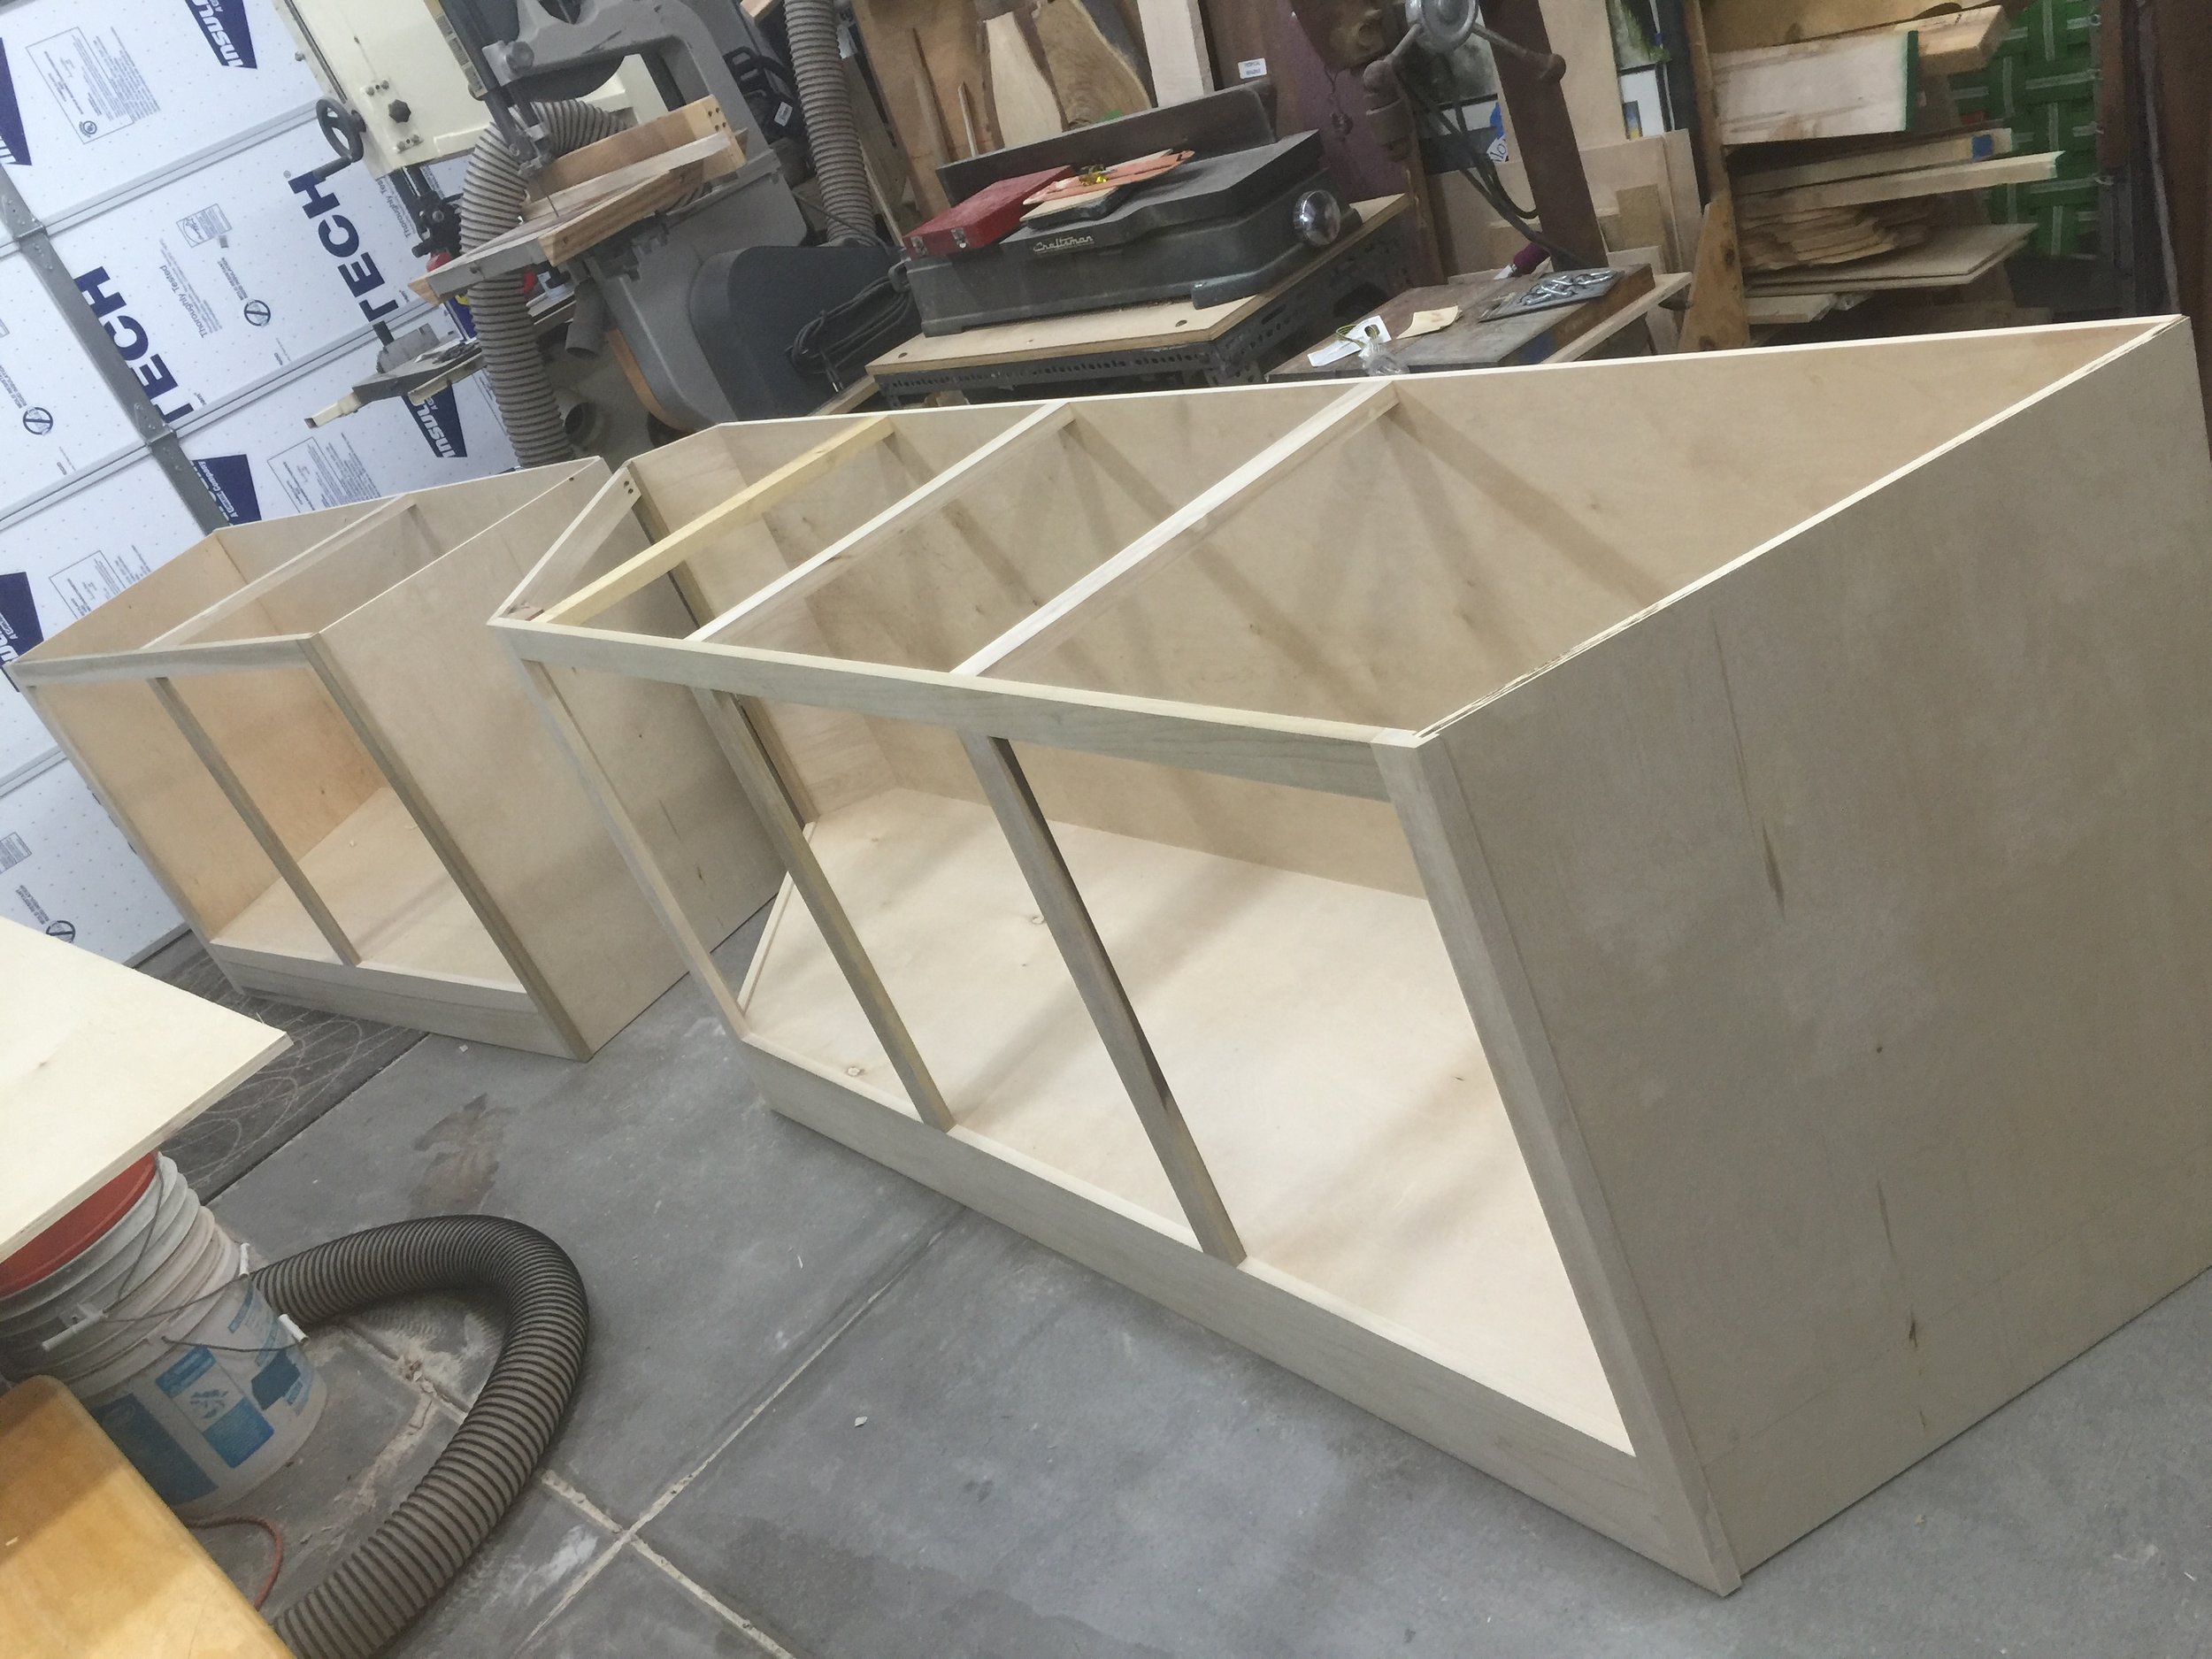
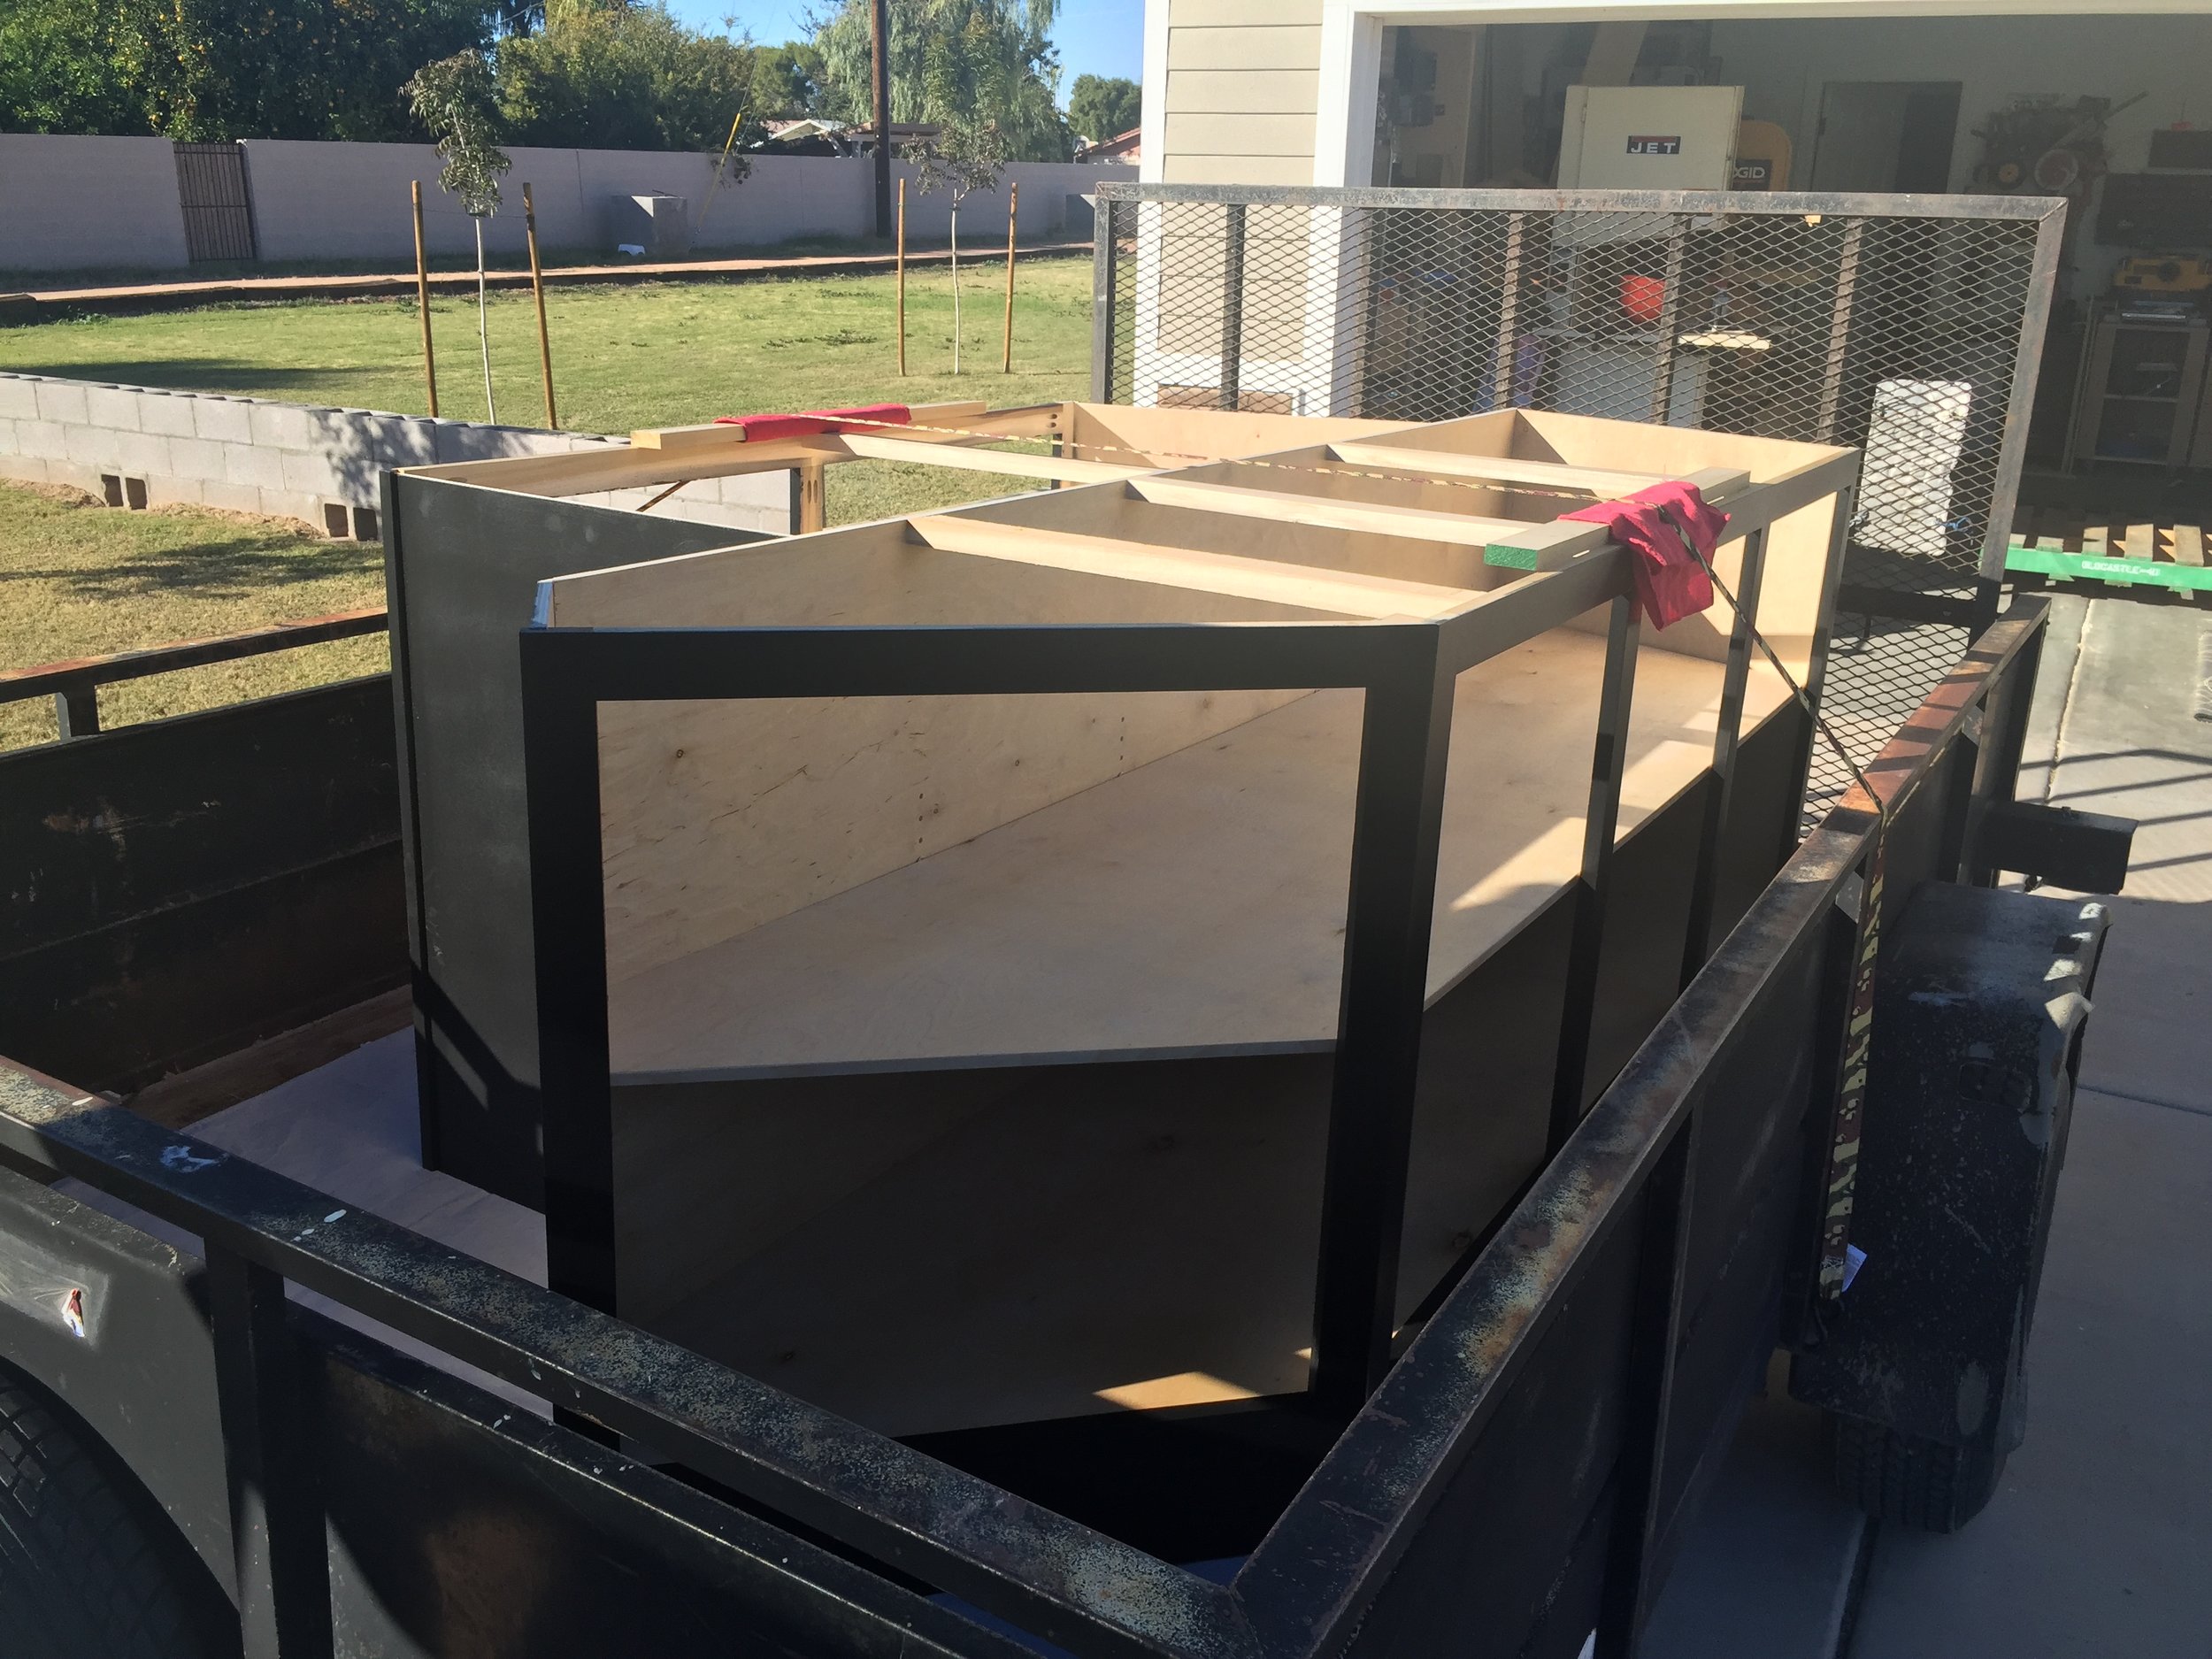
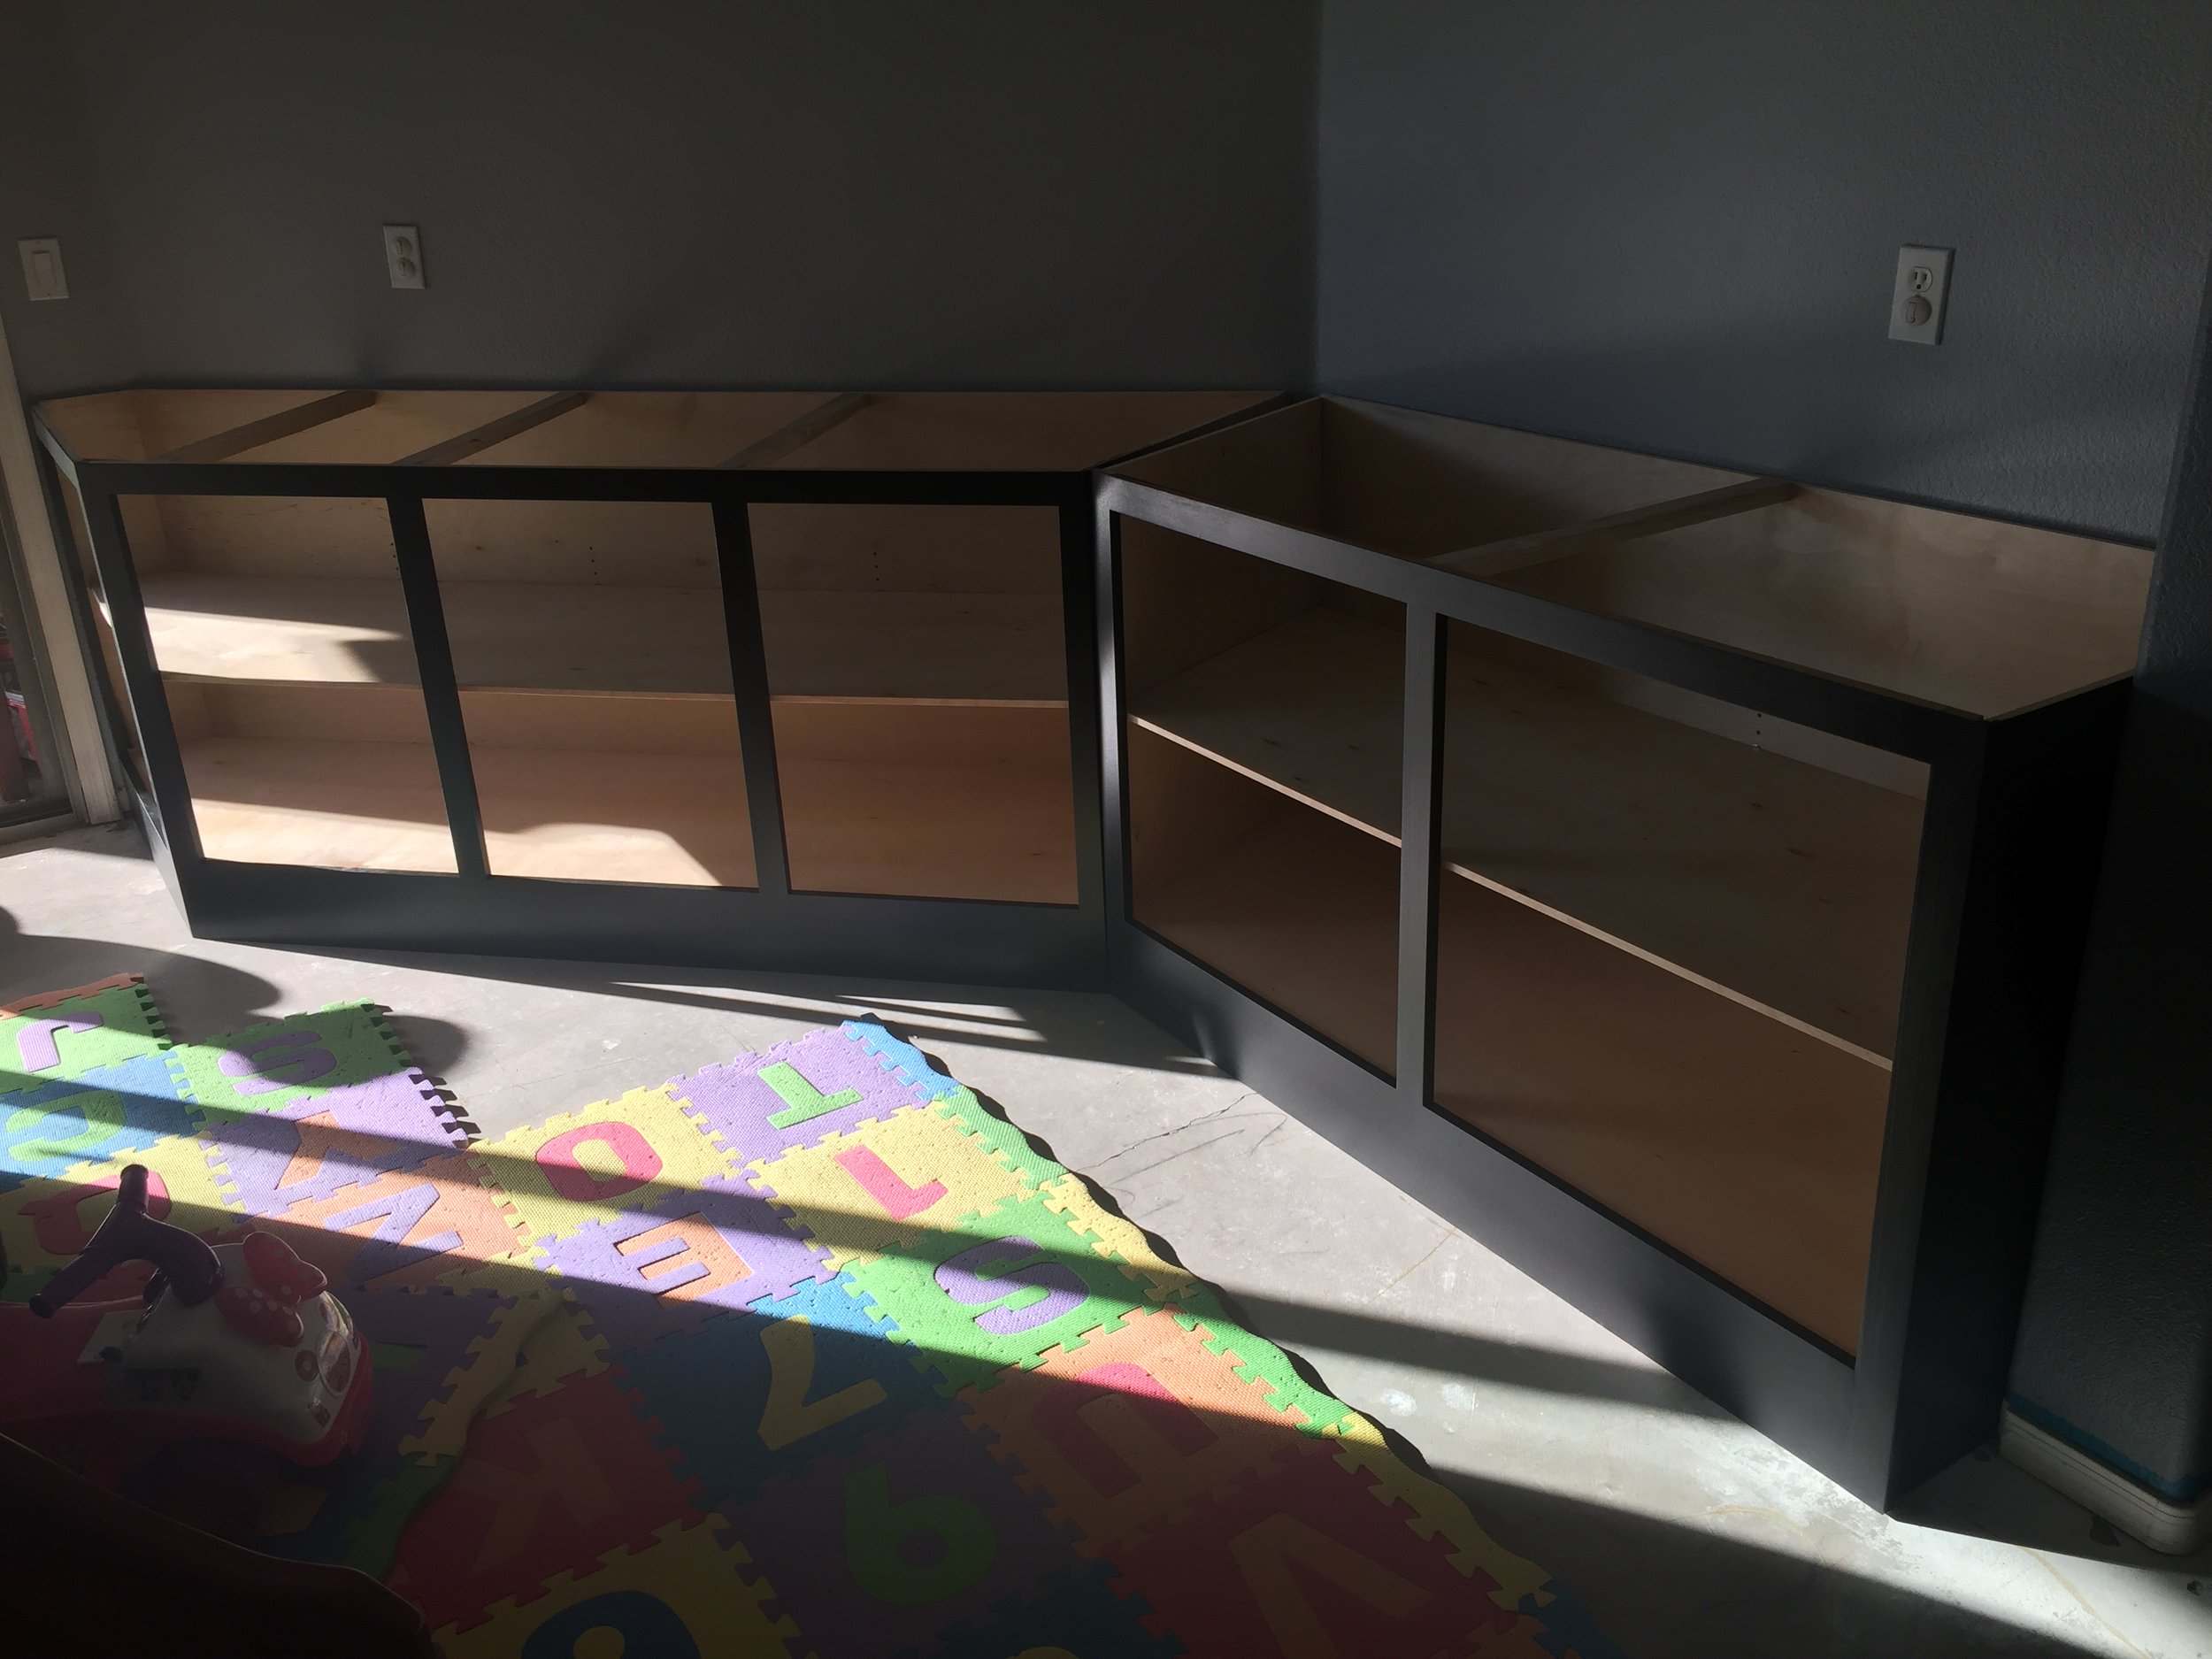
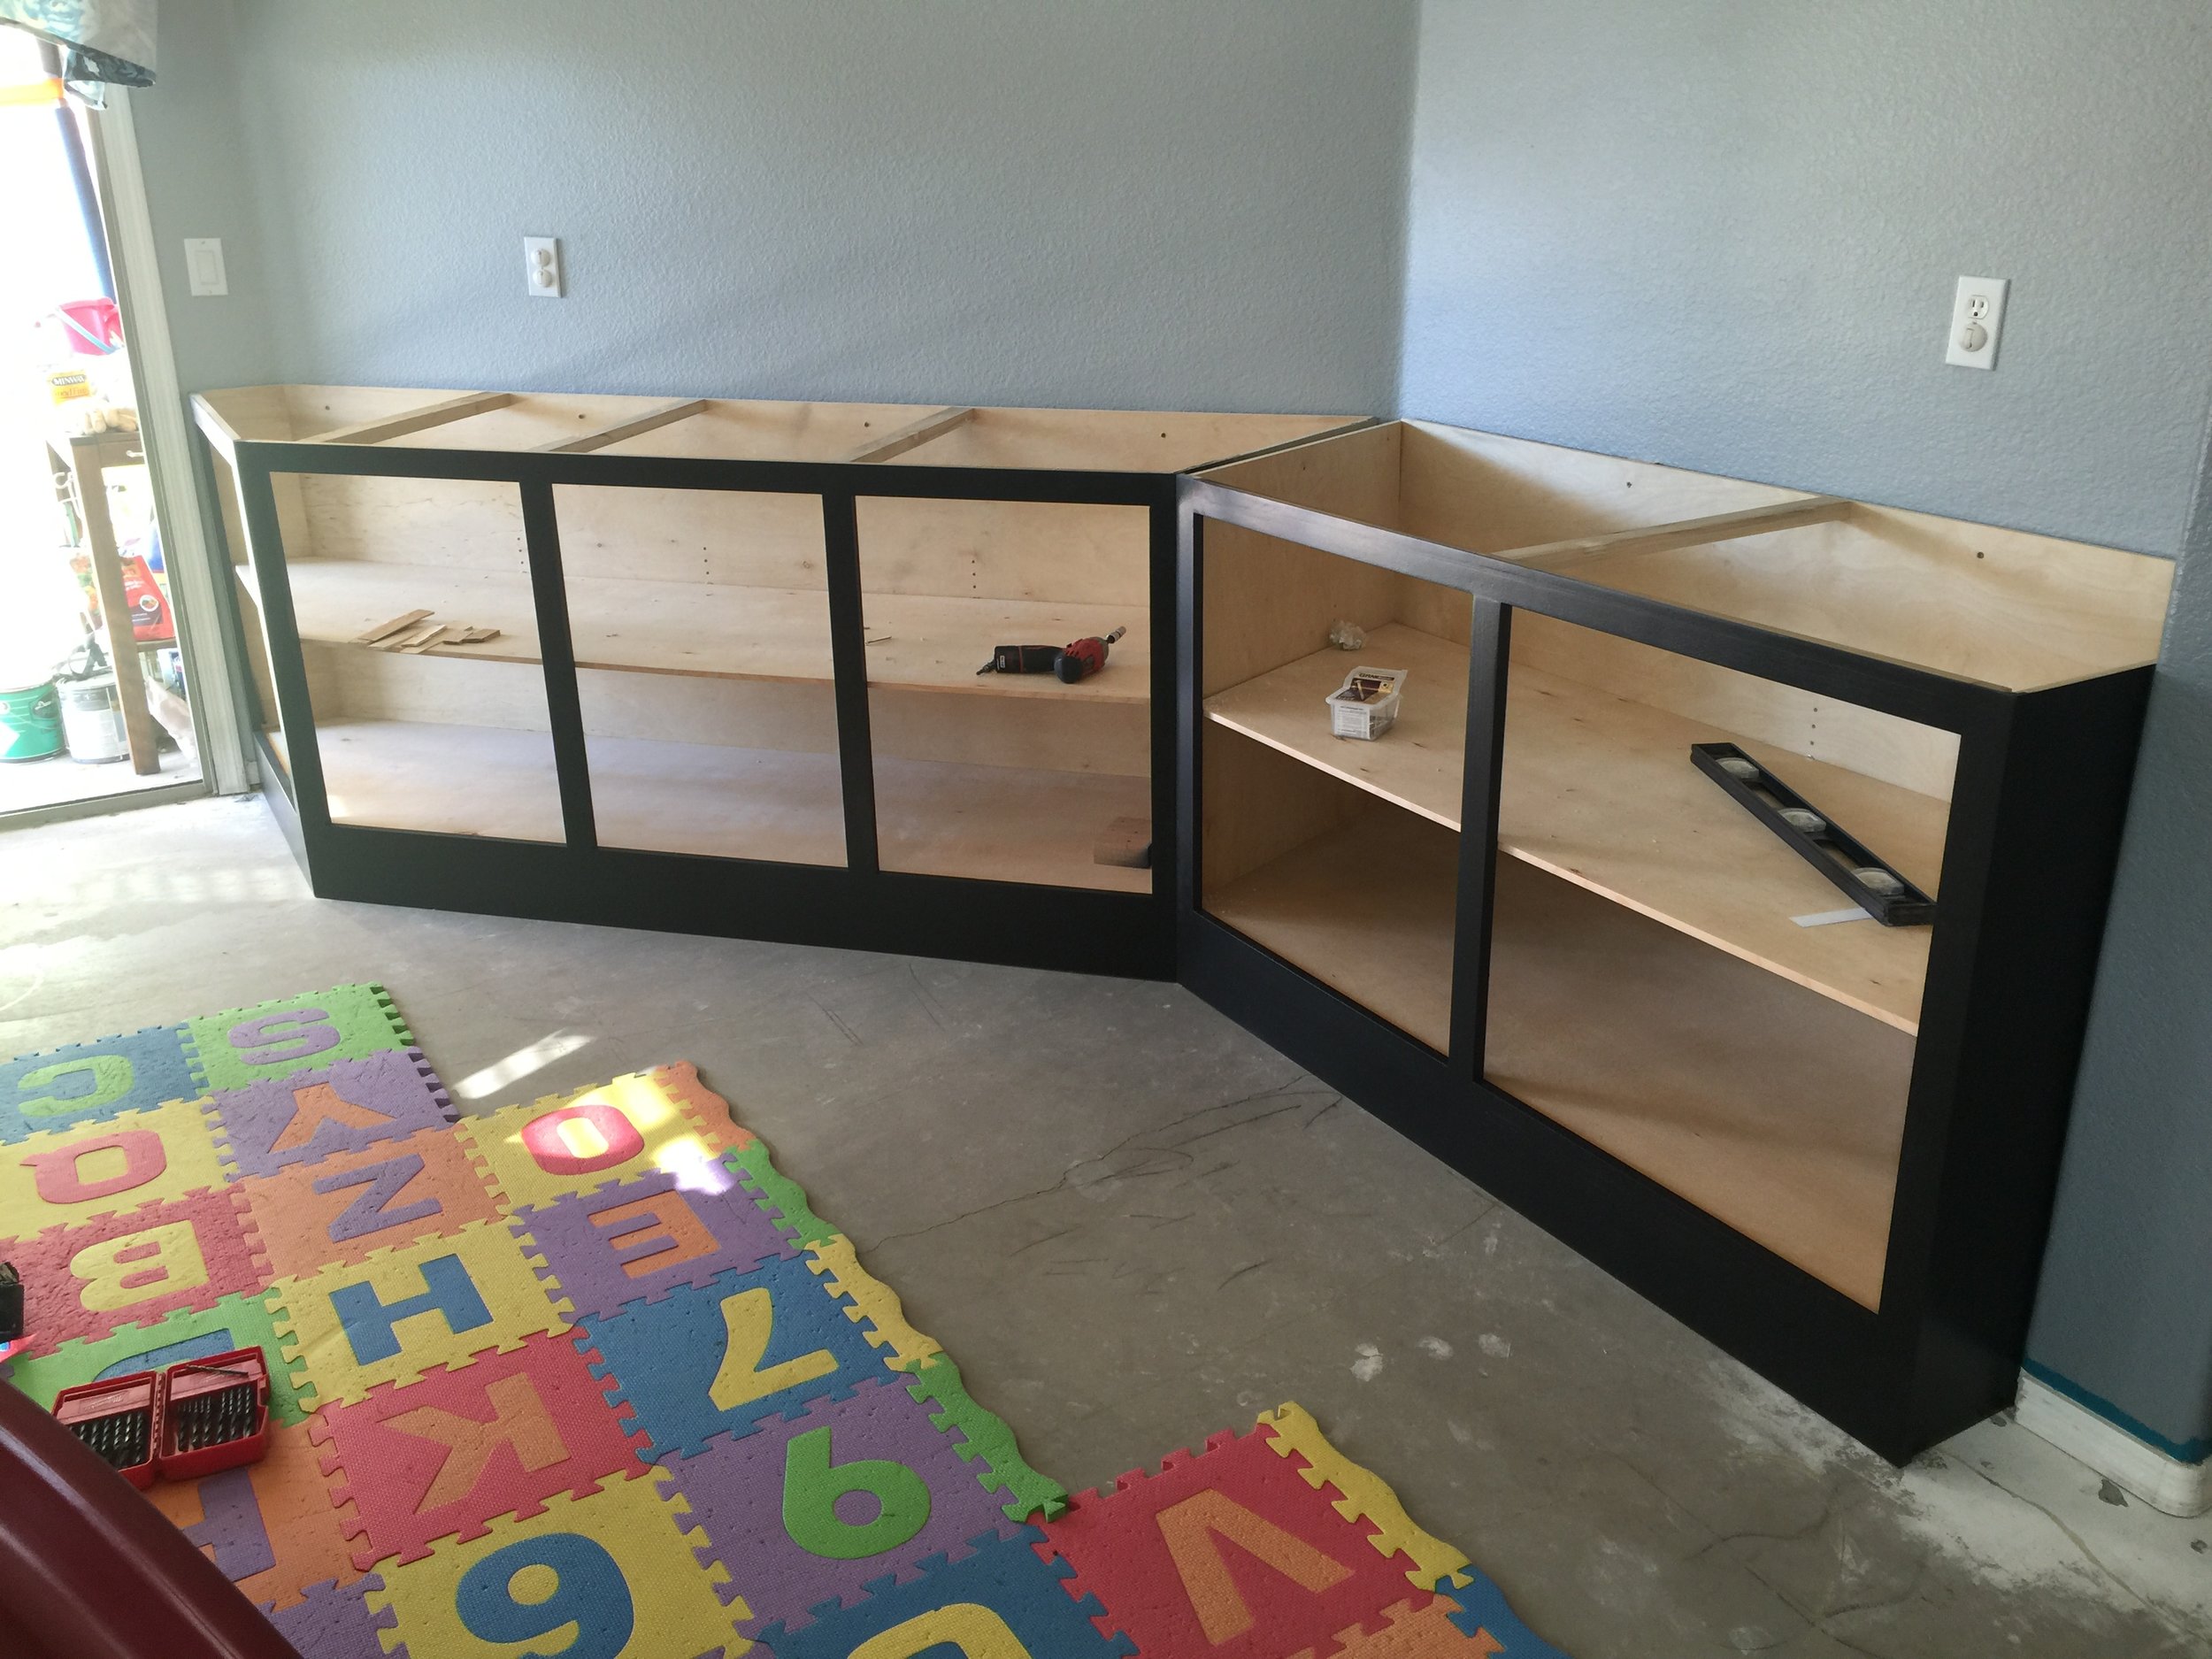
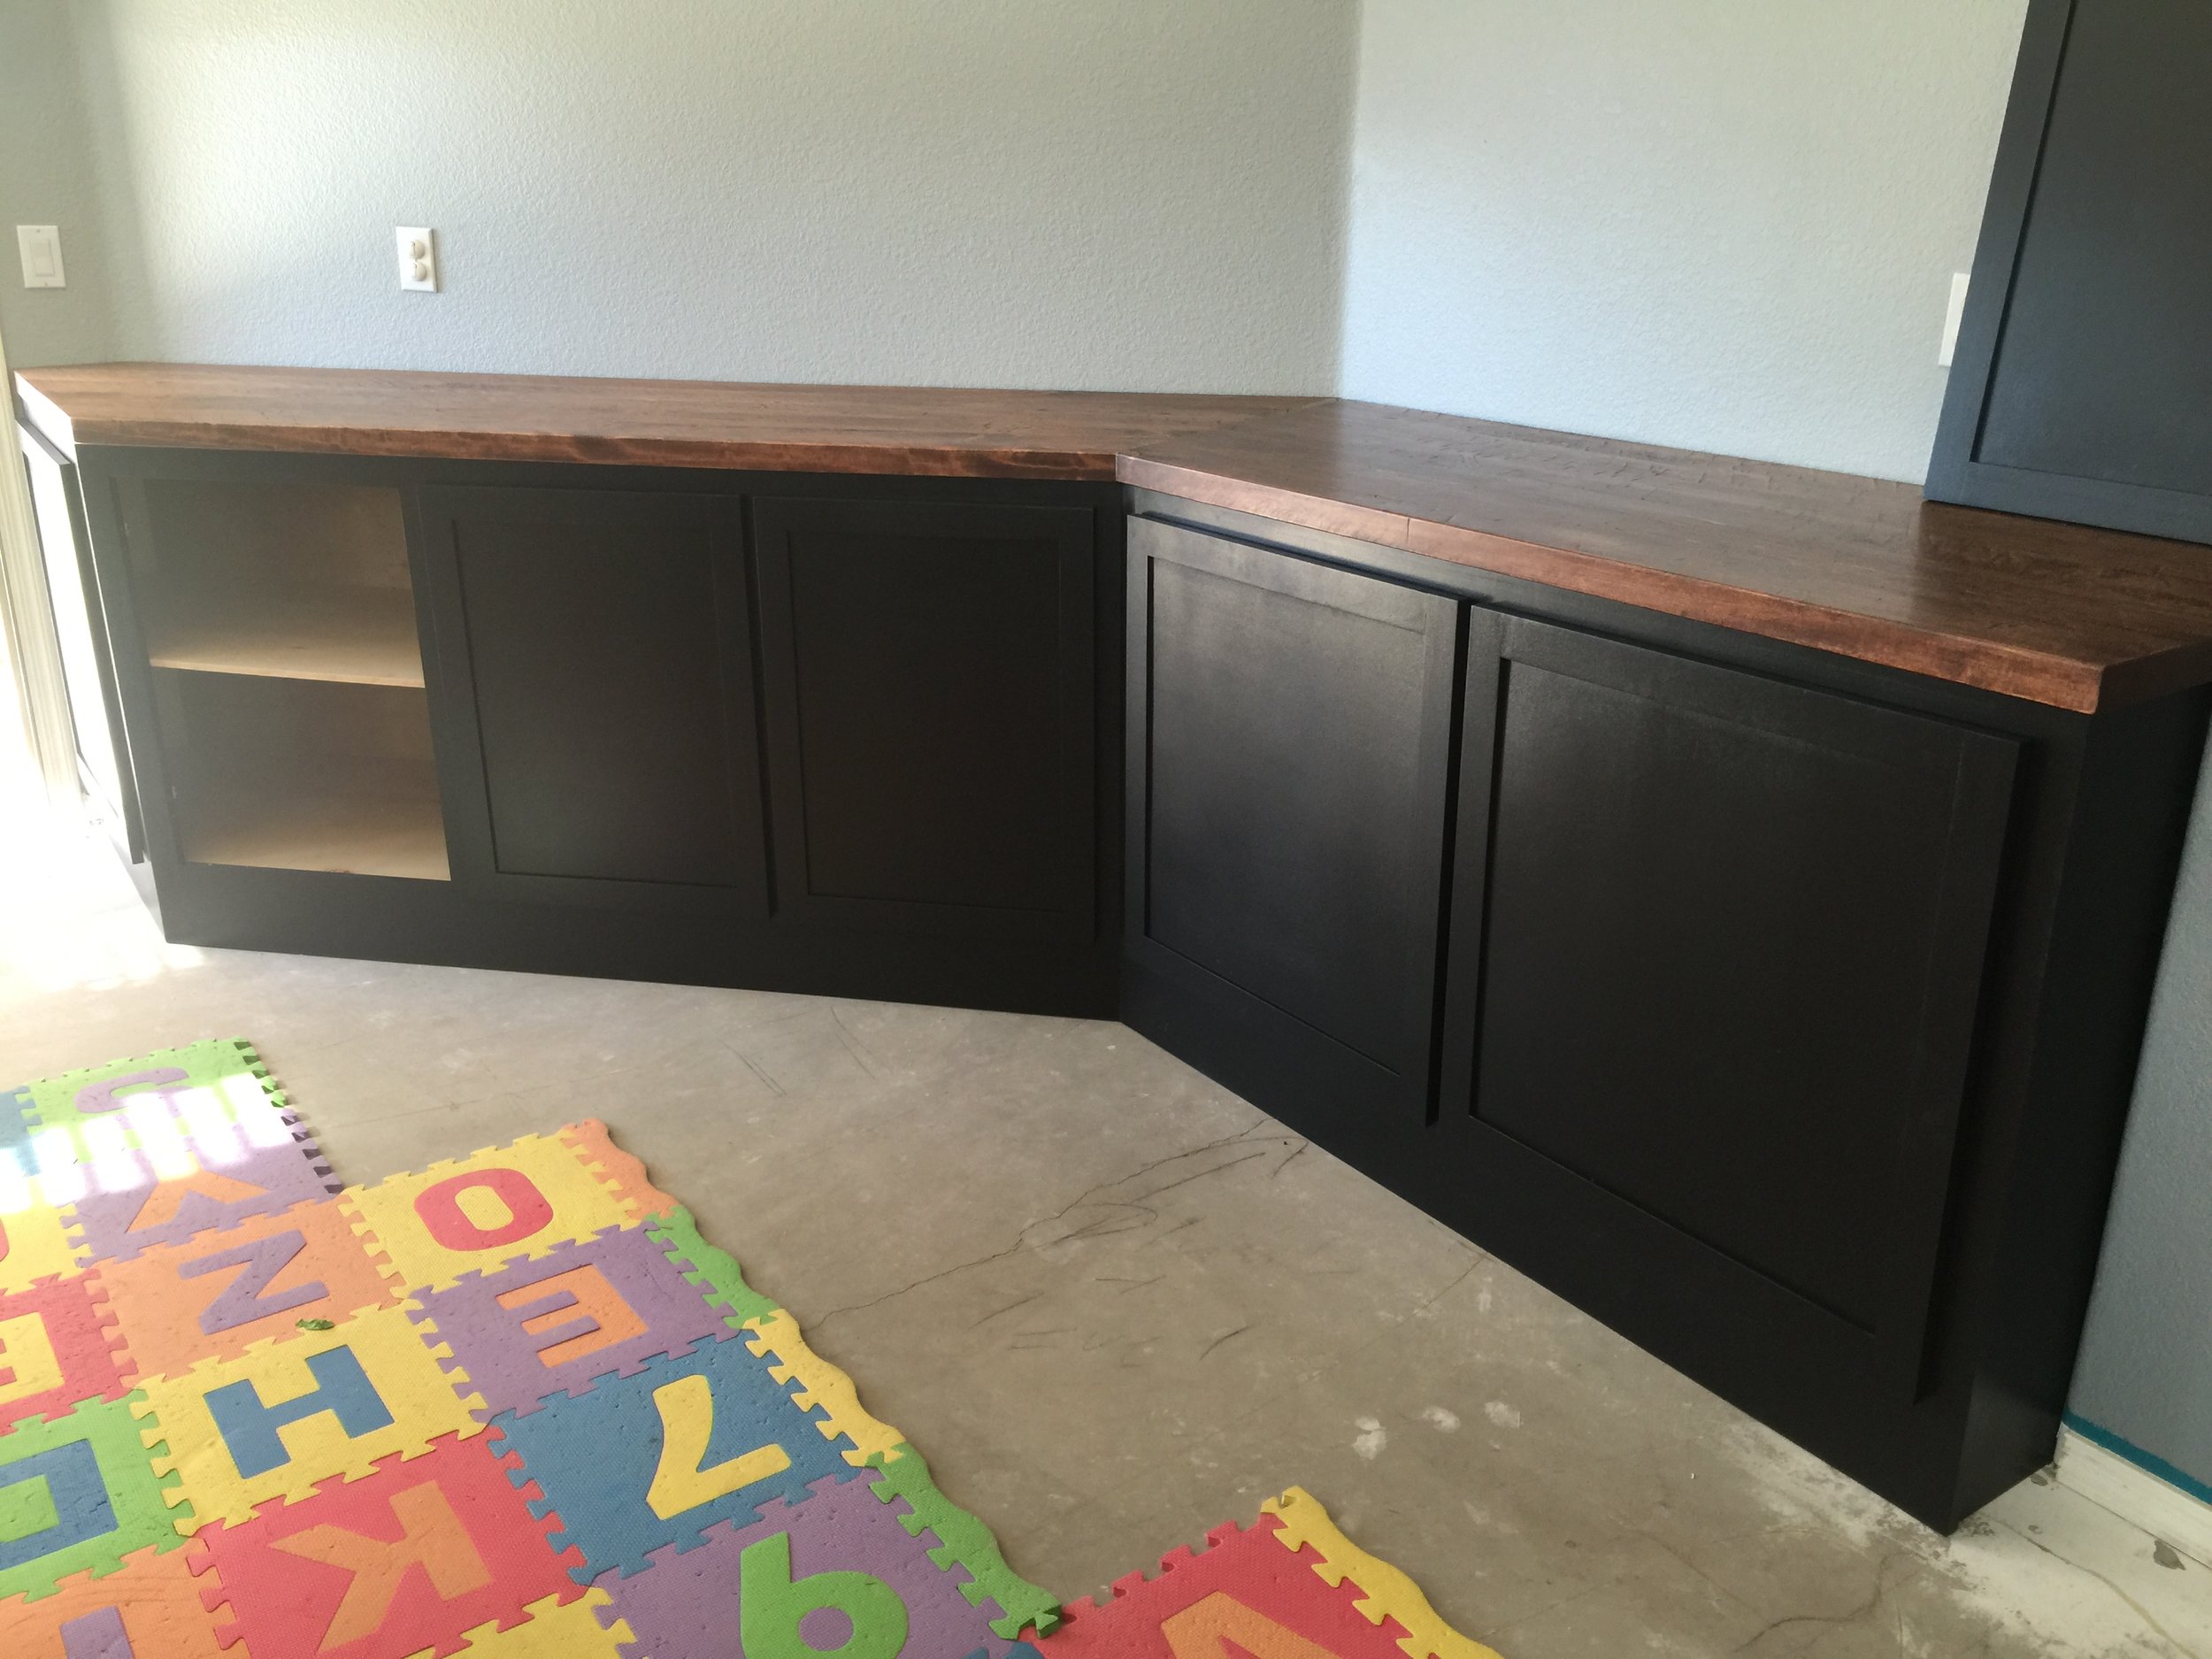
I recently went to WIA (Woodworking in America) and took a couple of cabinet making classes knowing this project was coming down the line. I've built cabinets before but I was hoping to glean some tips to improve and speed up my process. The First hour of the cabinet class I was questioning whether I made the right choice but the last half hour made up for it all!I'm not going to get super detailed about the process but the overall concept is to build the face frame first with dados for the cabinet. Once that is completed you'll have all the measurements required for both the cabinet which will also get dados/rabbits and the doors/drawers. This also means that I won't have a giant cabinet taking up space until it's nearly completed which in my case is big! Seems pretty basic right? Well.. it is but it also made a huge difference.My newly learned cabinet techniques greatly sped up the process but incorporating a bunch of angles into both sections of this cabinet slowed it right back down. What I was tasked to do was make a cabinet with maximum storage (Meaning not squared 90° angles) to fit around 3 inside corners of a wall two of which were 45°ish and the other was a regular 90°. Knowing that walls aren't ever square, I decided to set the inside angles where the two cabinets butt up at 20.5° which would allow me to pivot them together causing all corners/edges to align and close all gaps. This actually turned out GREAT even if I accidentally used the same angle on the counter which I'll touch on in a bit.[one_half]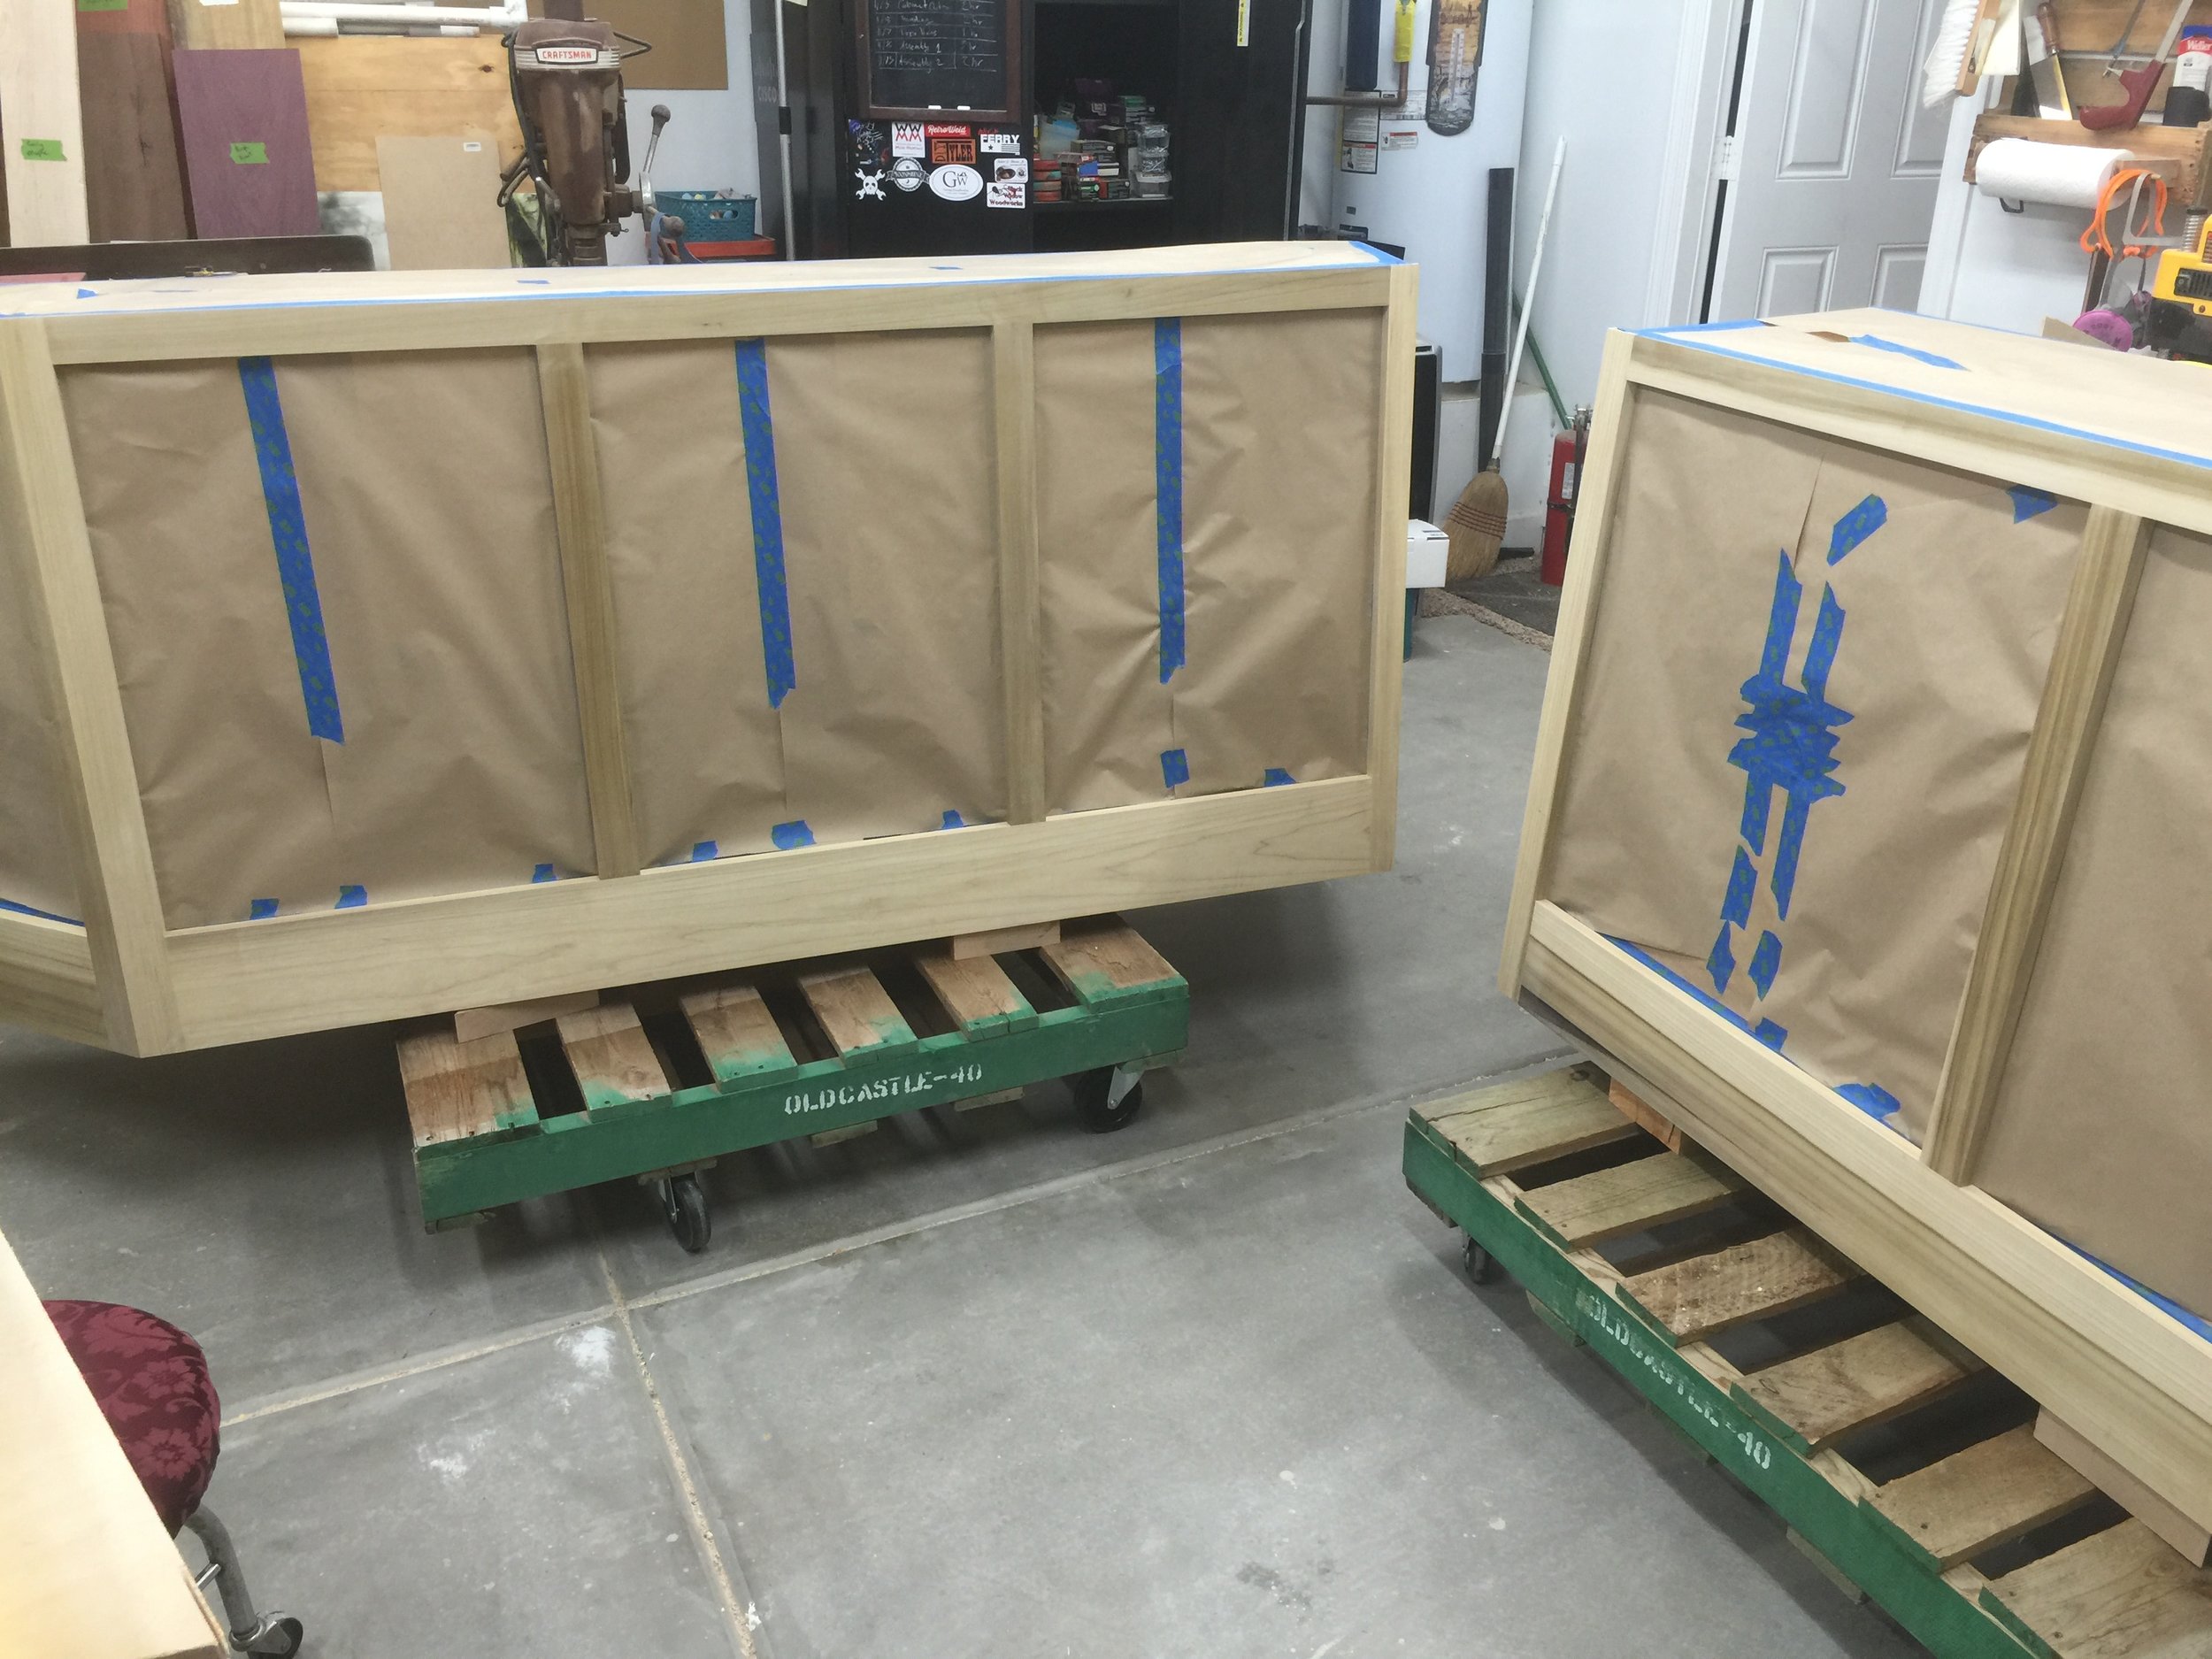 [/one_half][one_half_last]
 [/one_half_last]
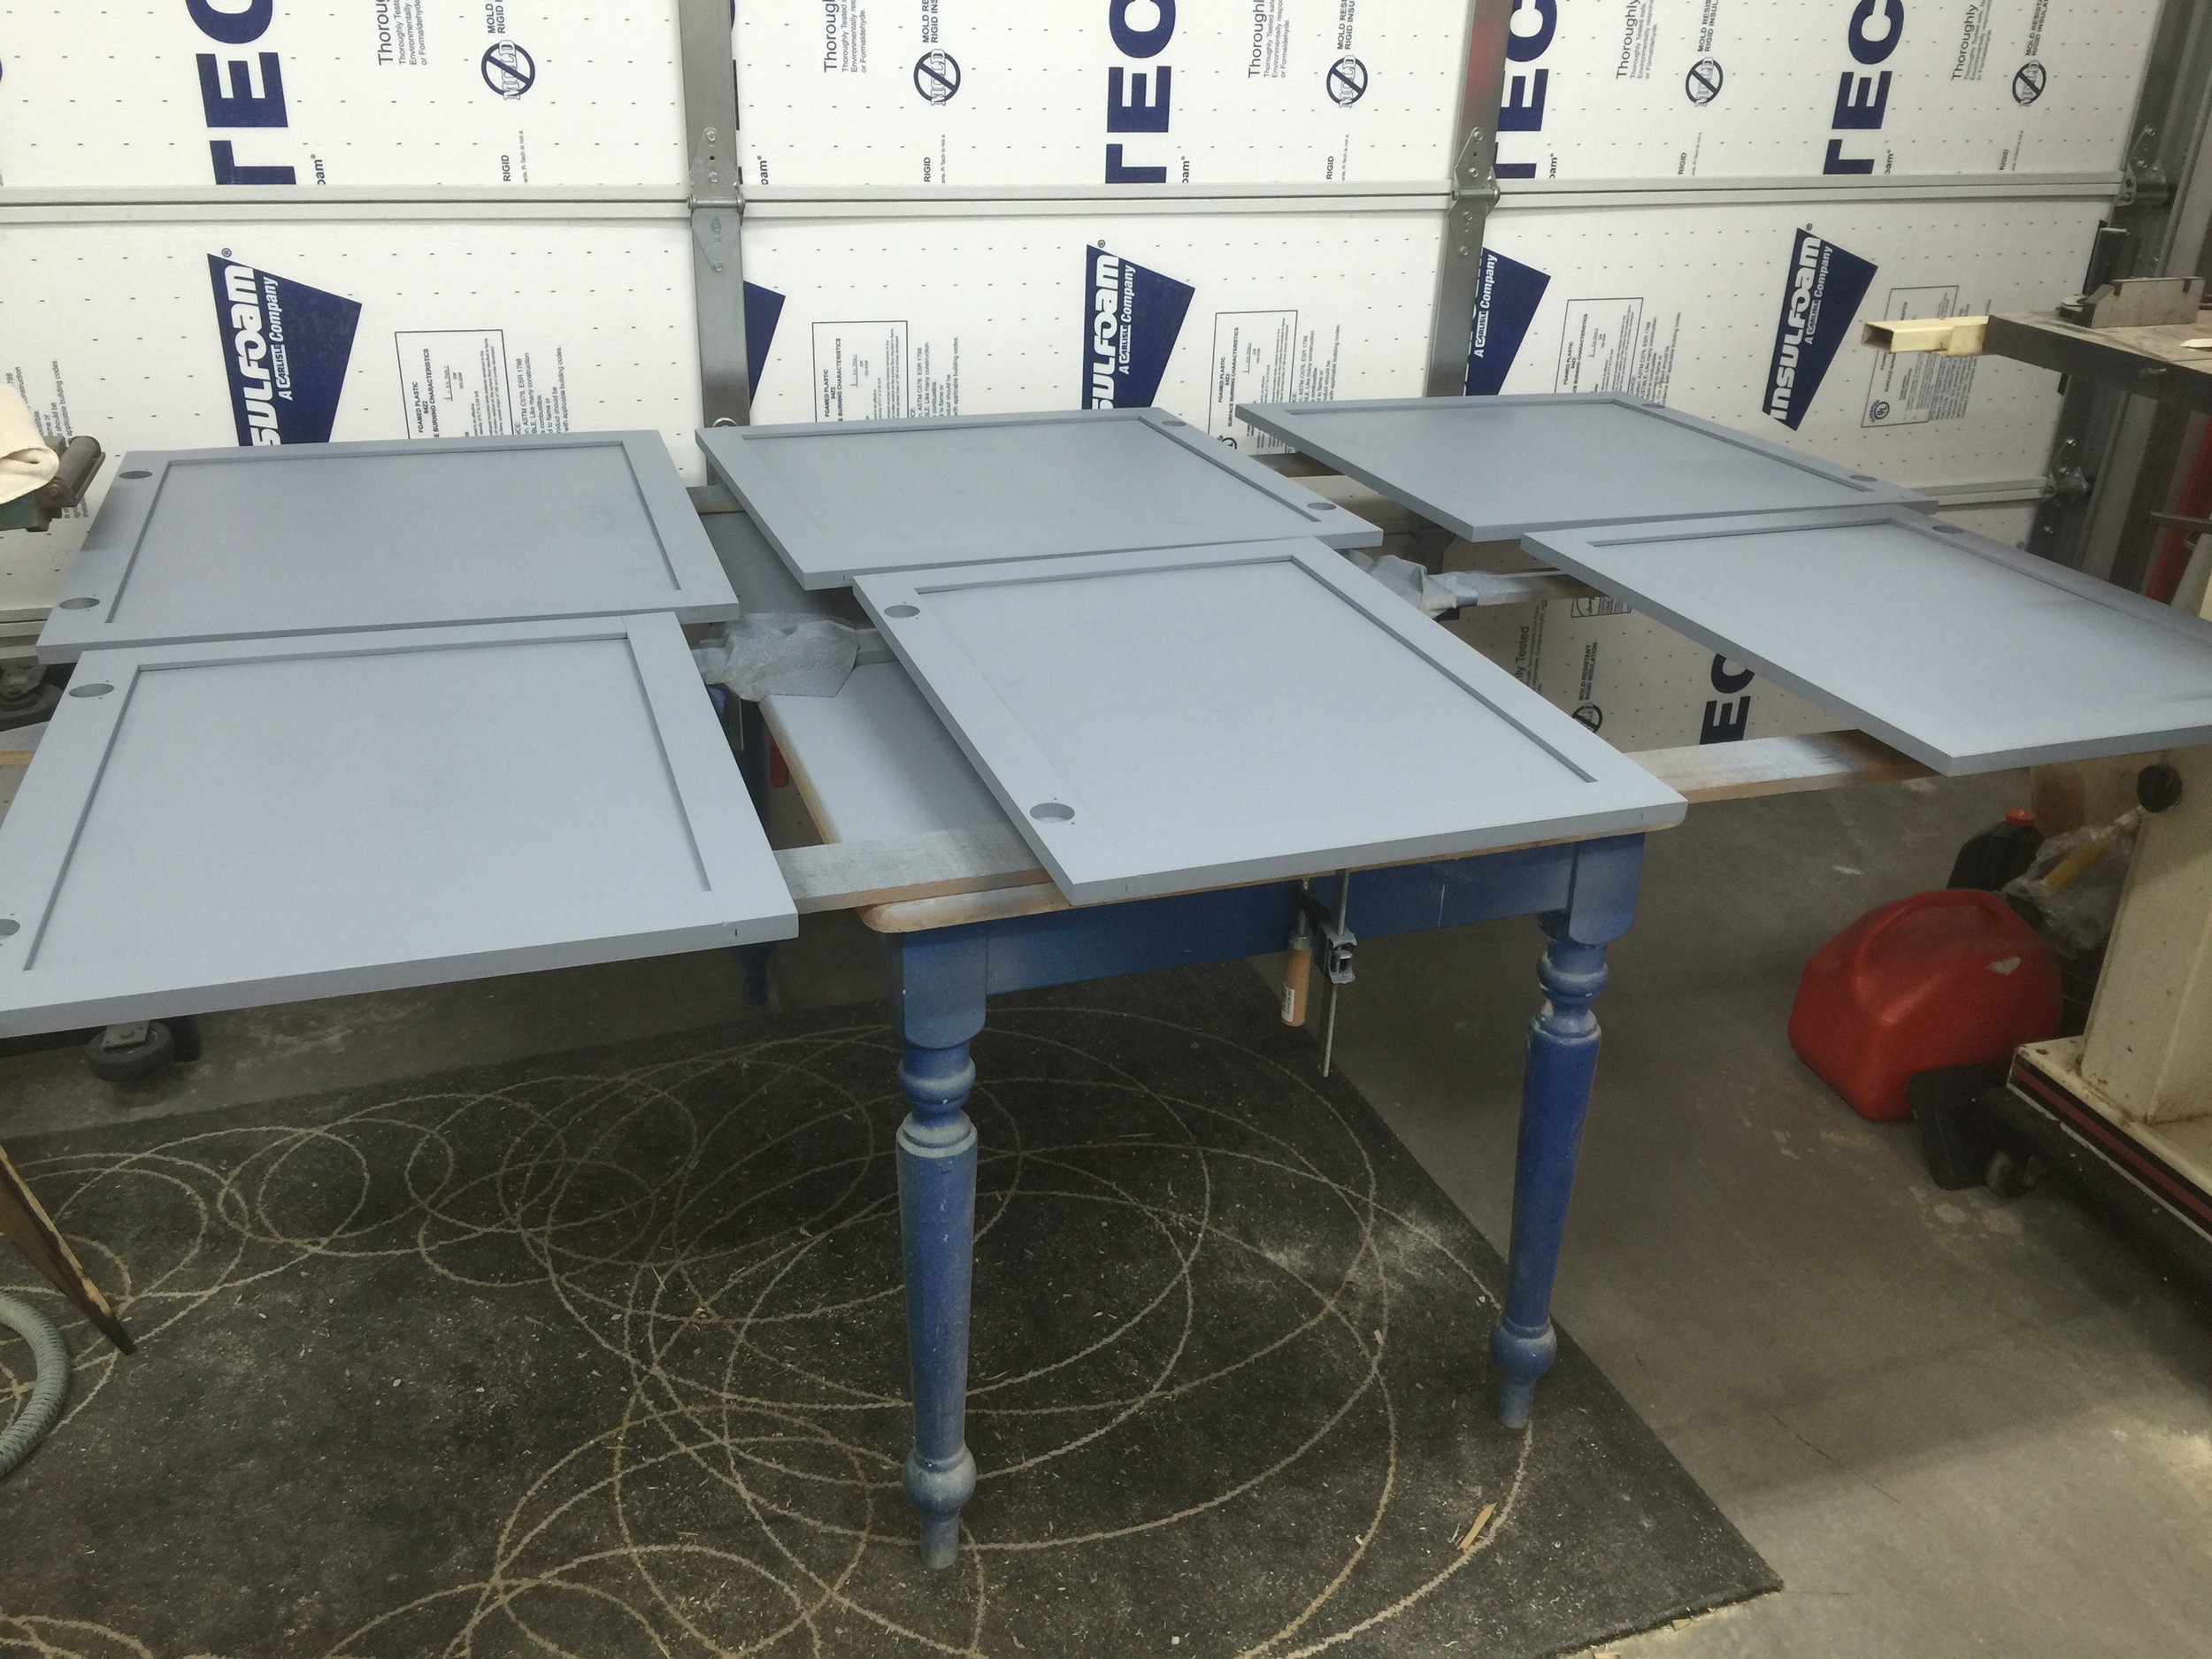
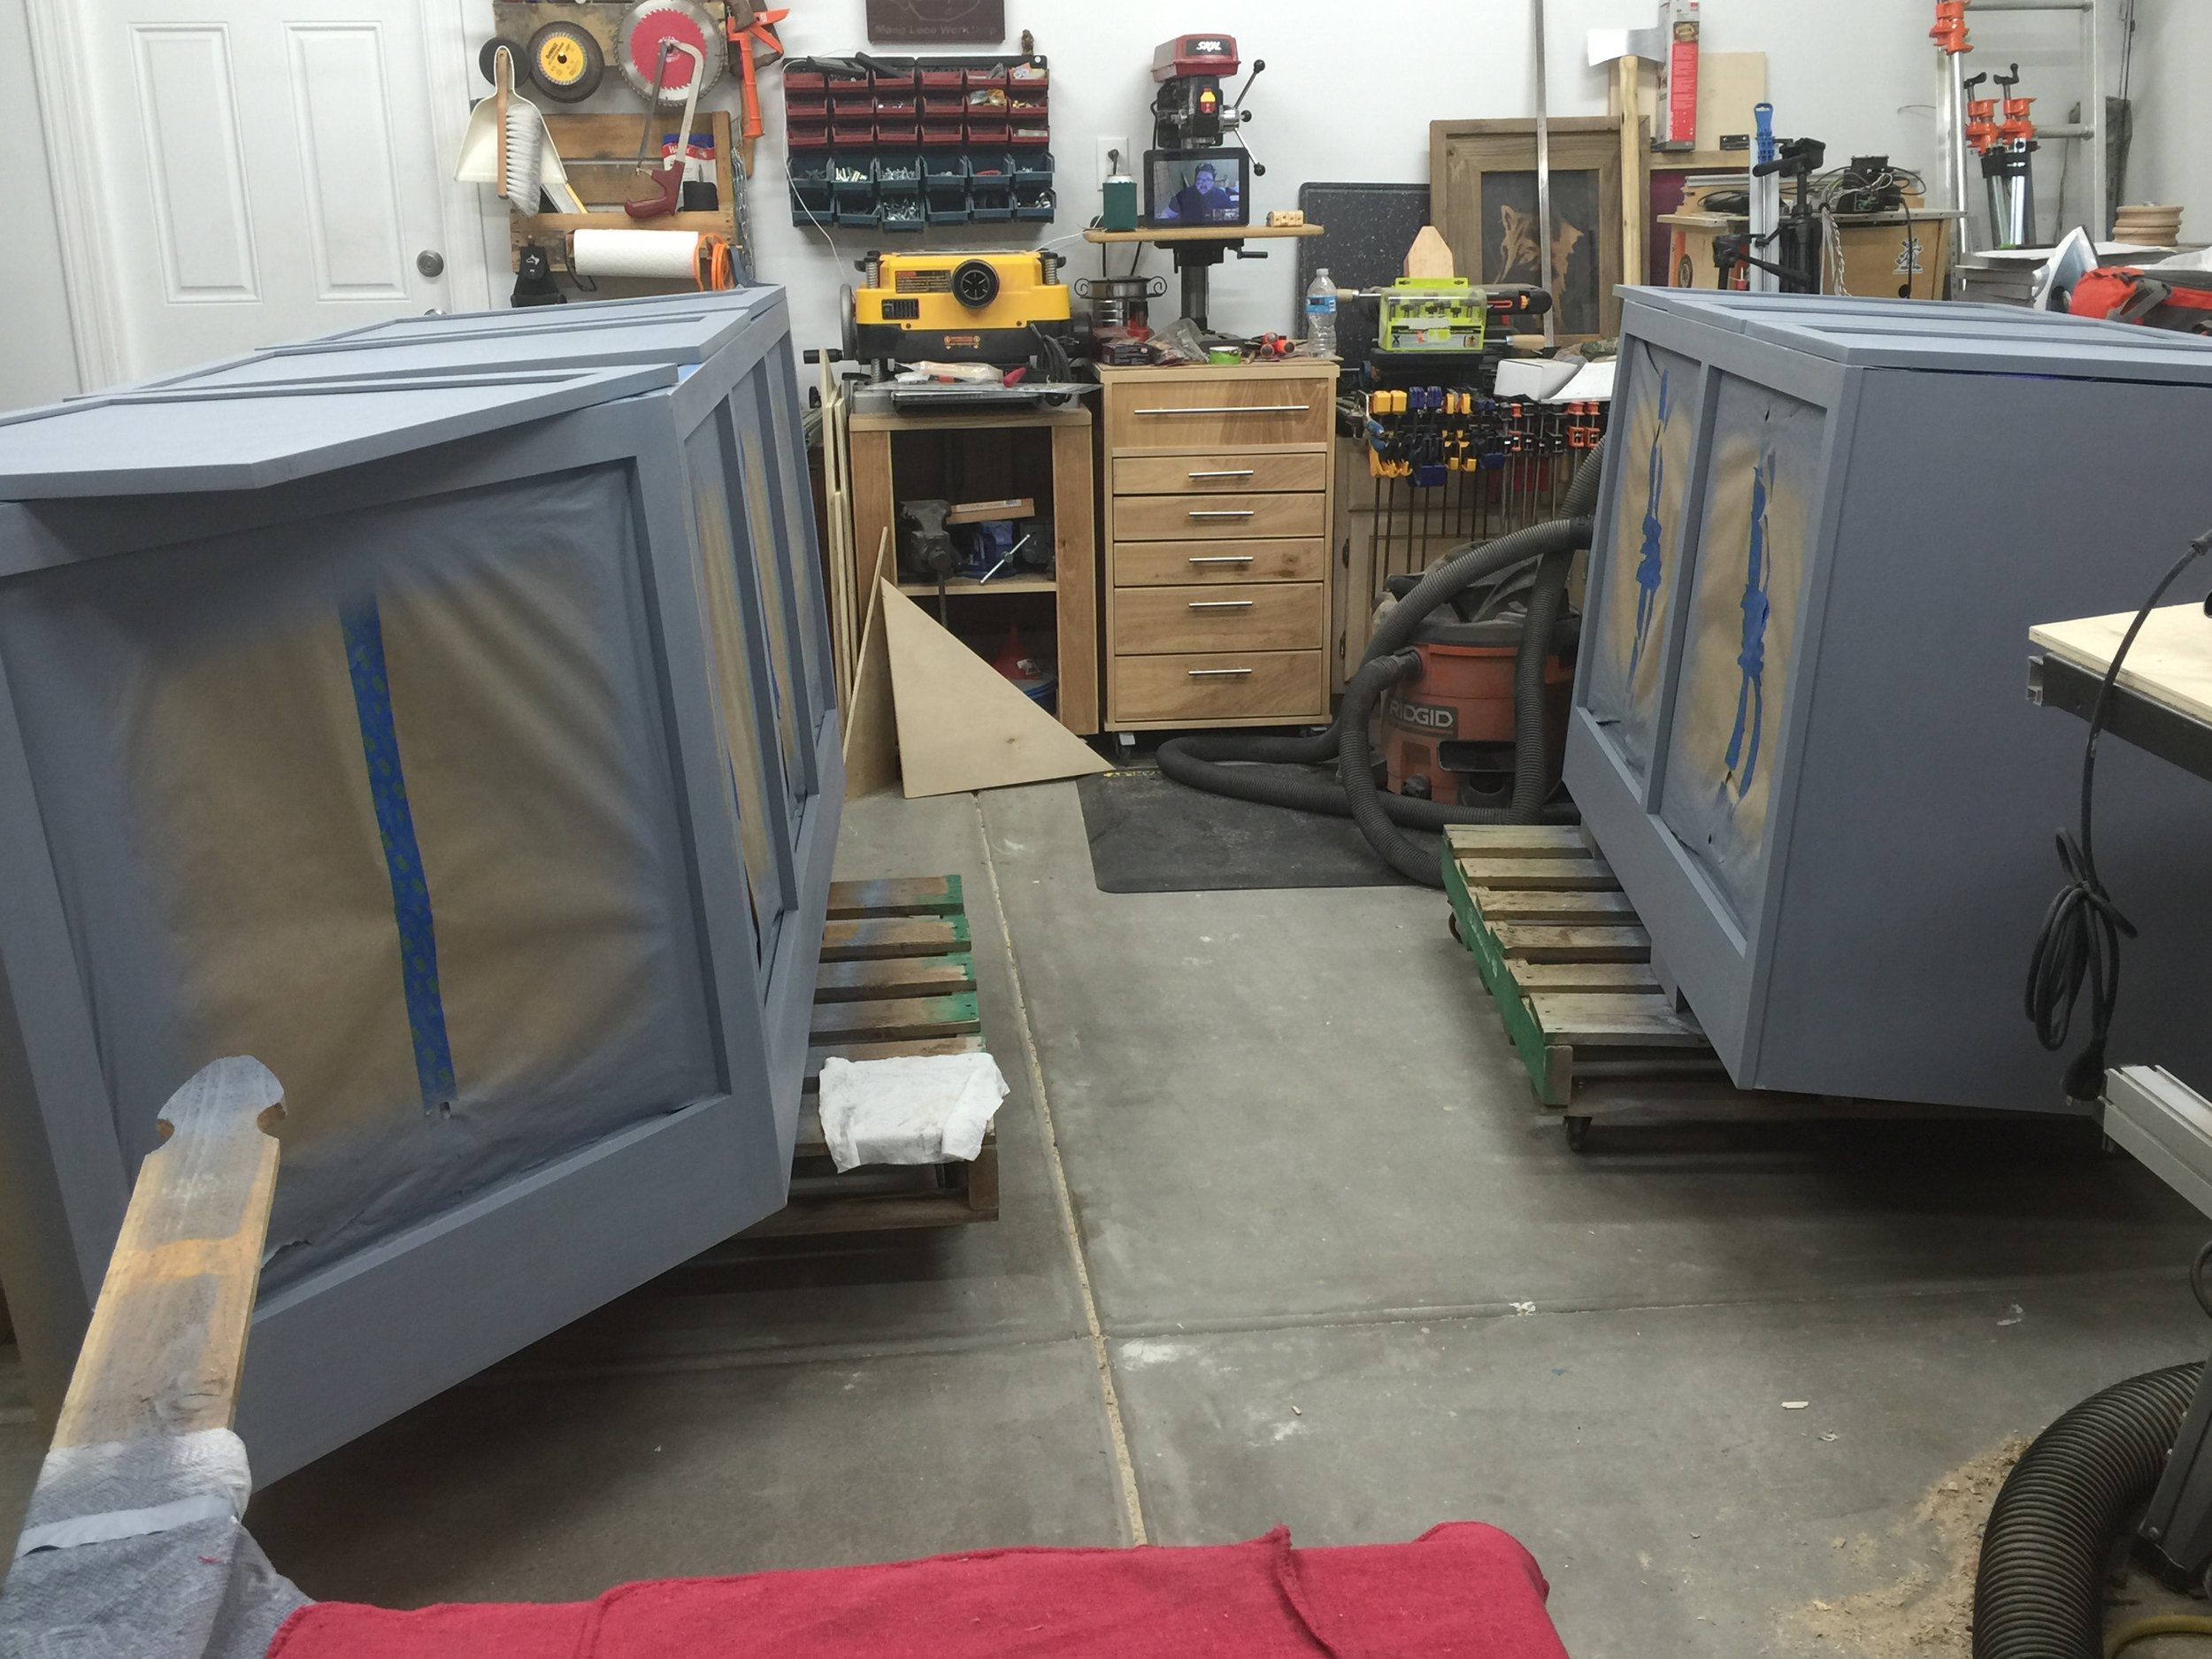
Large Moving Carts
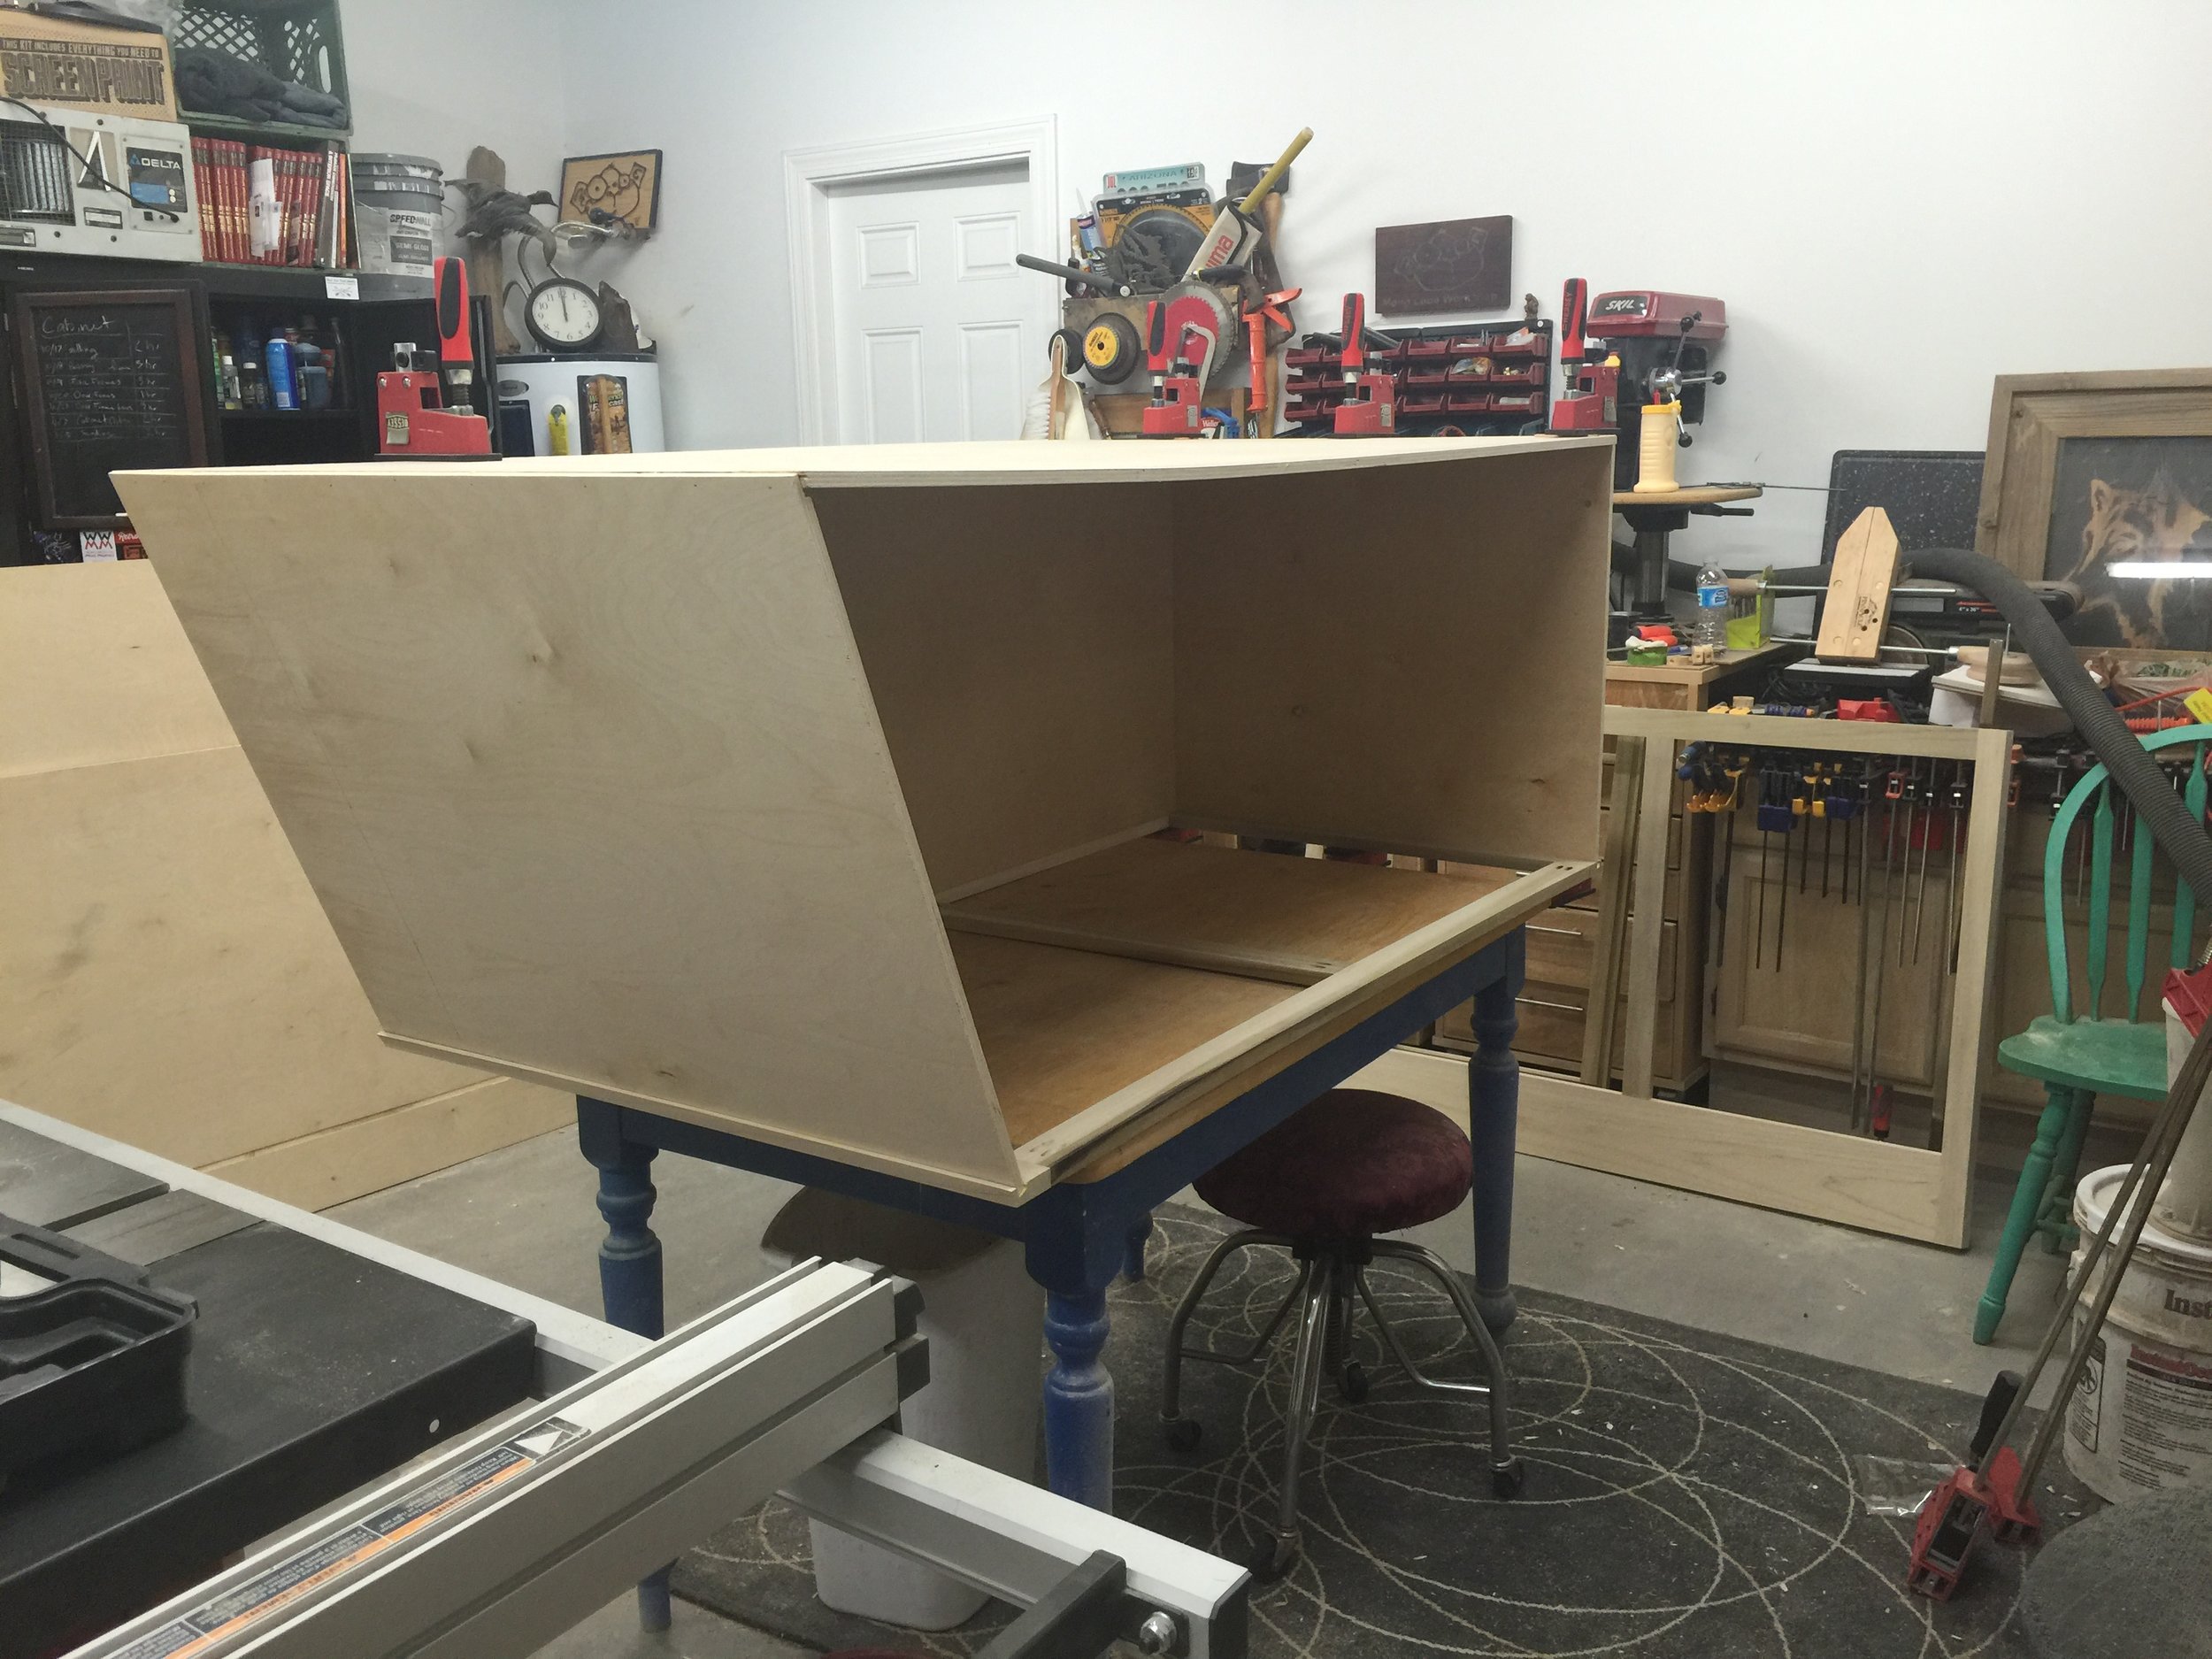
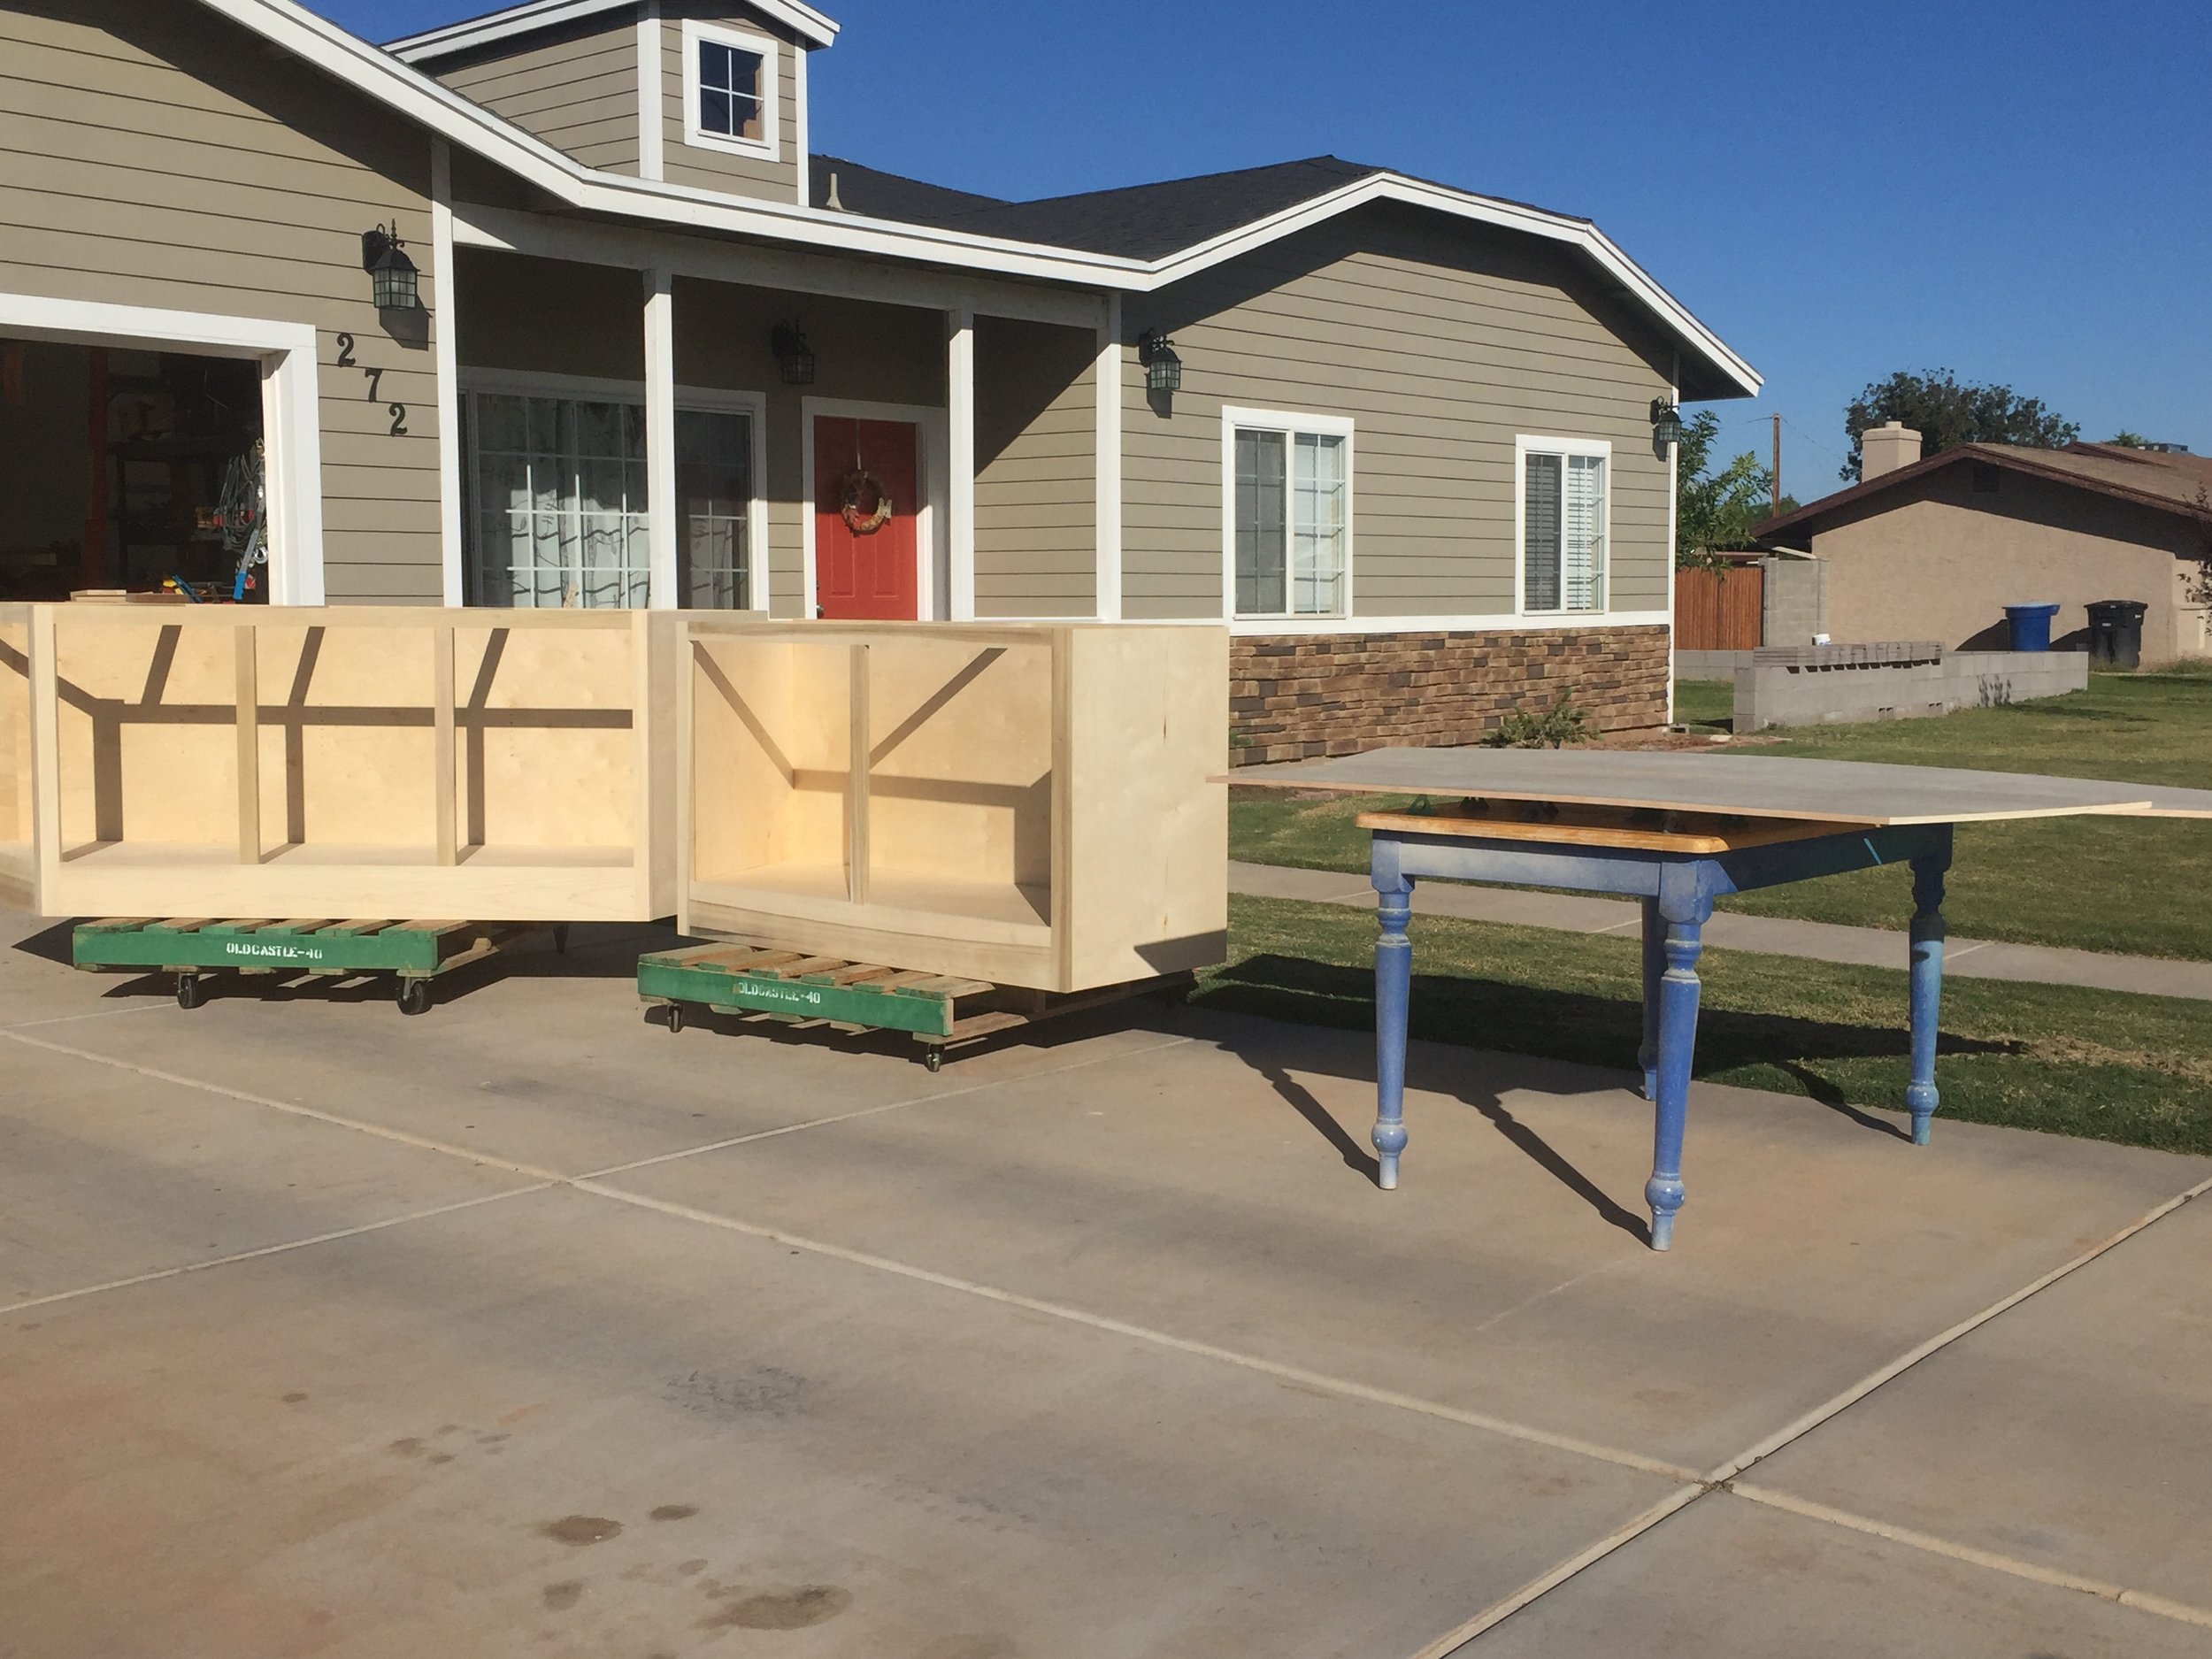
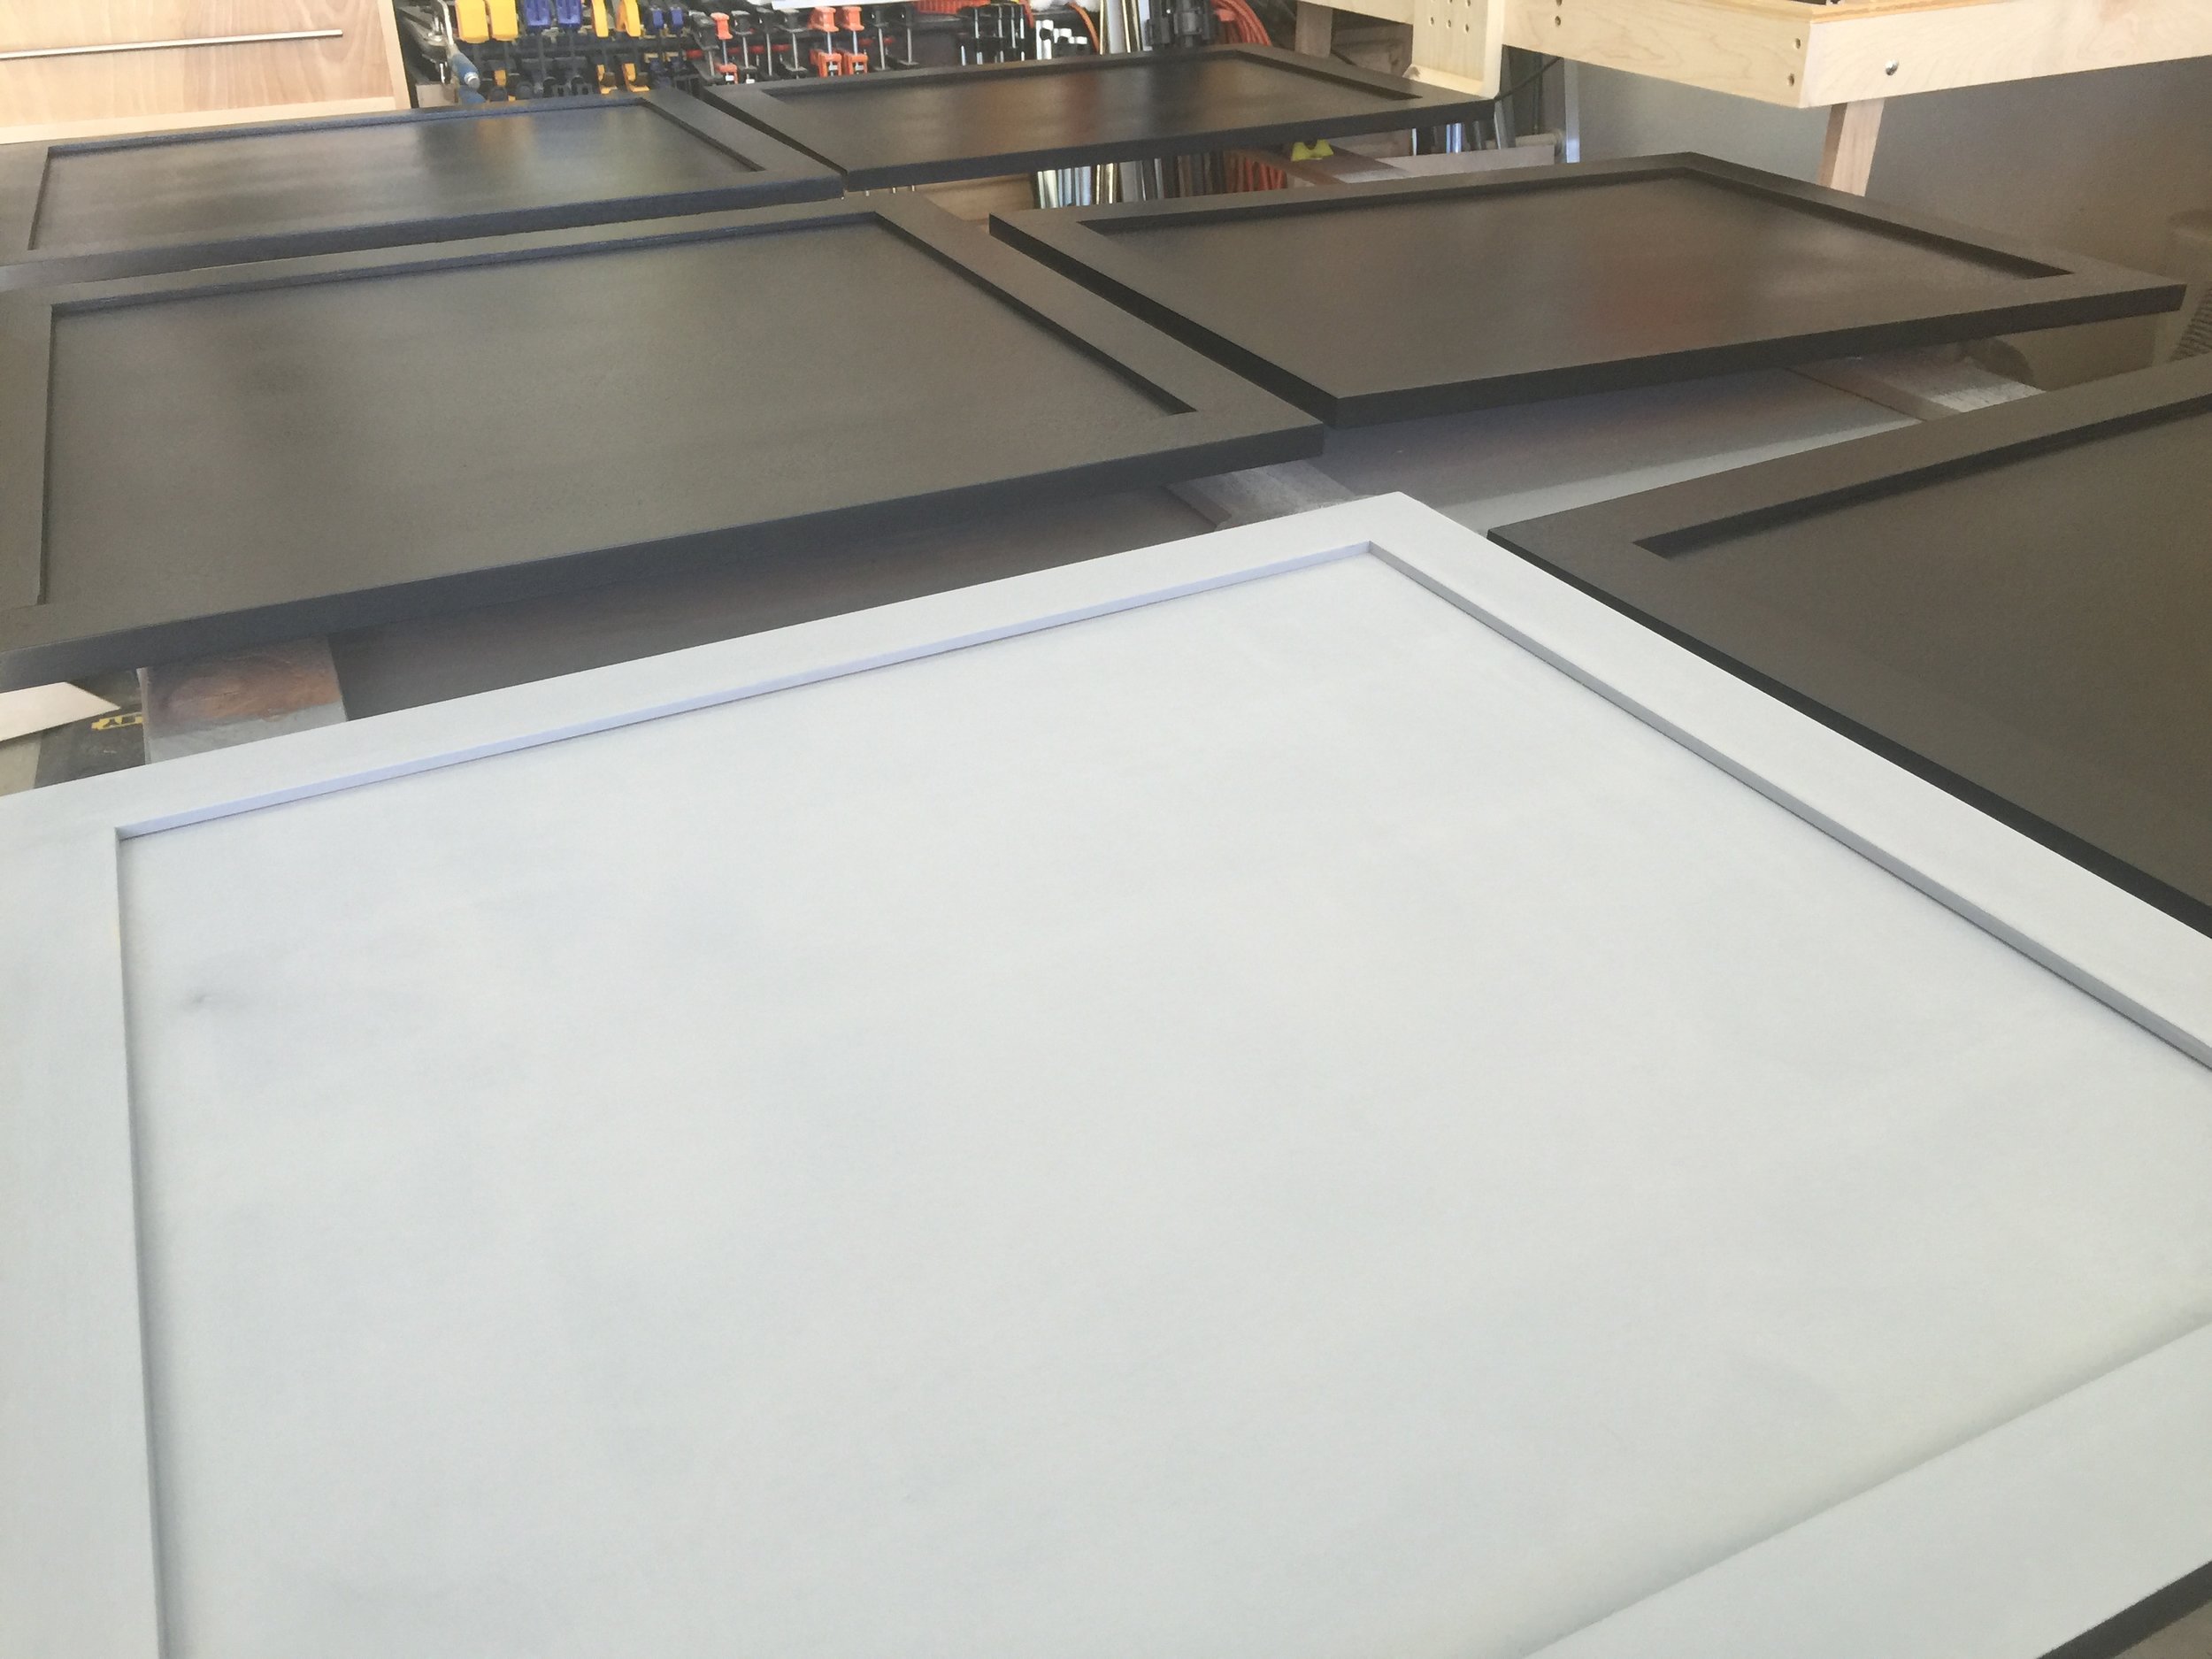
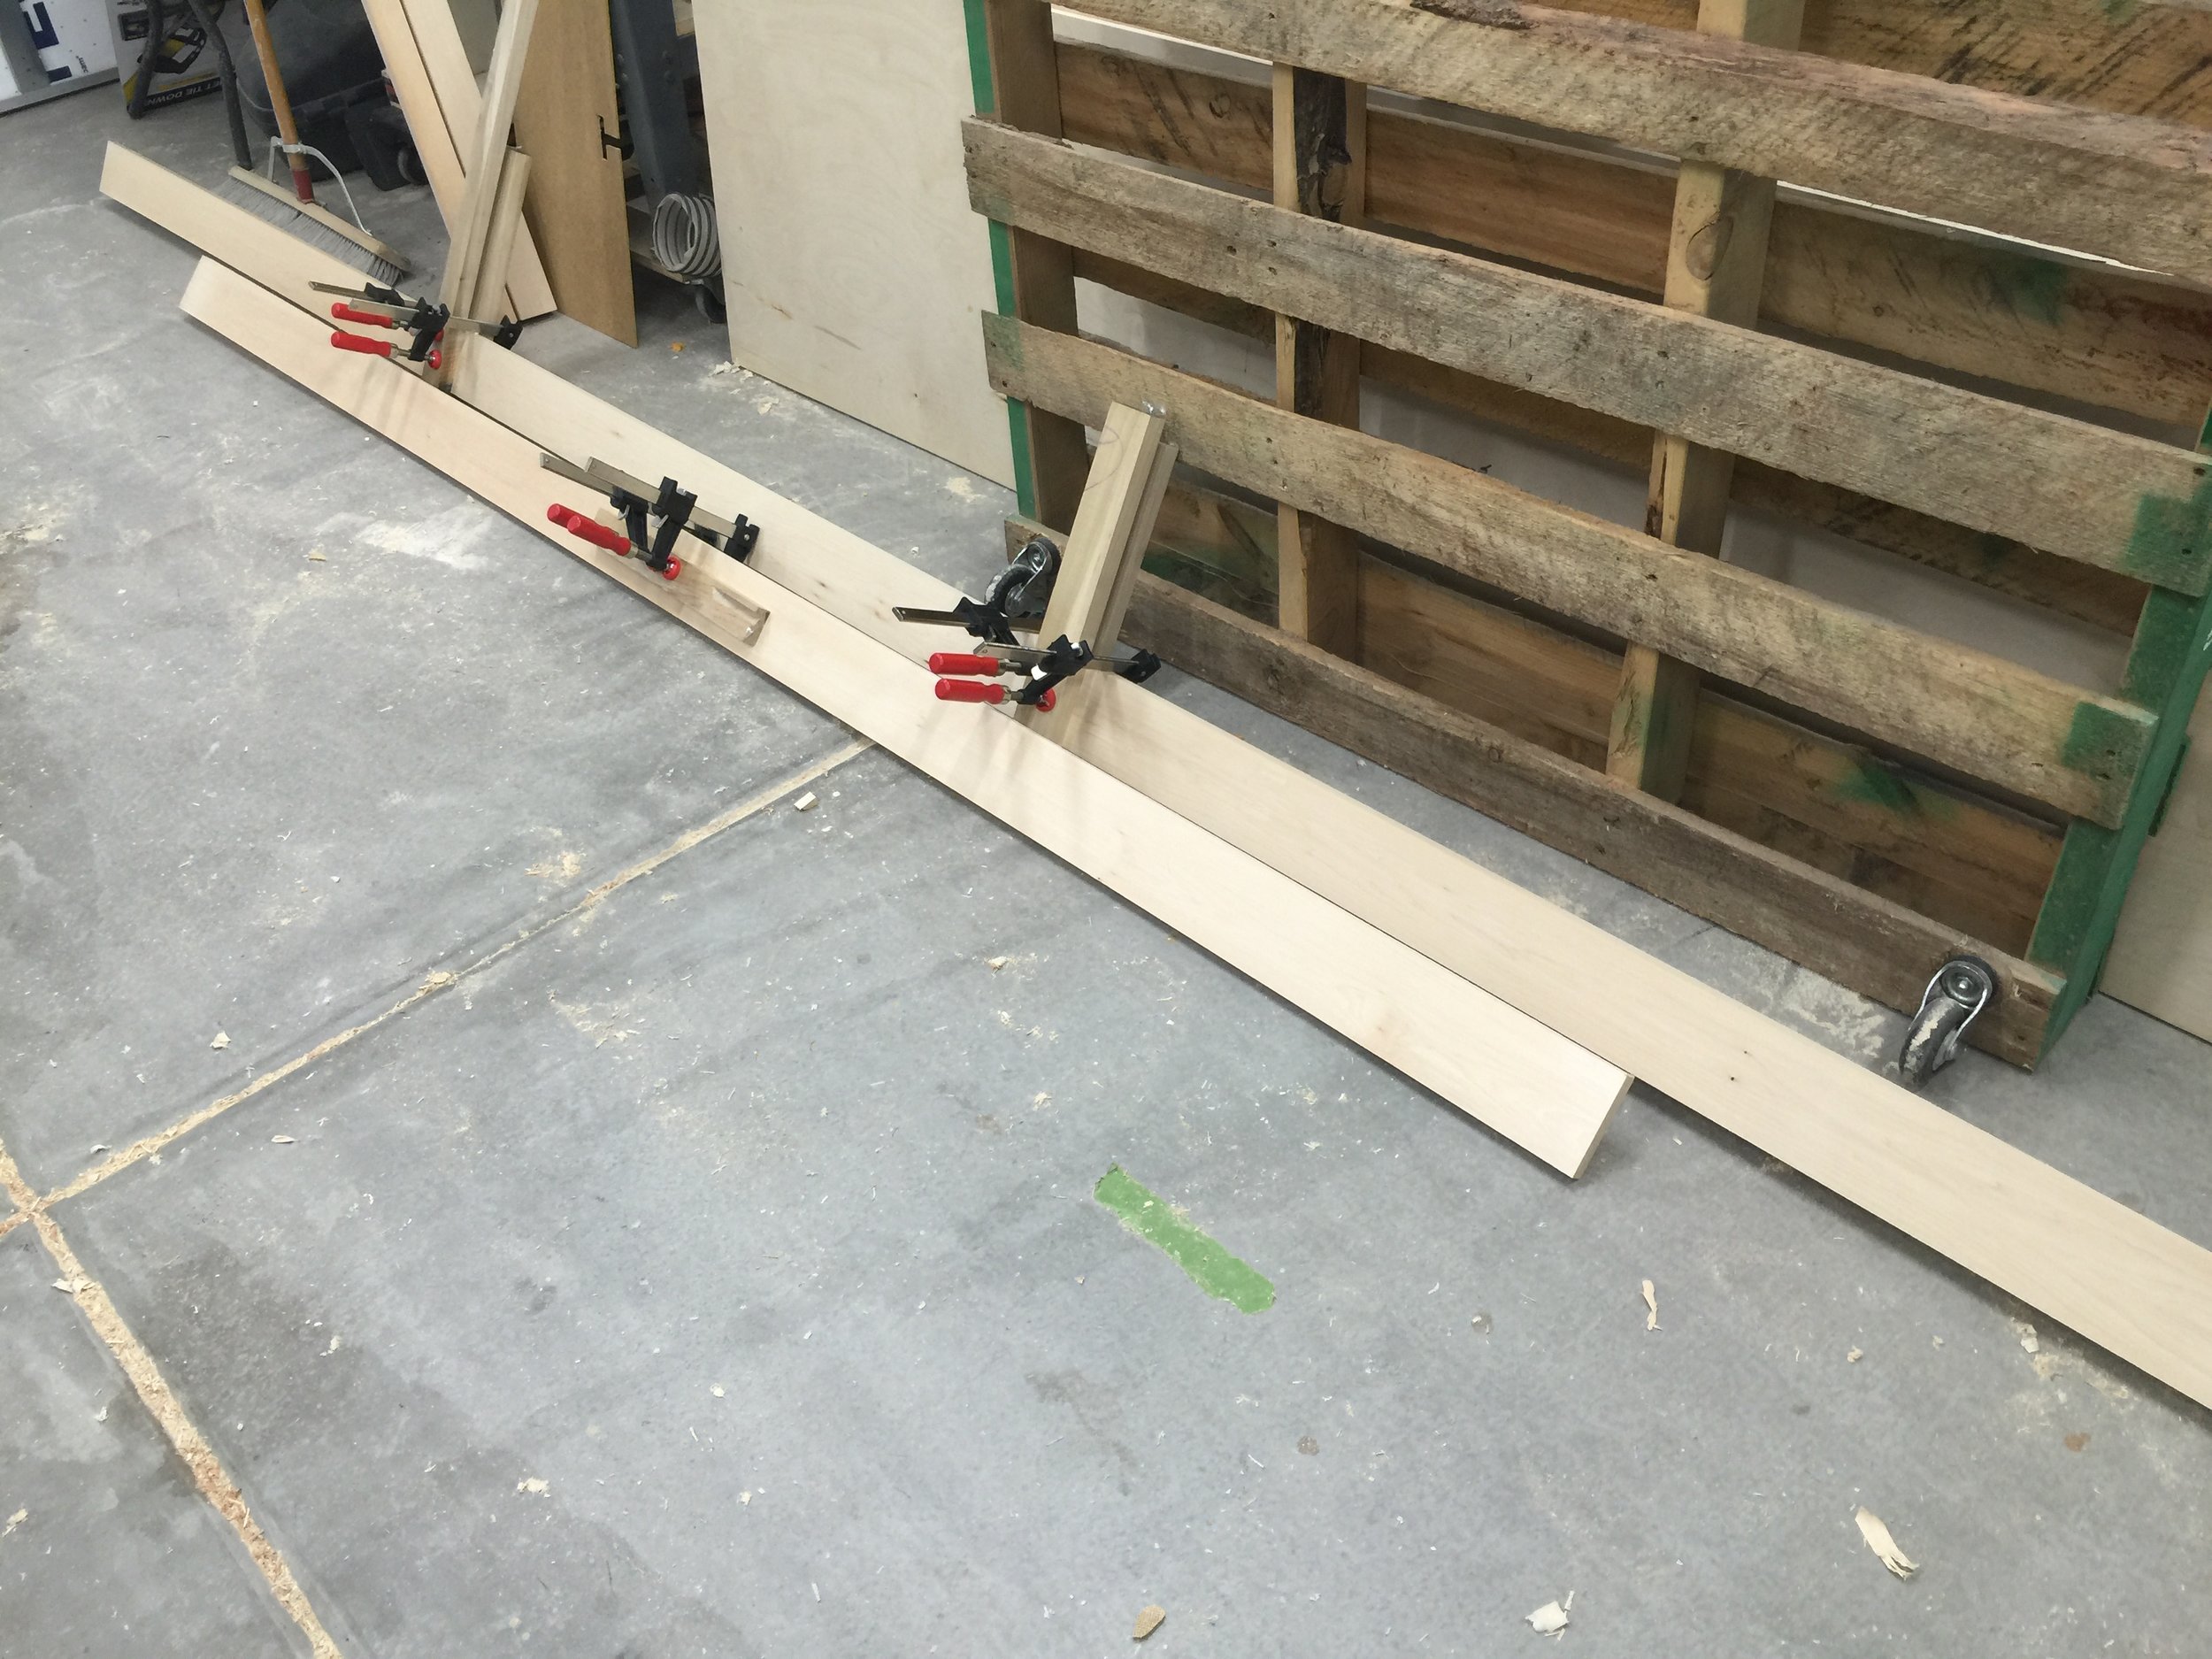
I was sitting on our couch one night watching TV with my wife while thinking out loud about figuring out how to easily move these giant cabinets around all by myself. My wife spoke up up with a great idea to use some of the pallets I had stacked out back to make some large moving carts. I immediately knew that was the best answer I was ever going to come up with. I was even more pleased that I already had everything I needed including a few sets of casters that would be perfect for the job. The next day I quickly made a couple large moving carts and was on my way to fishing. (I took some video of making the moving carts which will make it to my site one day.. I'll include a link here when I do.)After they cabinets were fully assembled, they got a quick coat of shellac (primarily on the inside) and a brief sanding with 220-grit. The biggest reason I did this was to help with dusting and to keep cabinet inside nice and smooth. I then taped off the insides and sprayed on two coats of gray primer and two coats of black sanding between each.
Counter
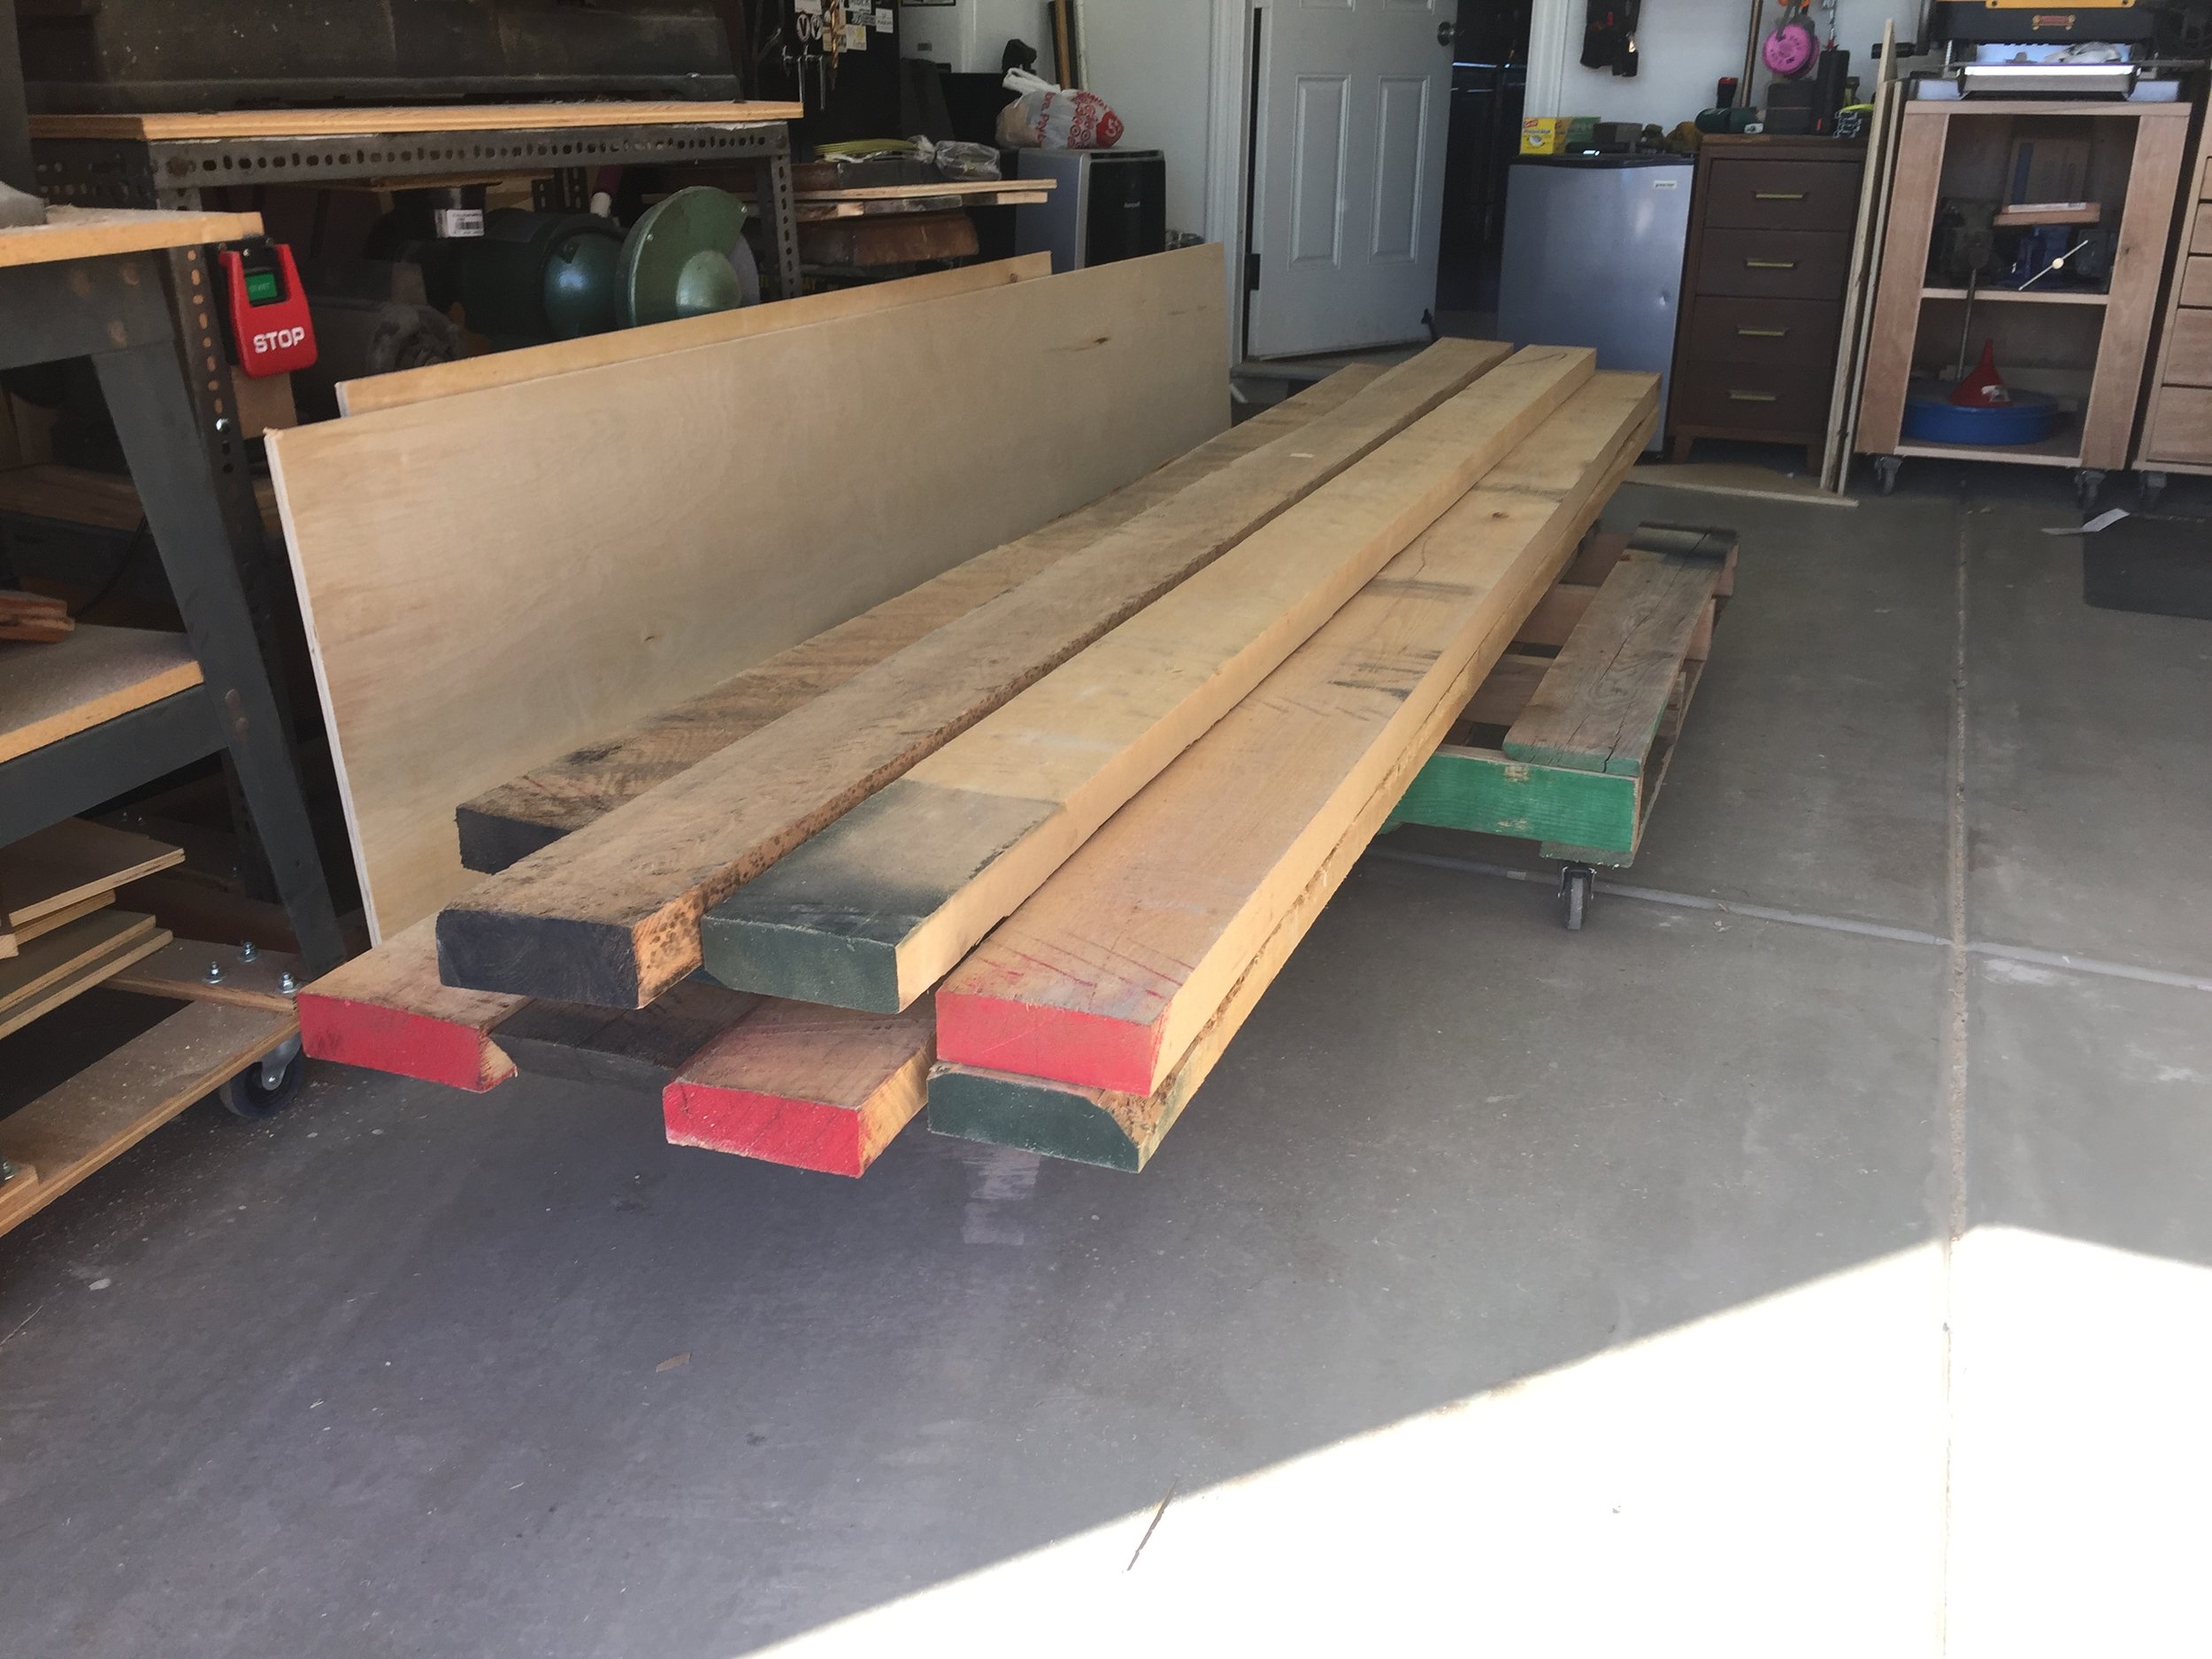
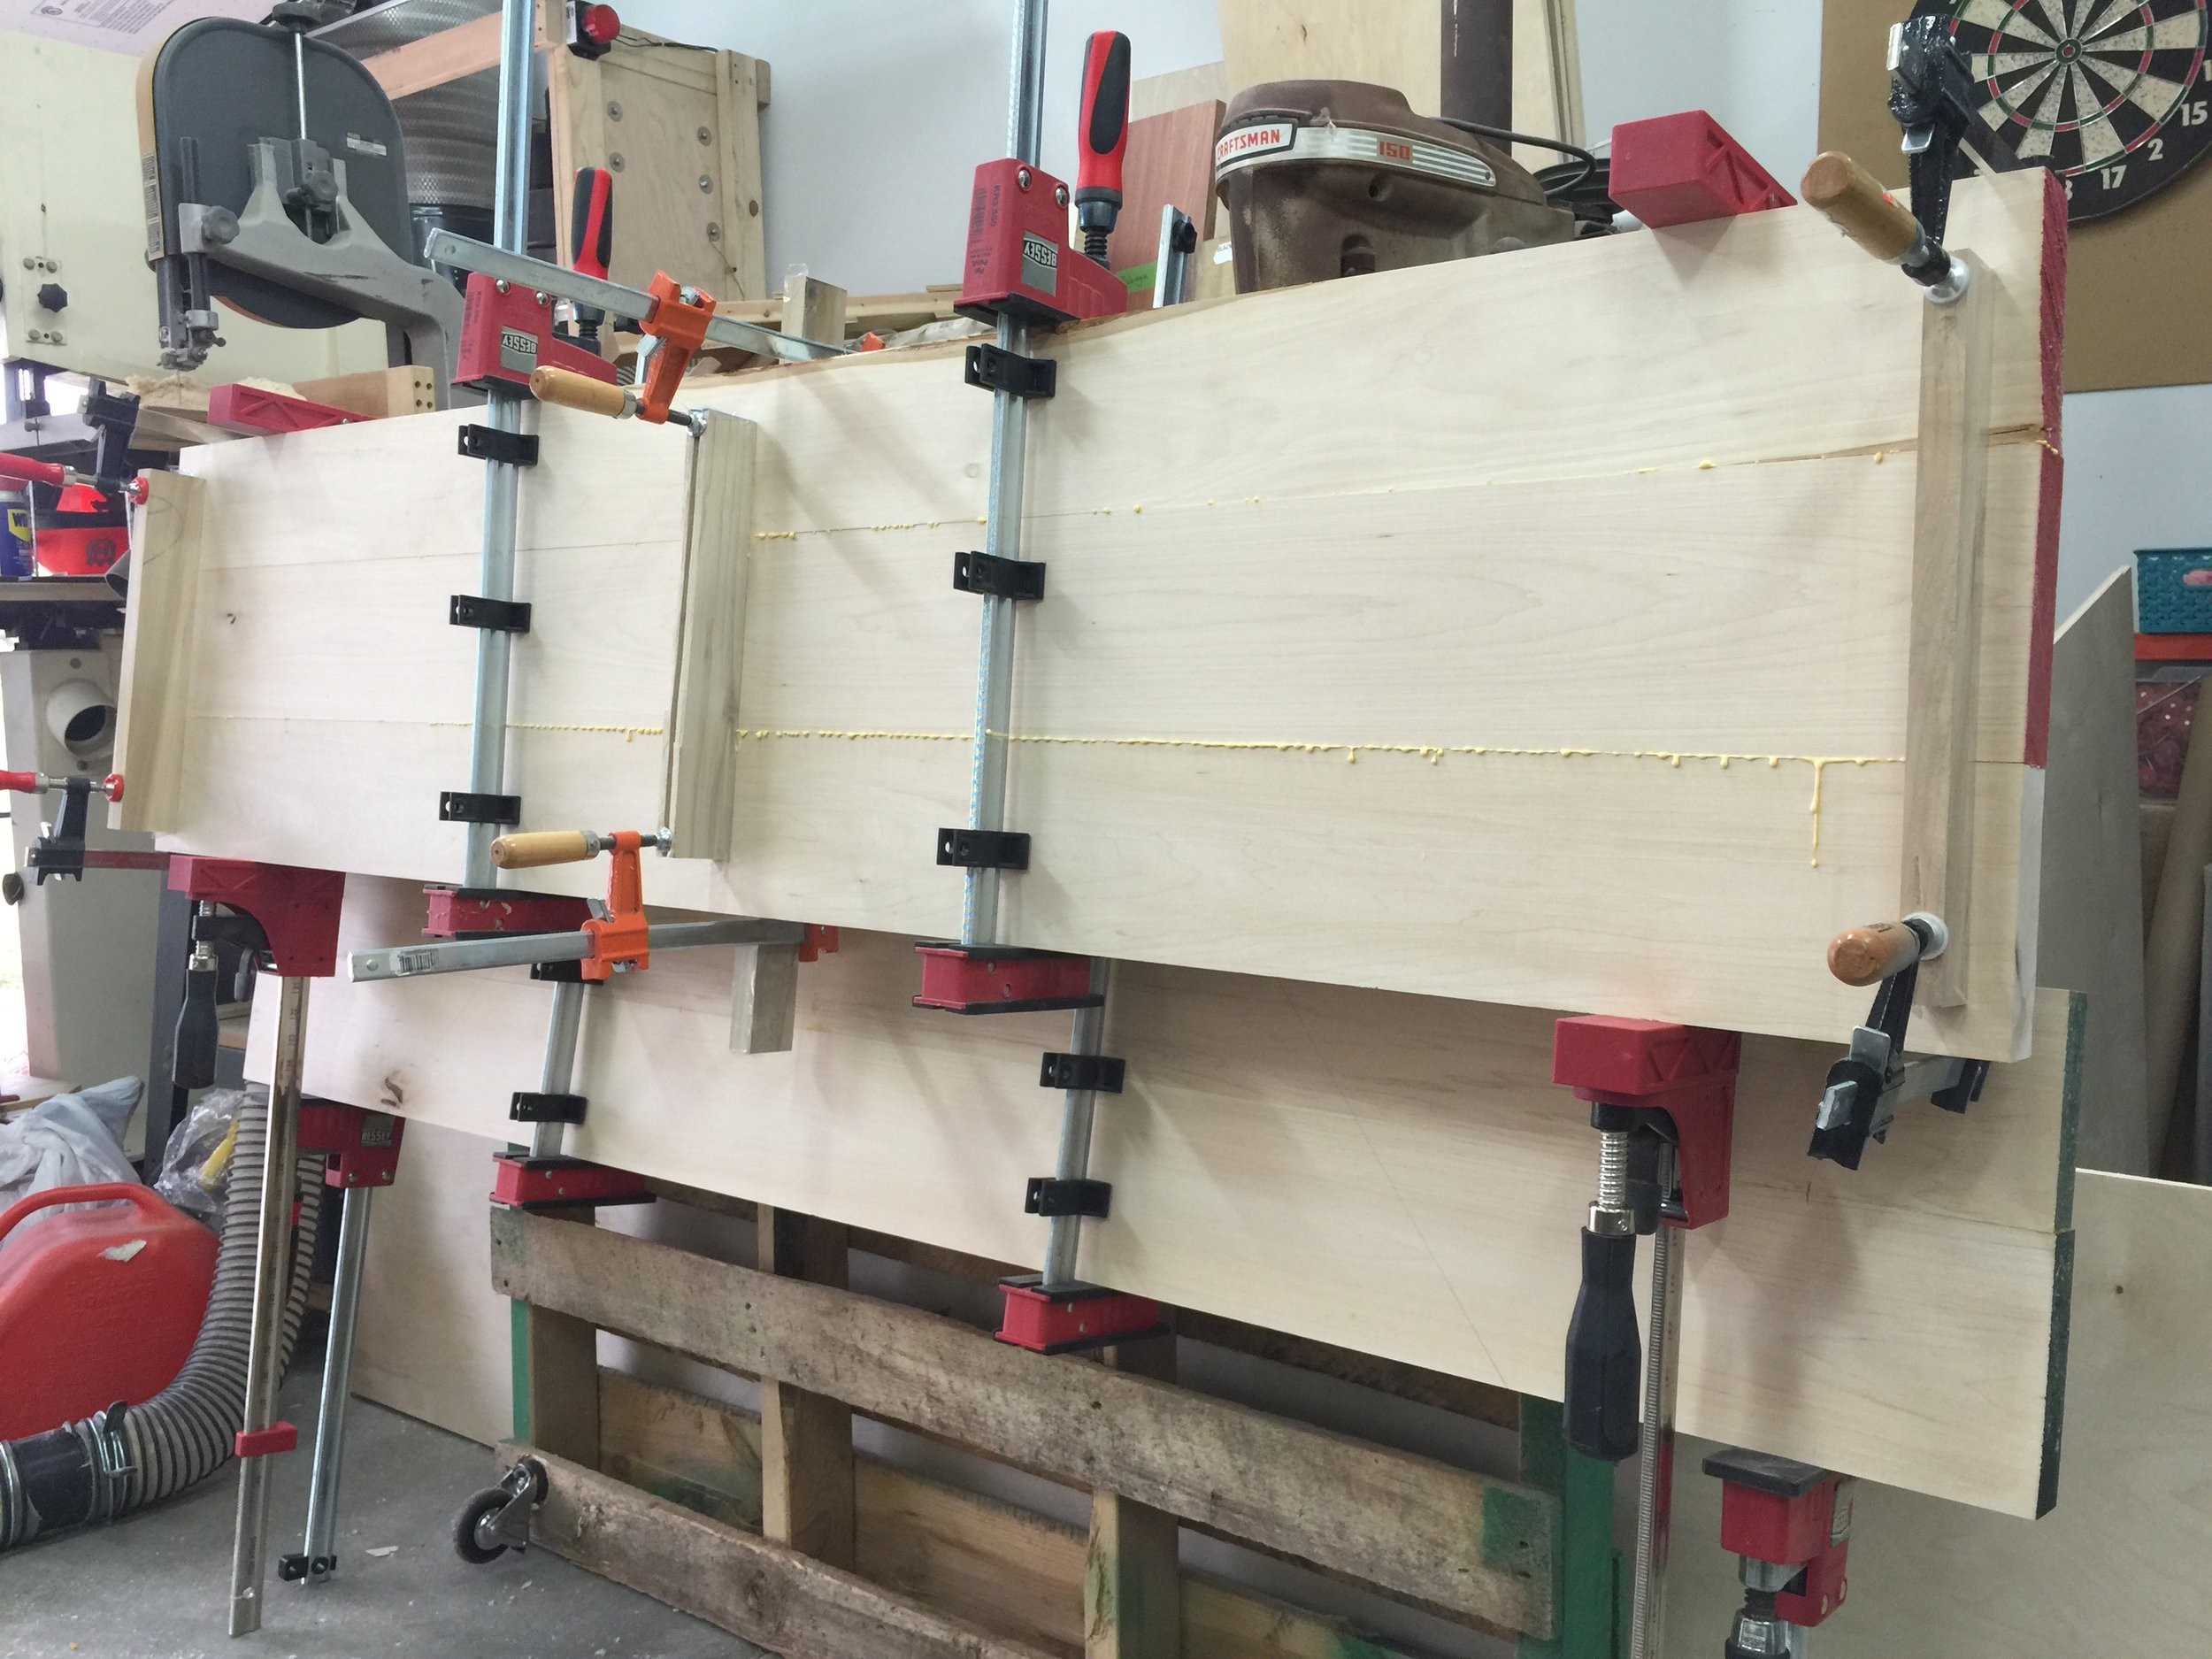
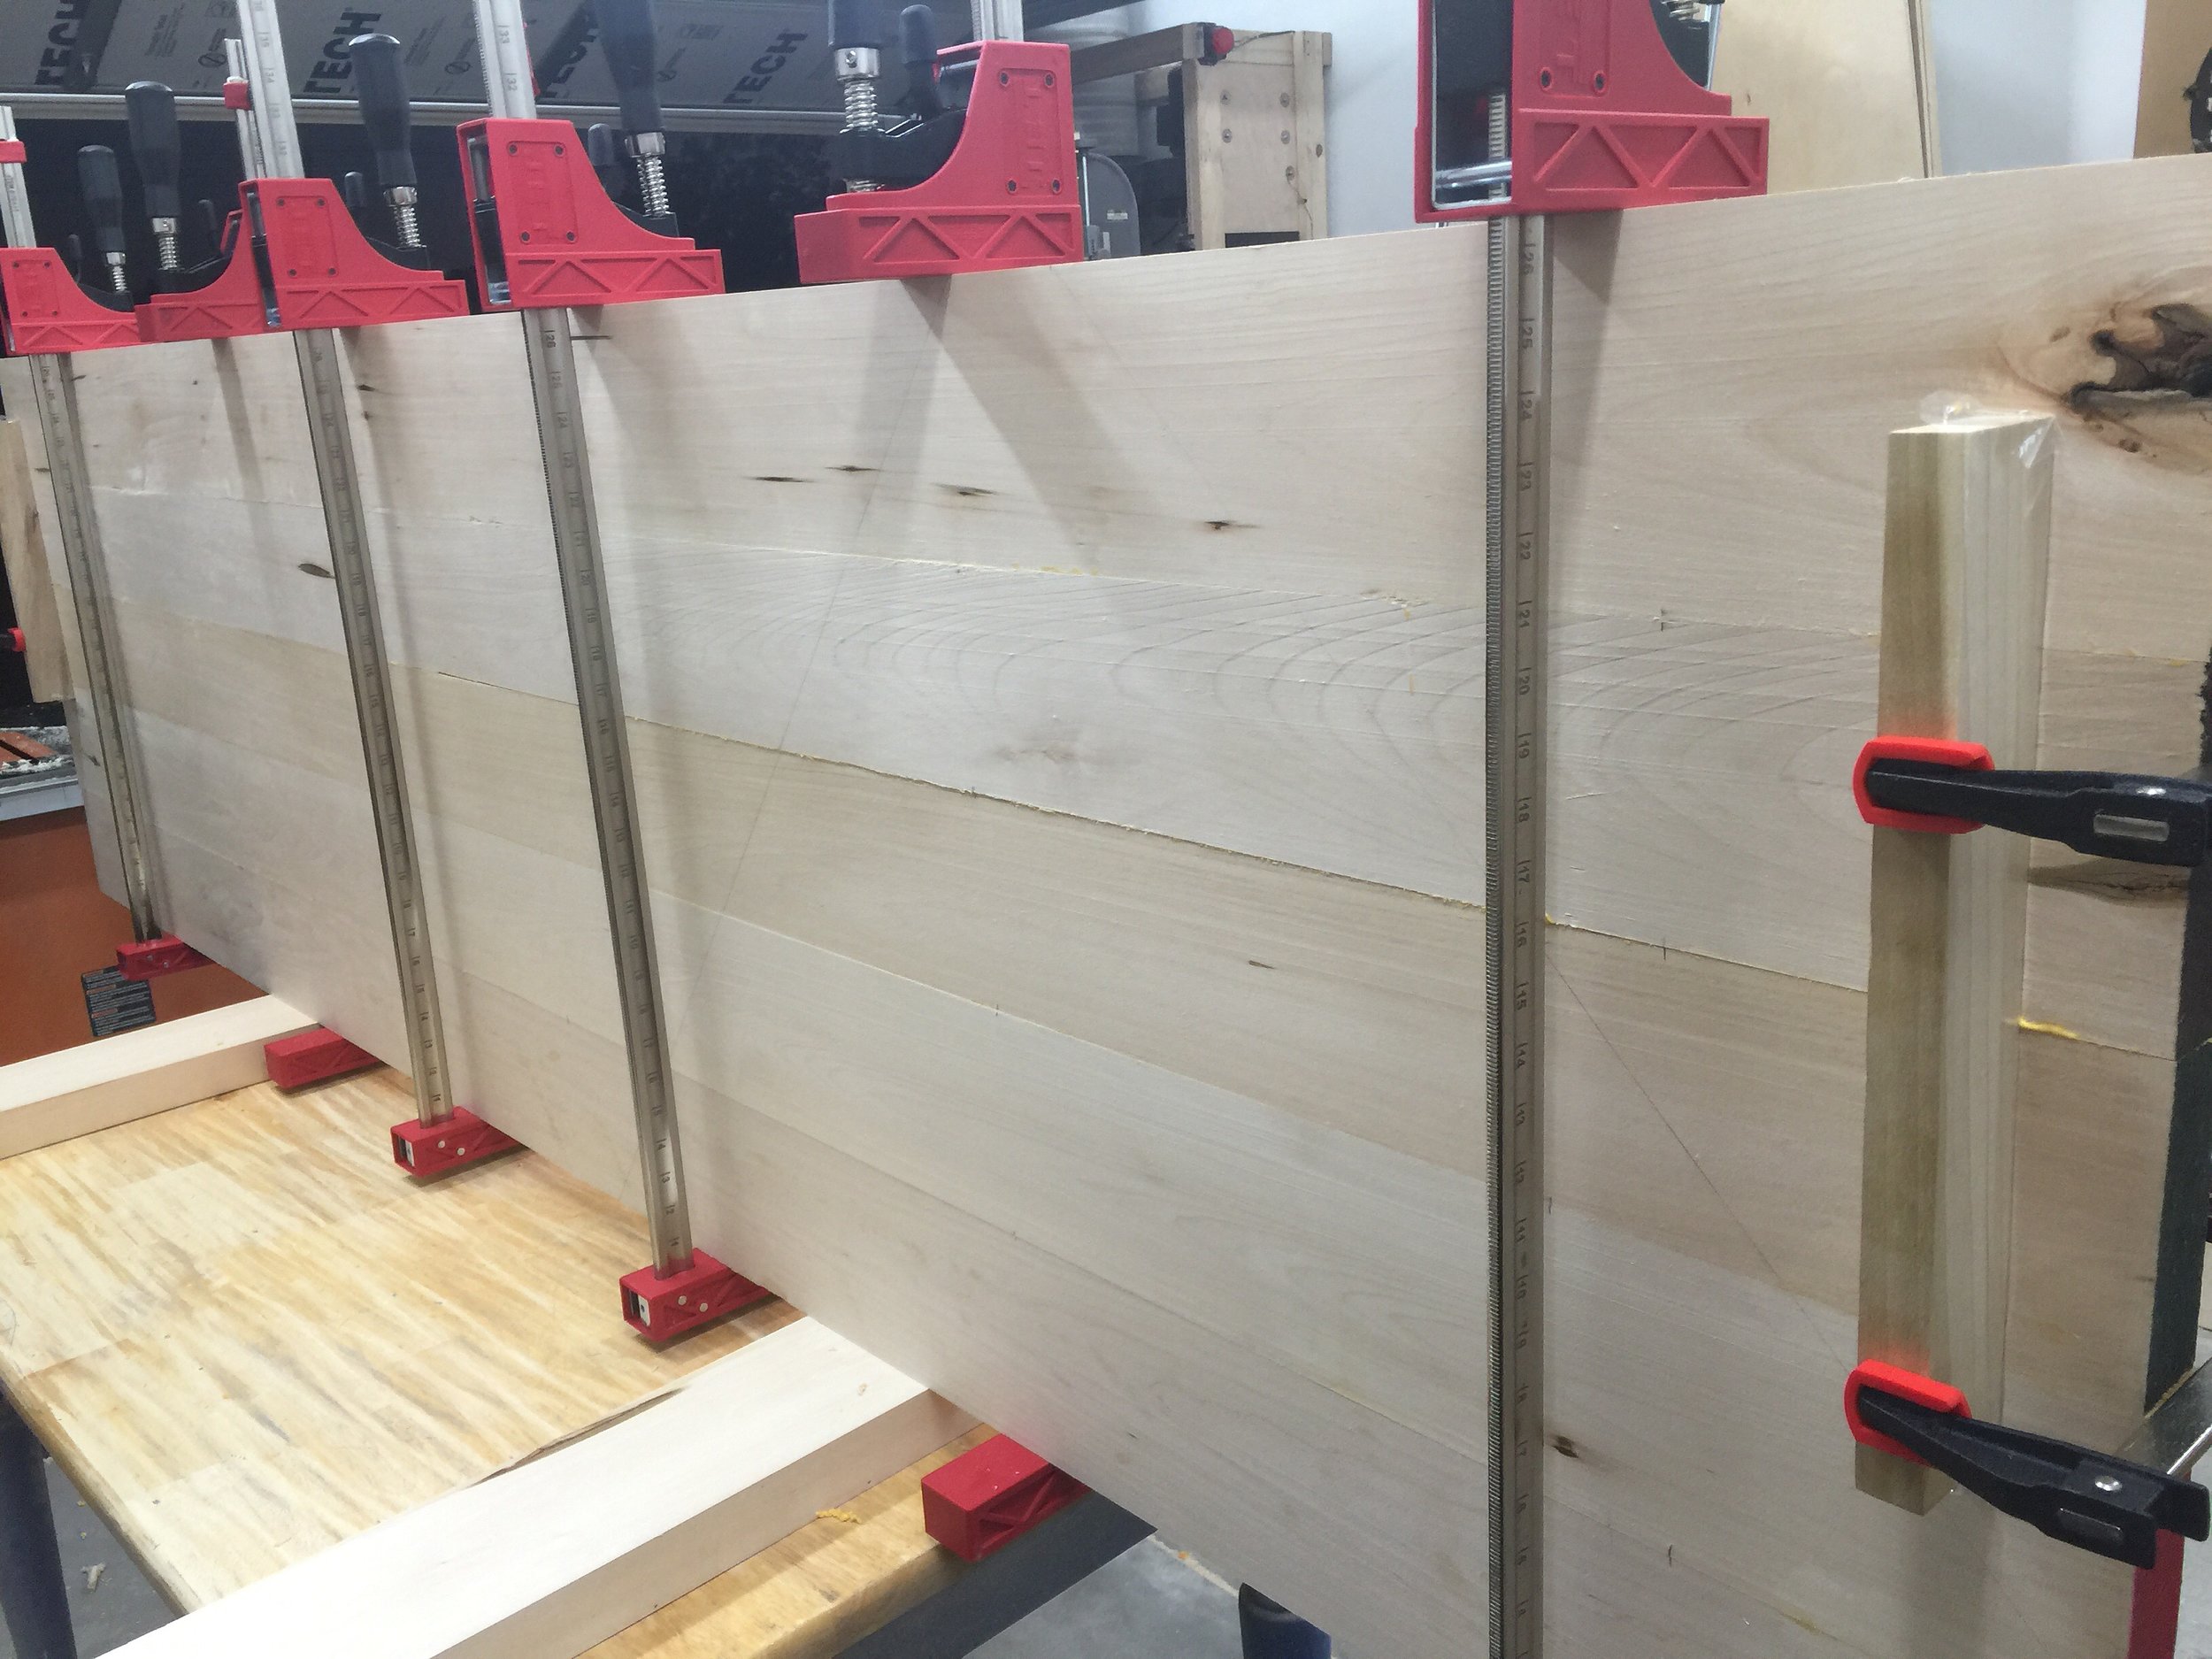
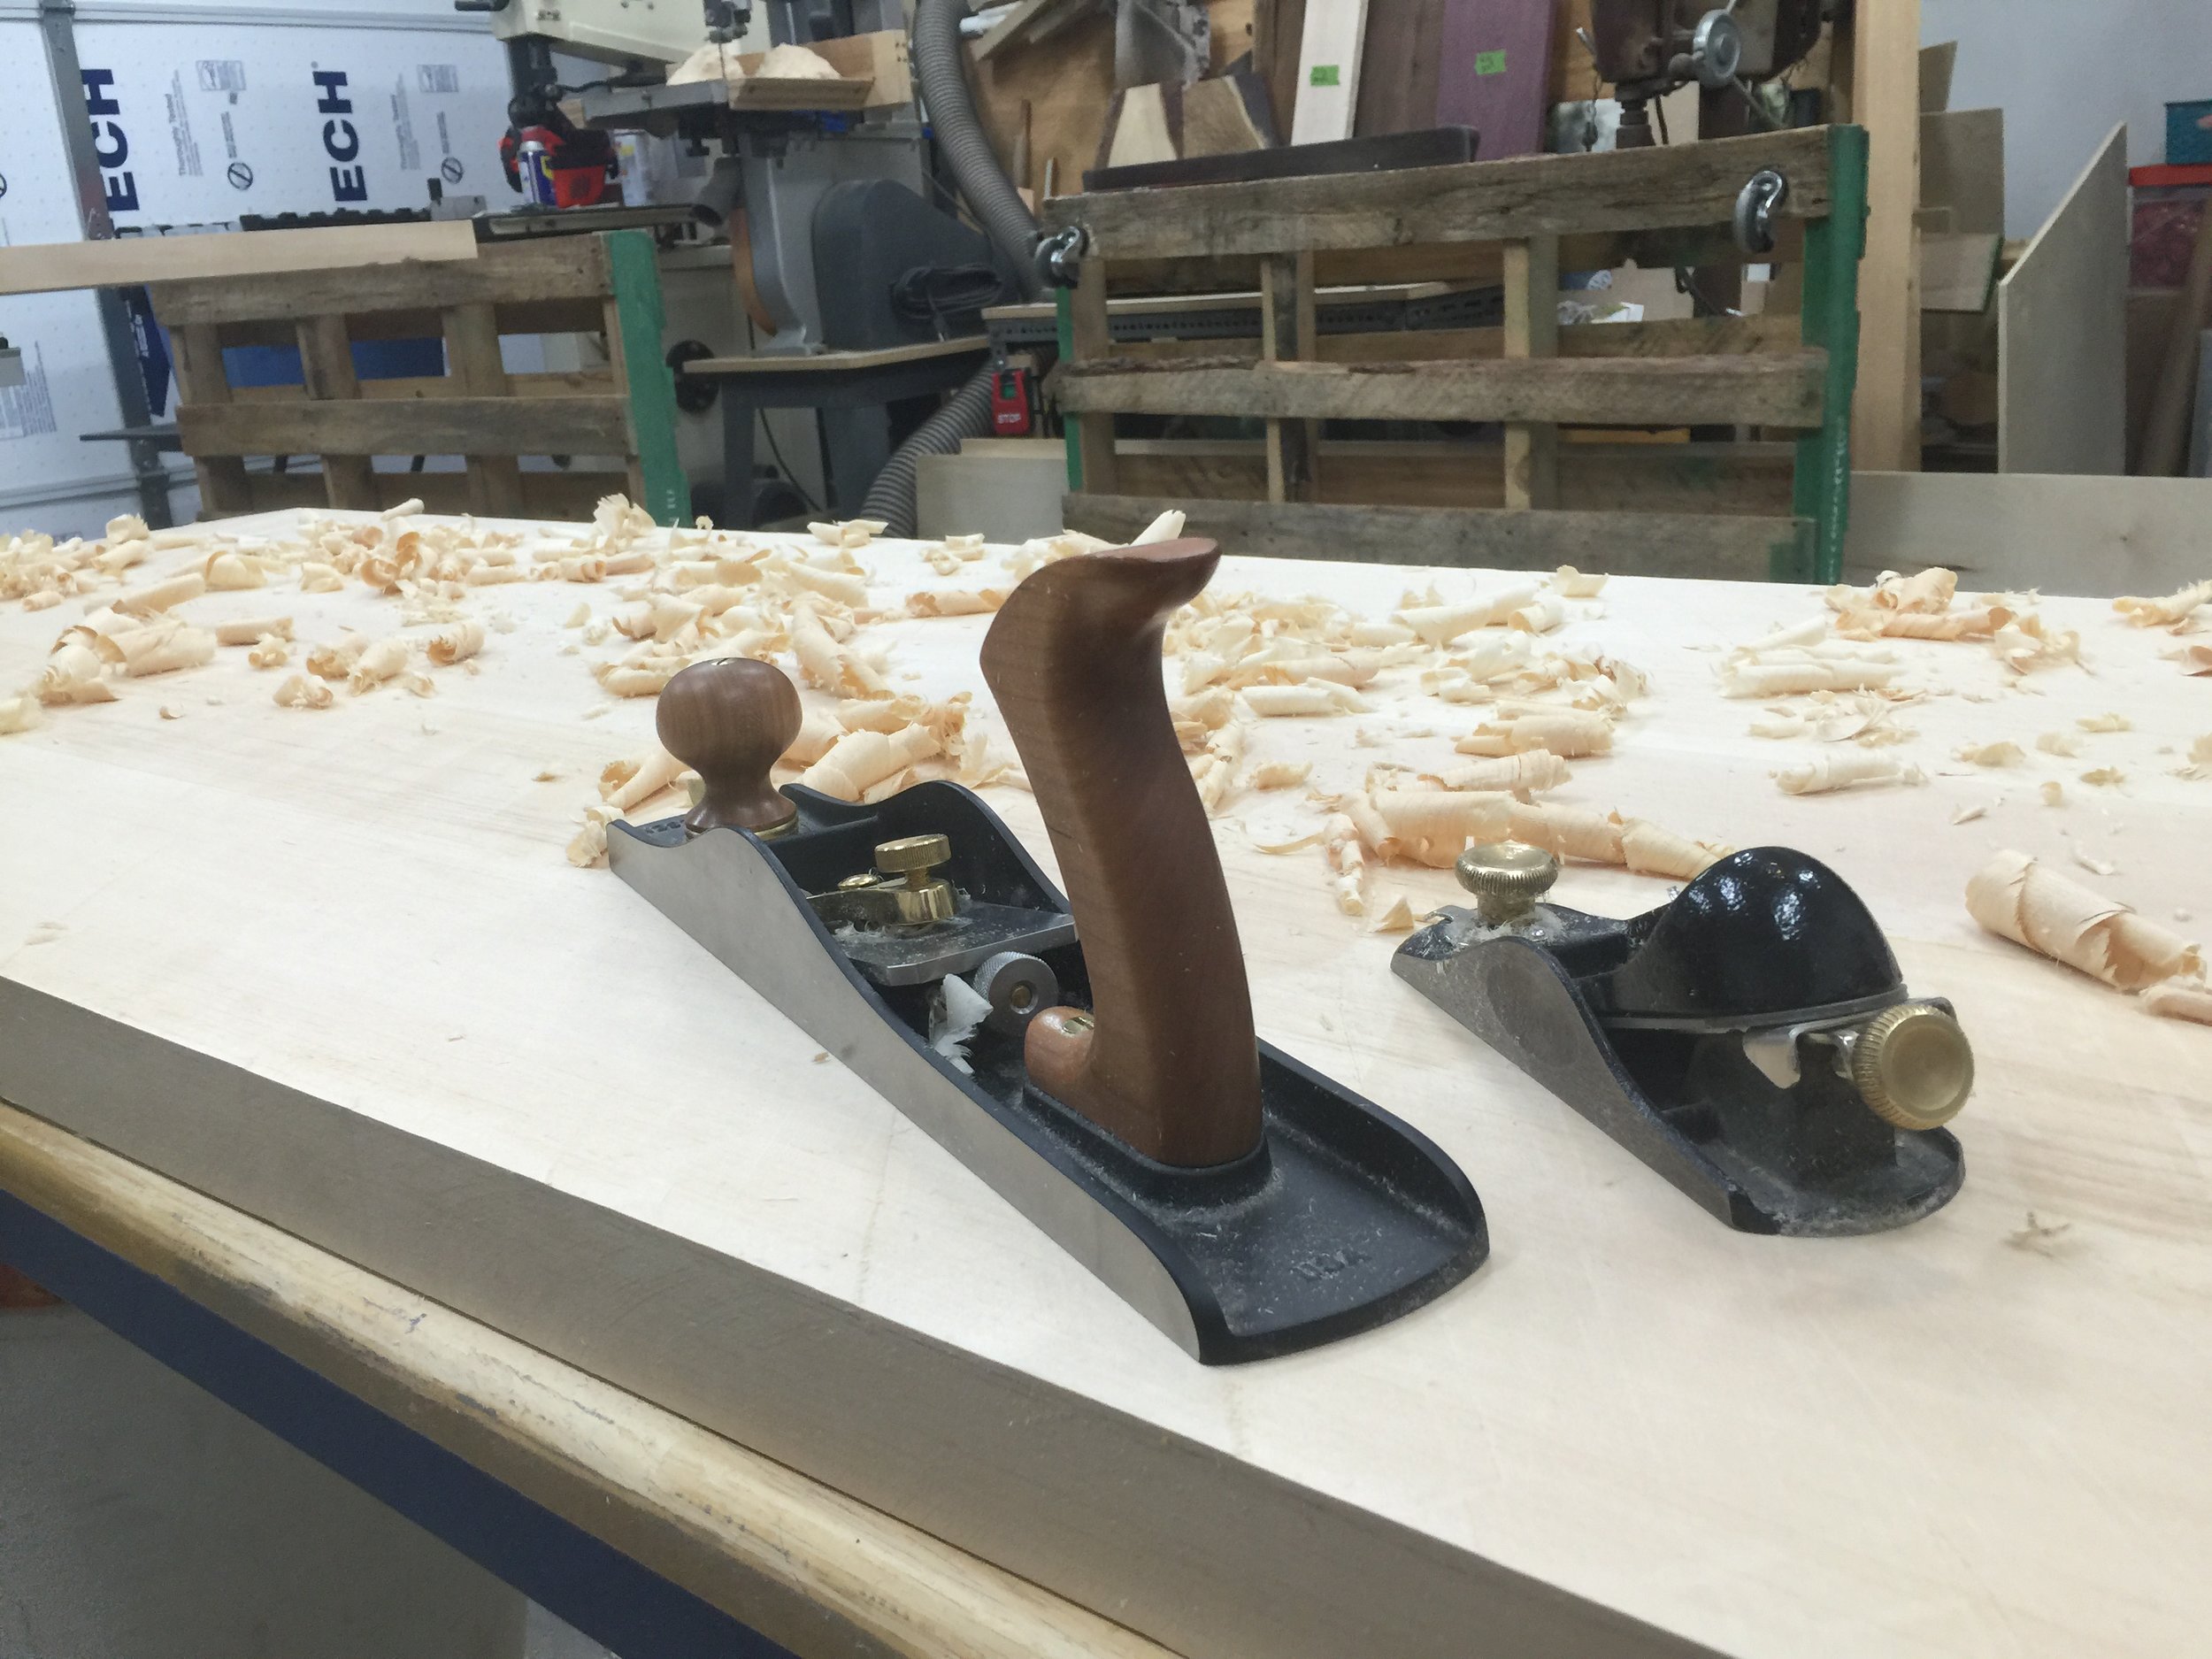
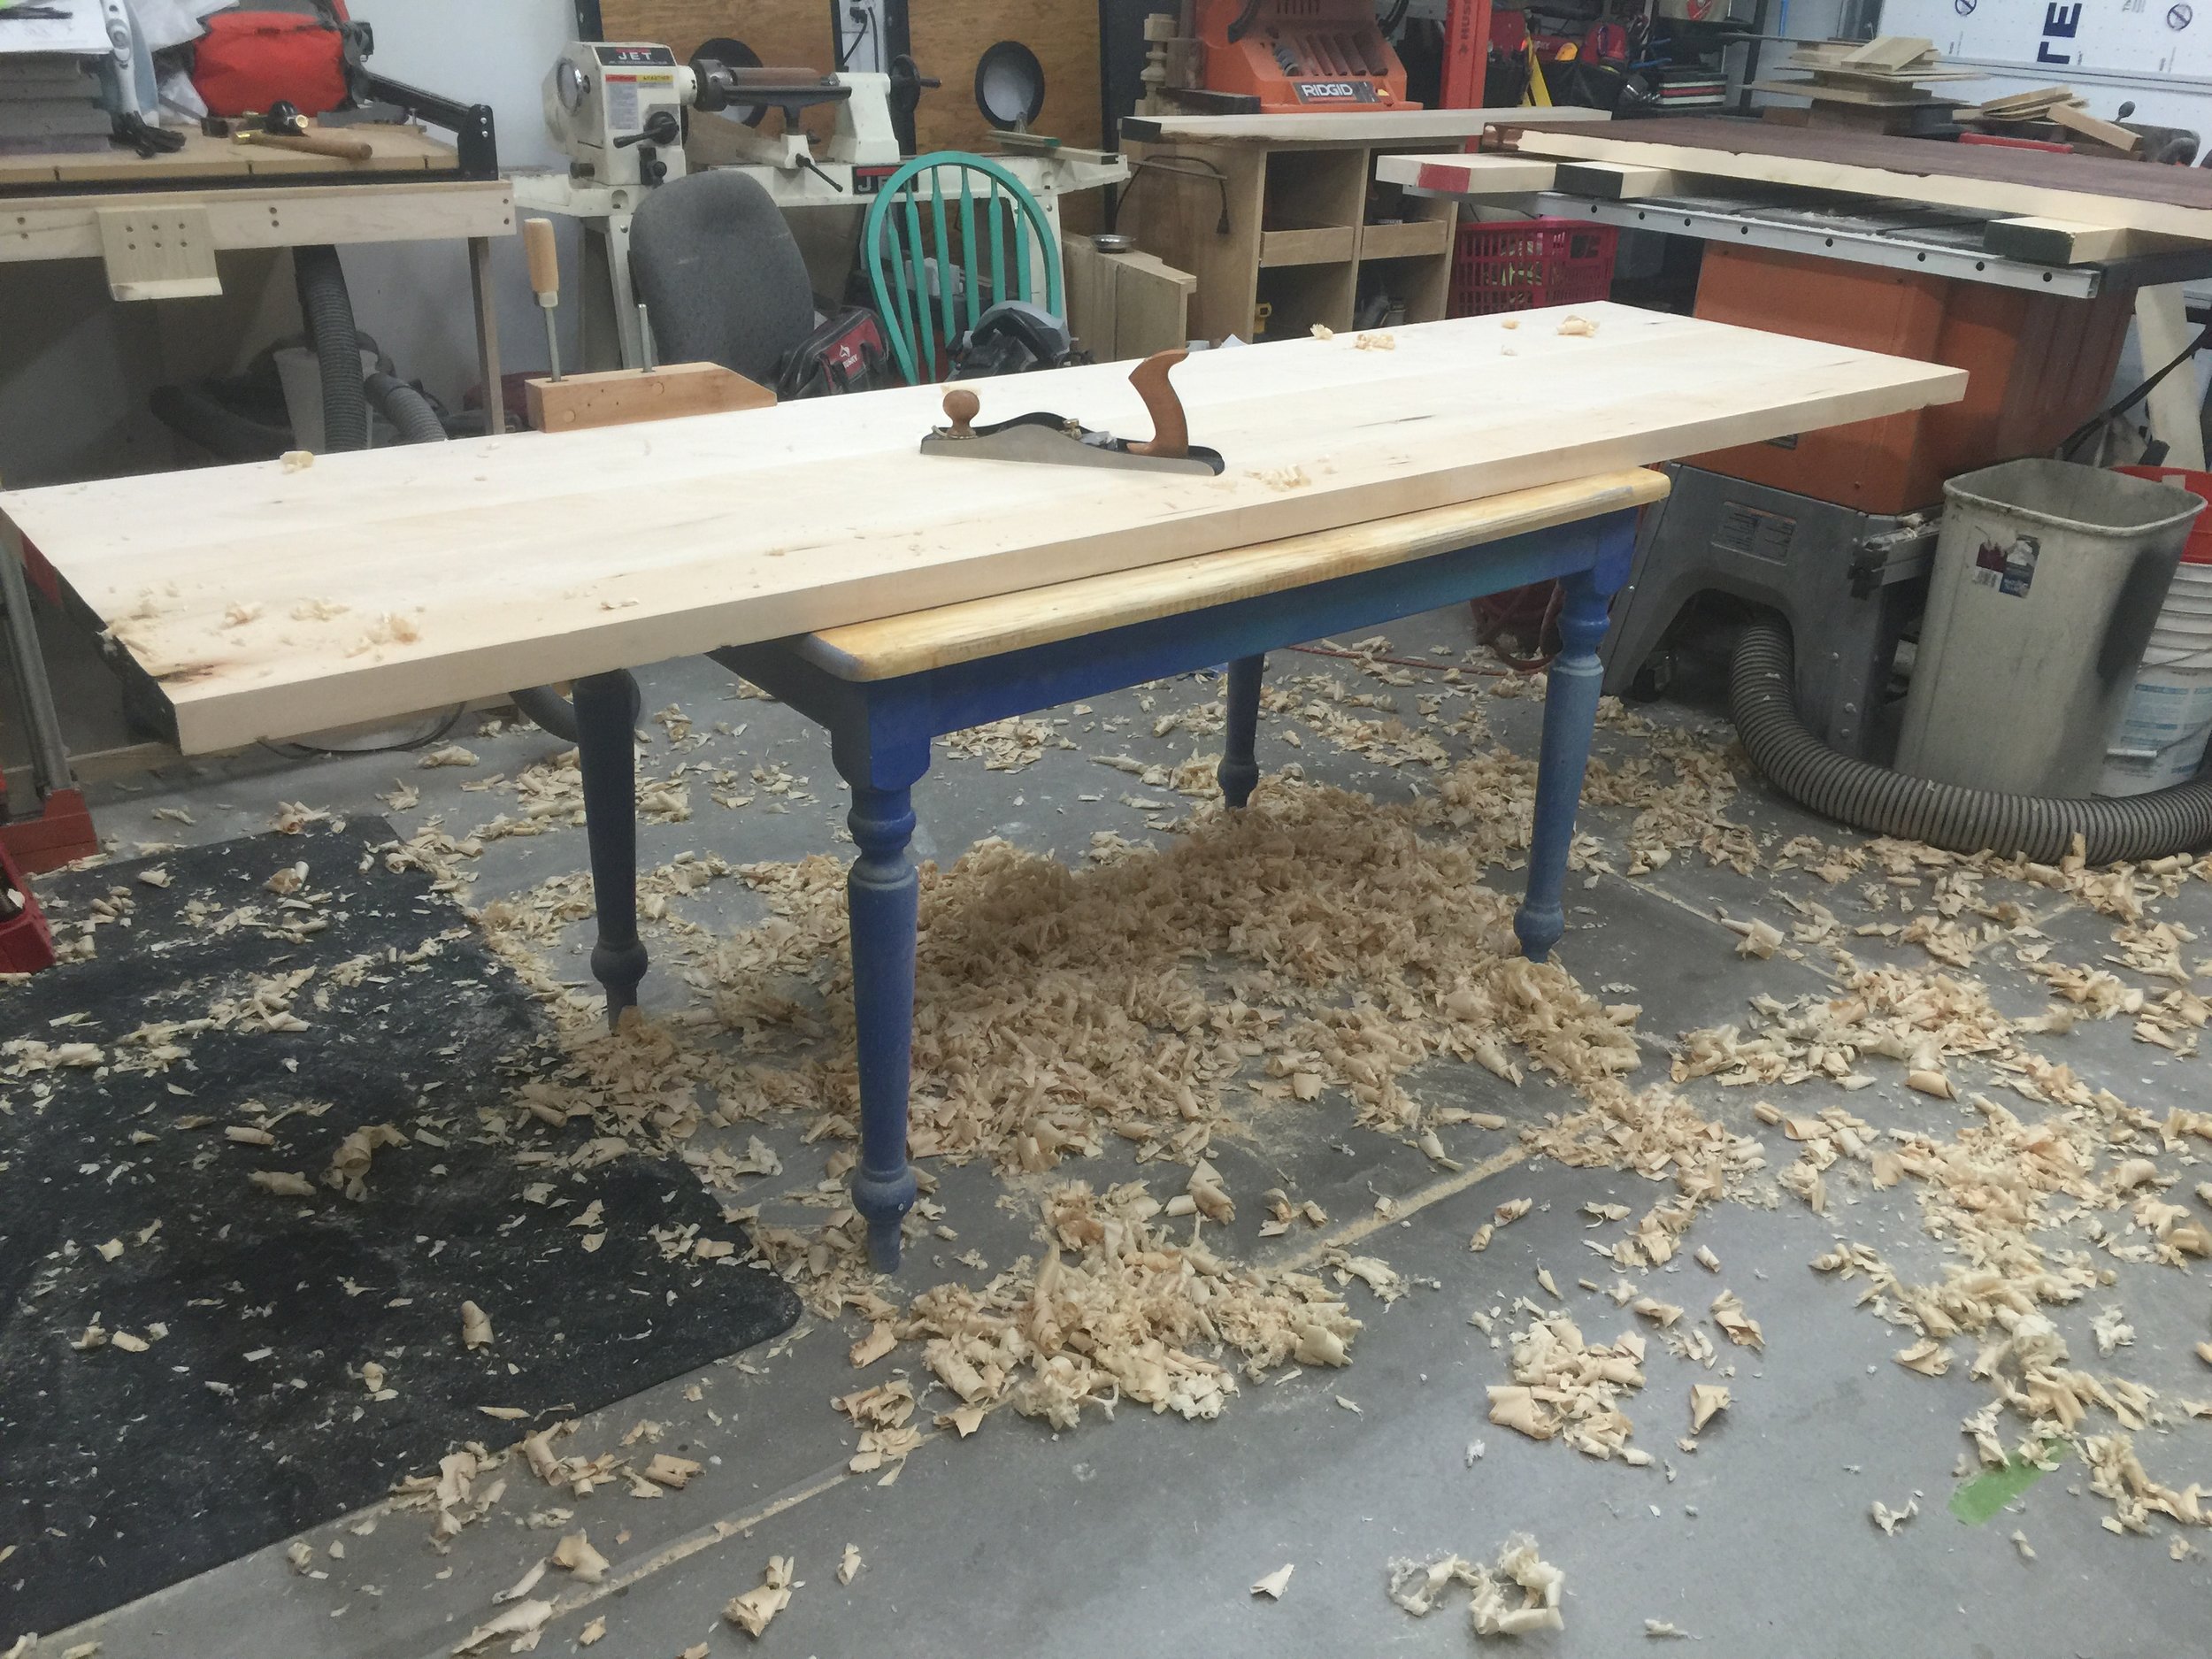
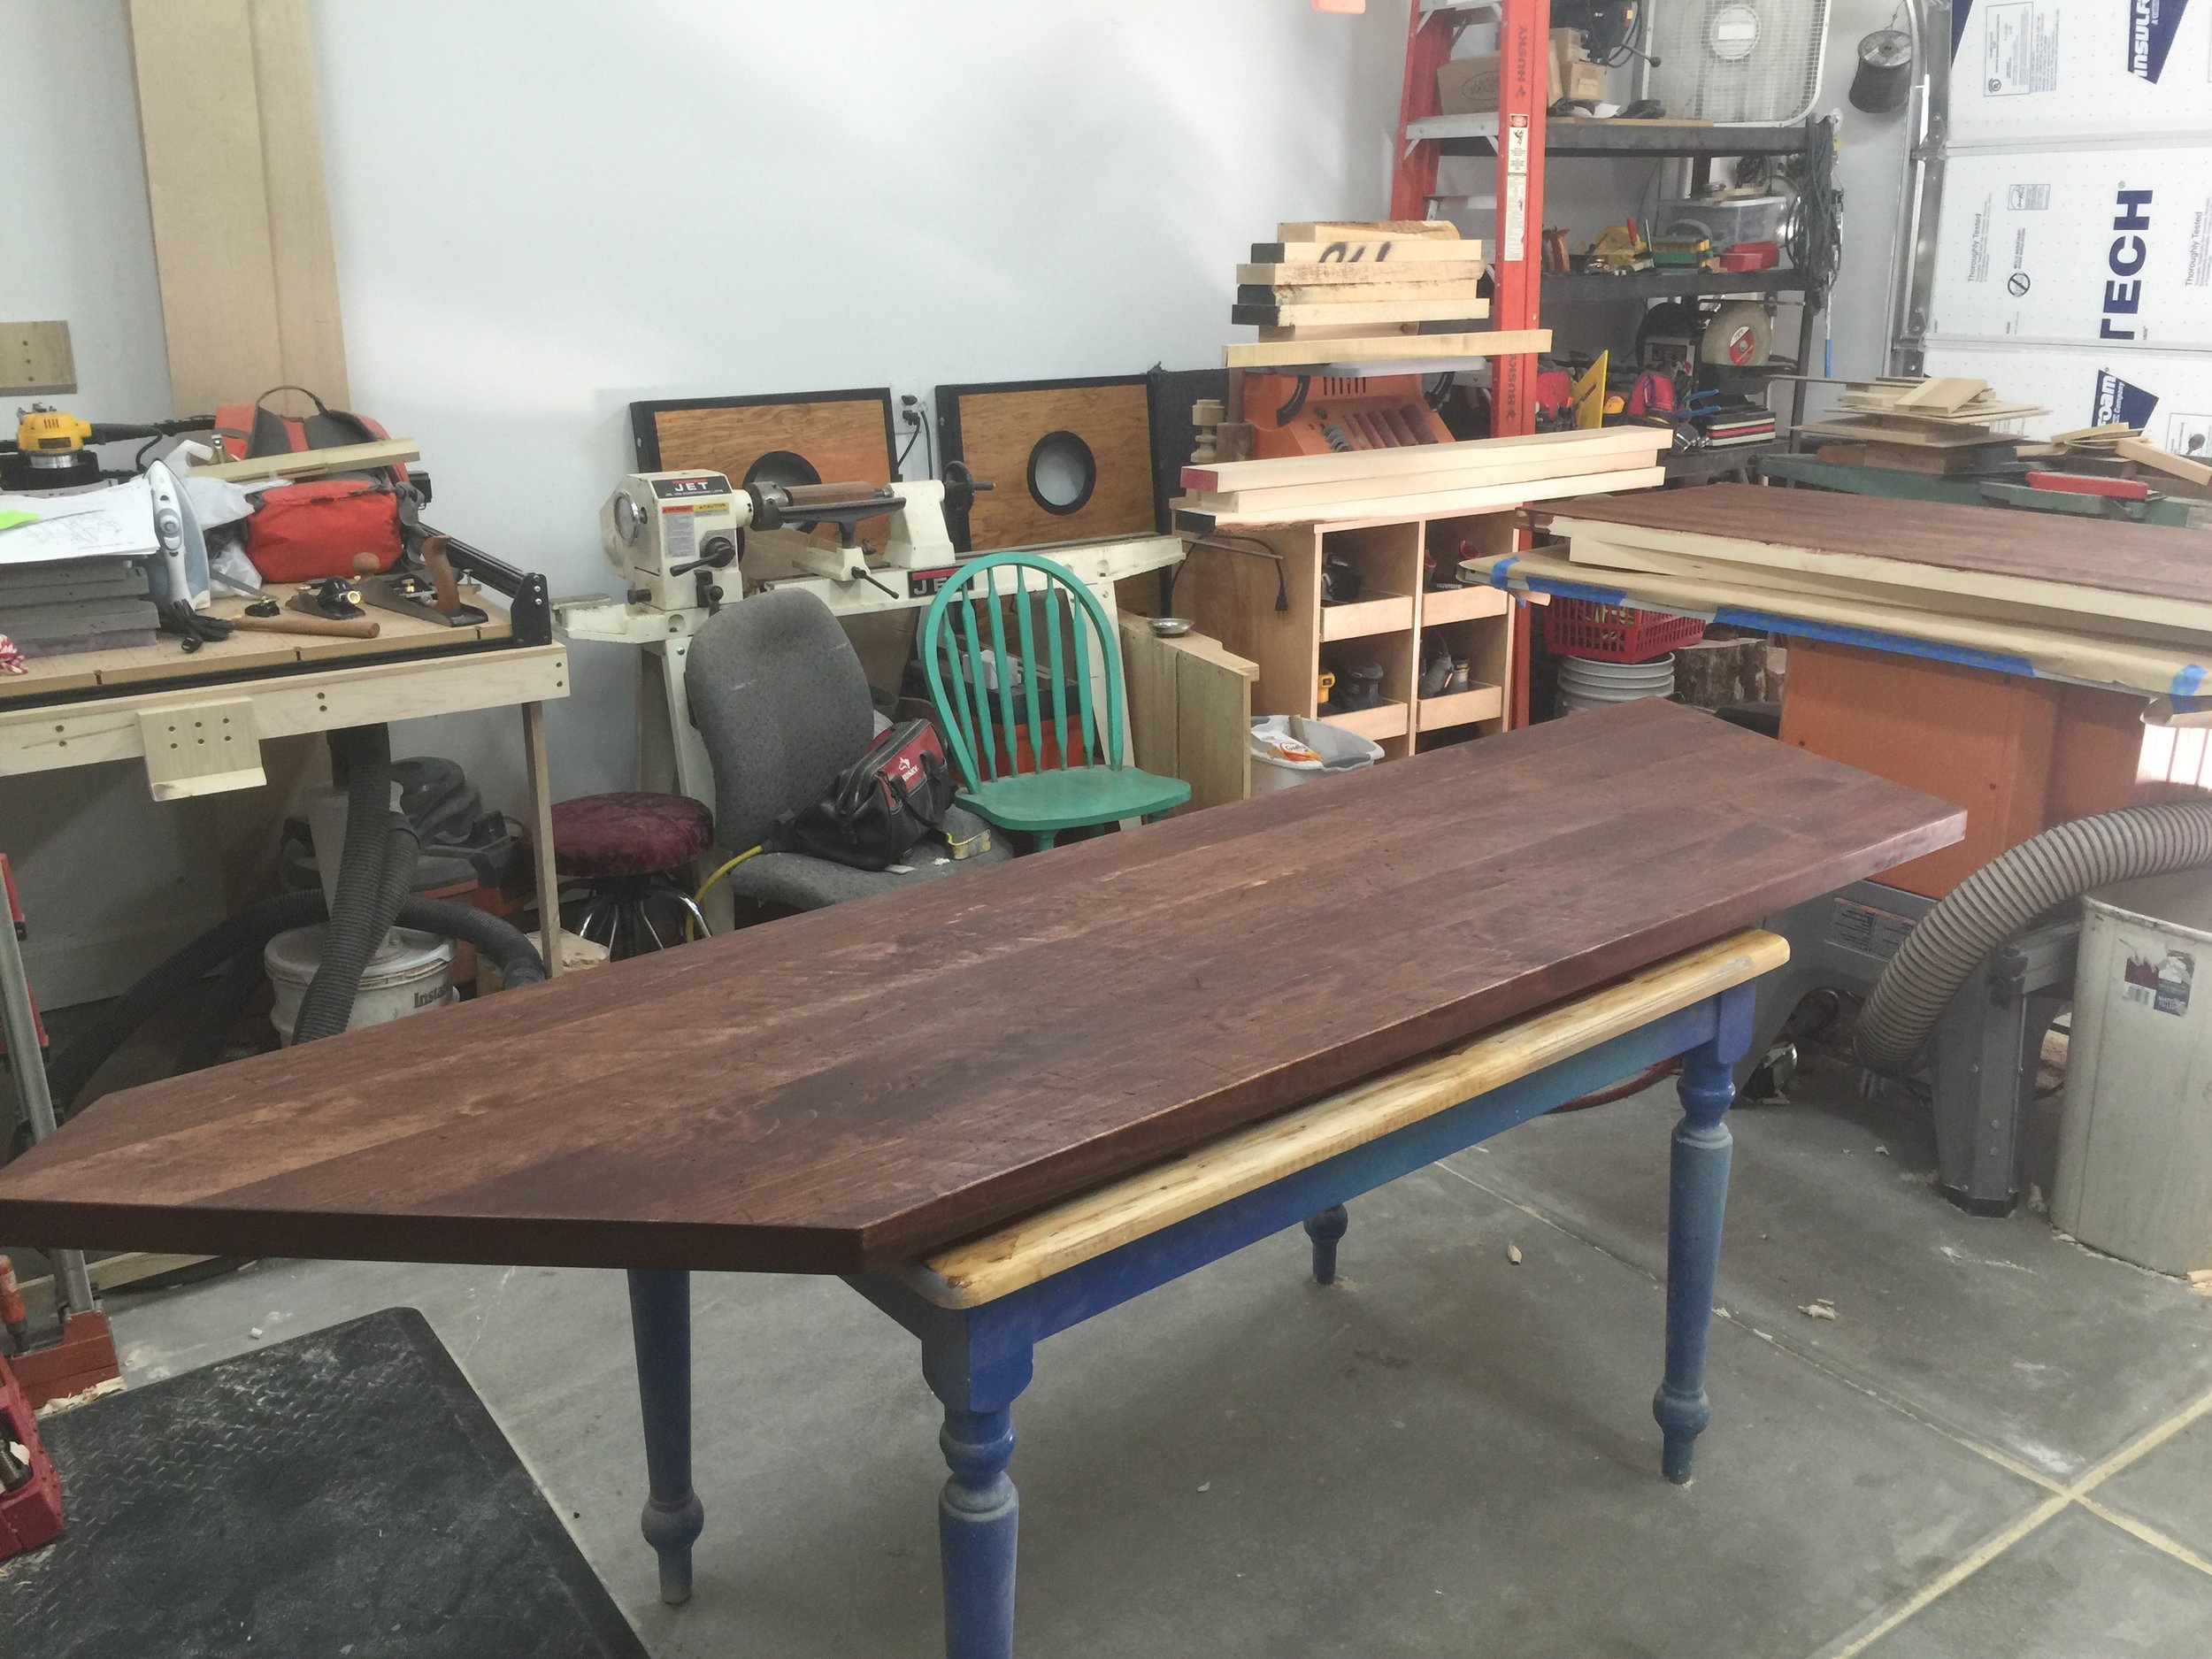
 Each counter top section had 5 individual 2-inch thick boards that got joined together using biscuits and glue.. lots of glue. After each section was fully assembled and cut to size, they got planed by hand to remove any ridges between boards and ensure the entire surface was flat.
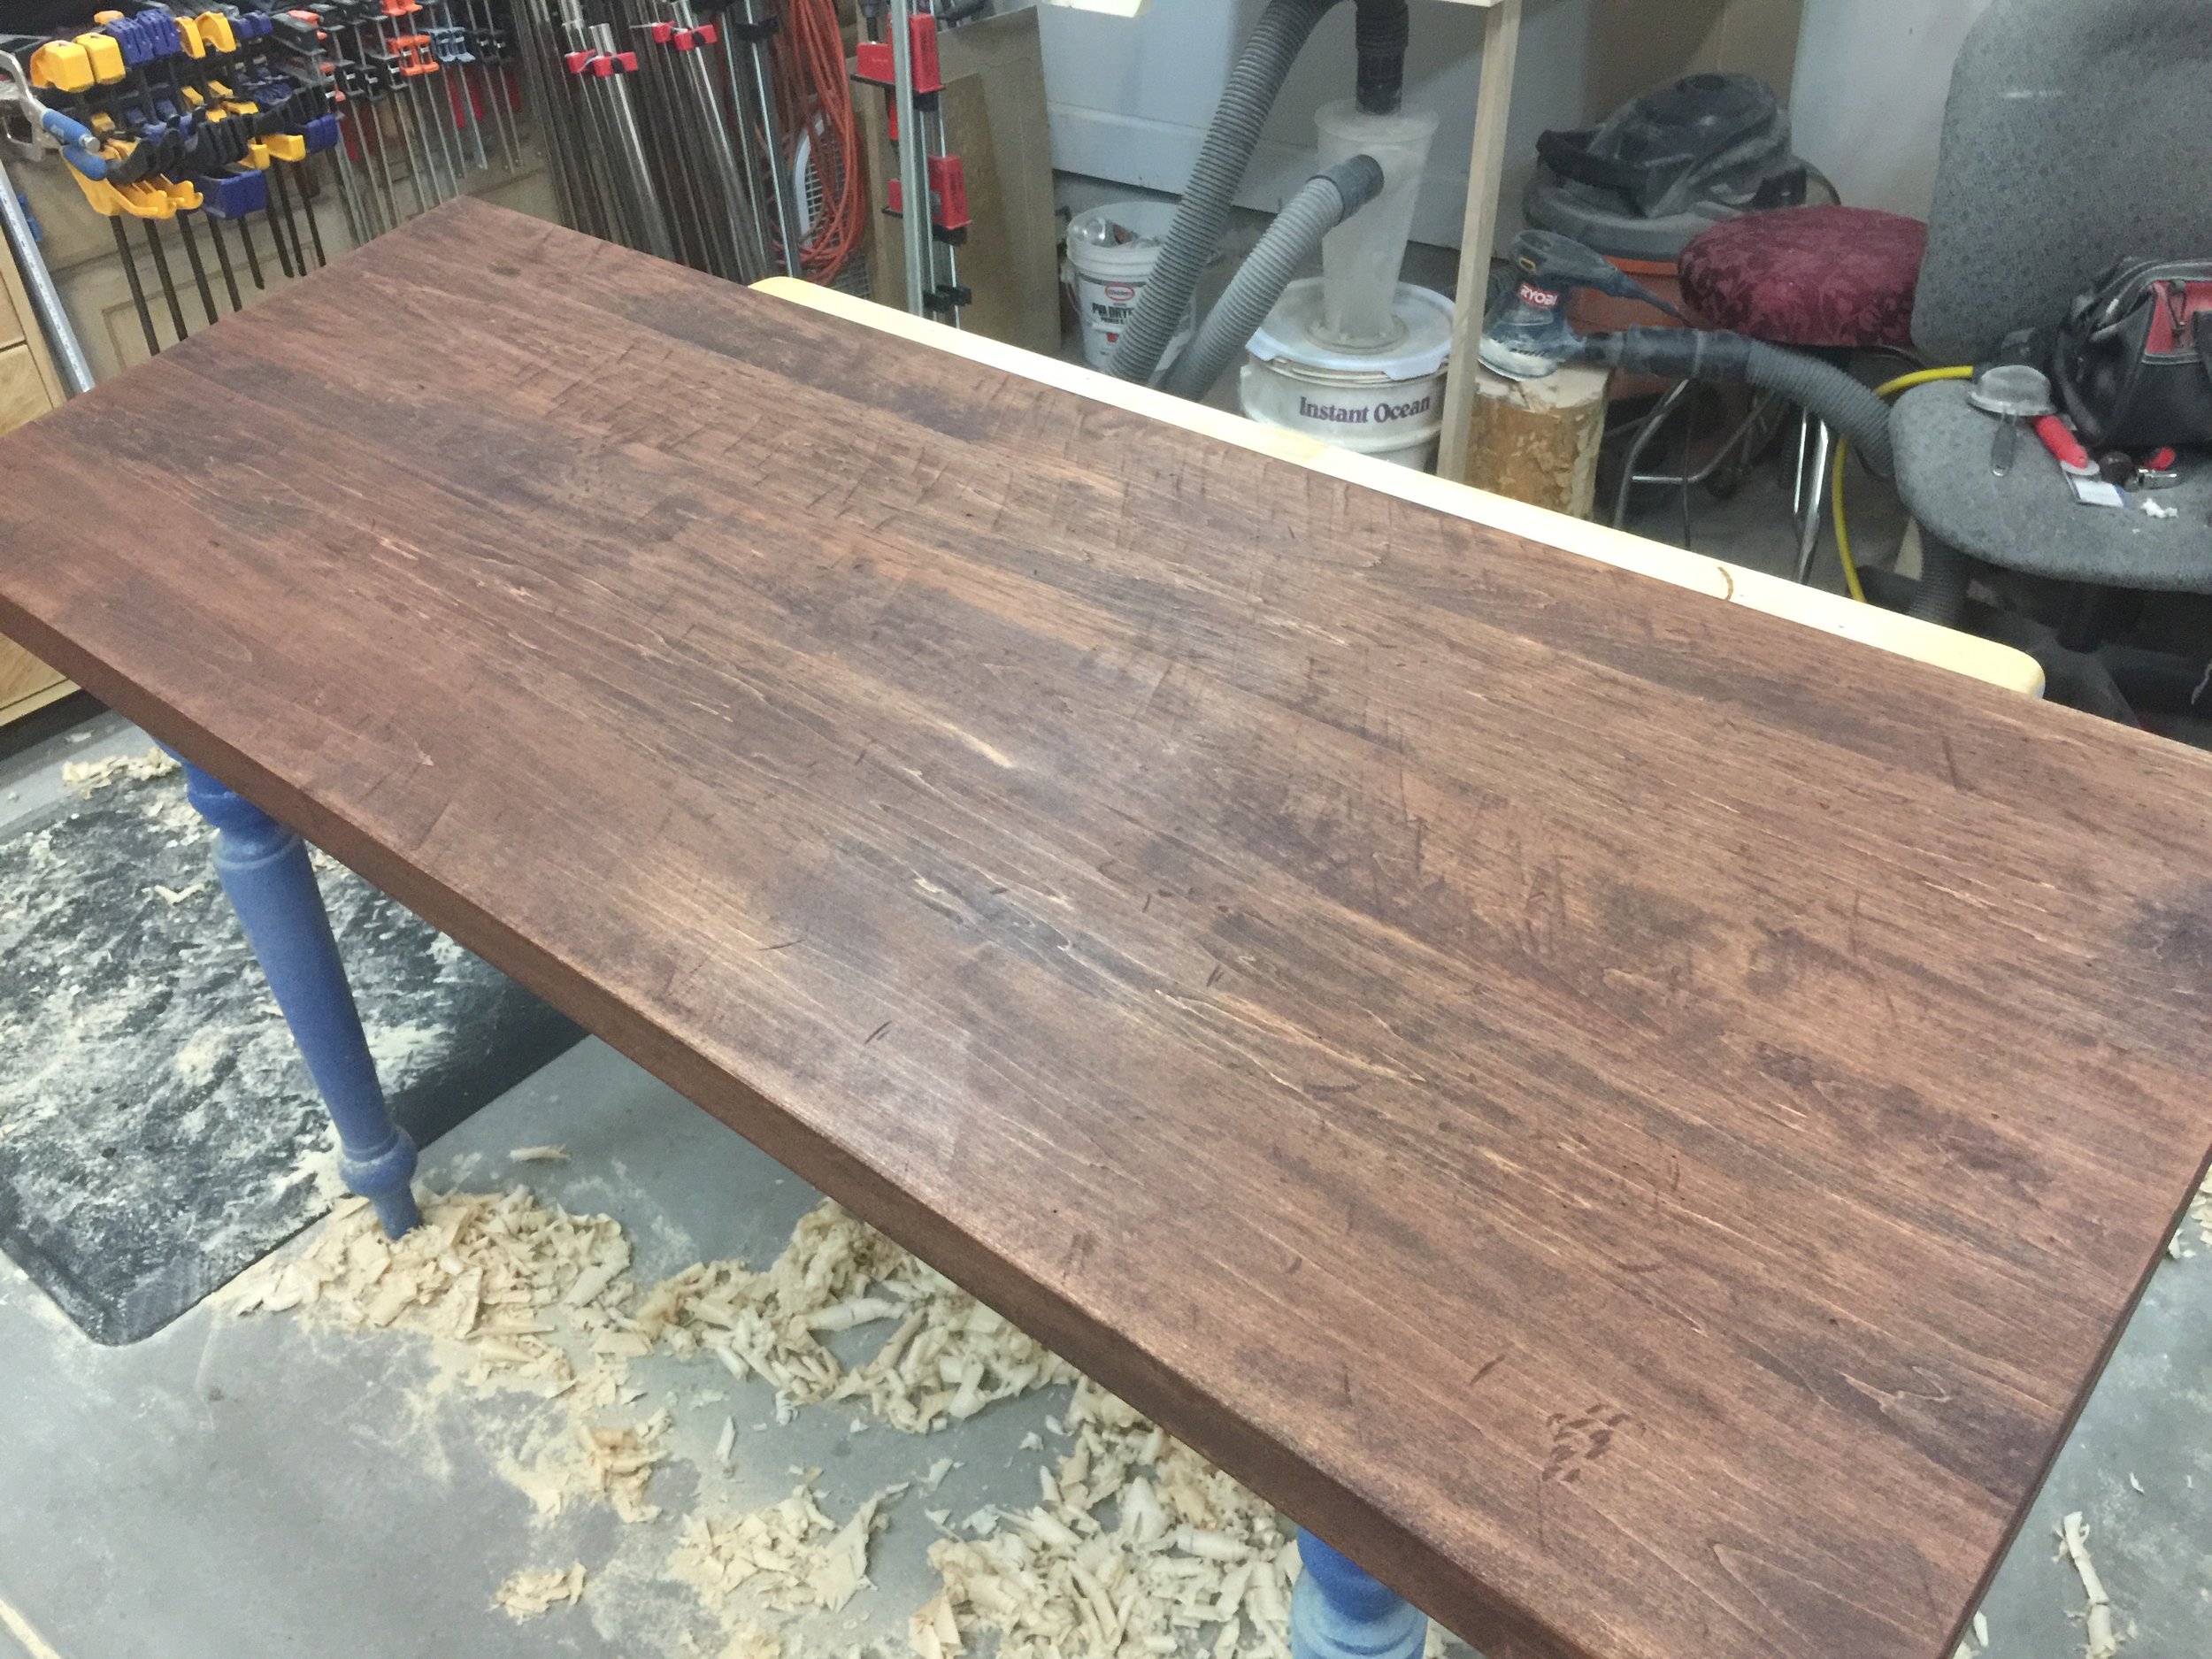
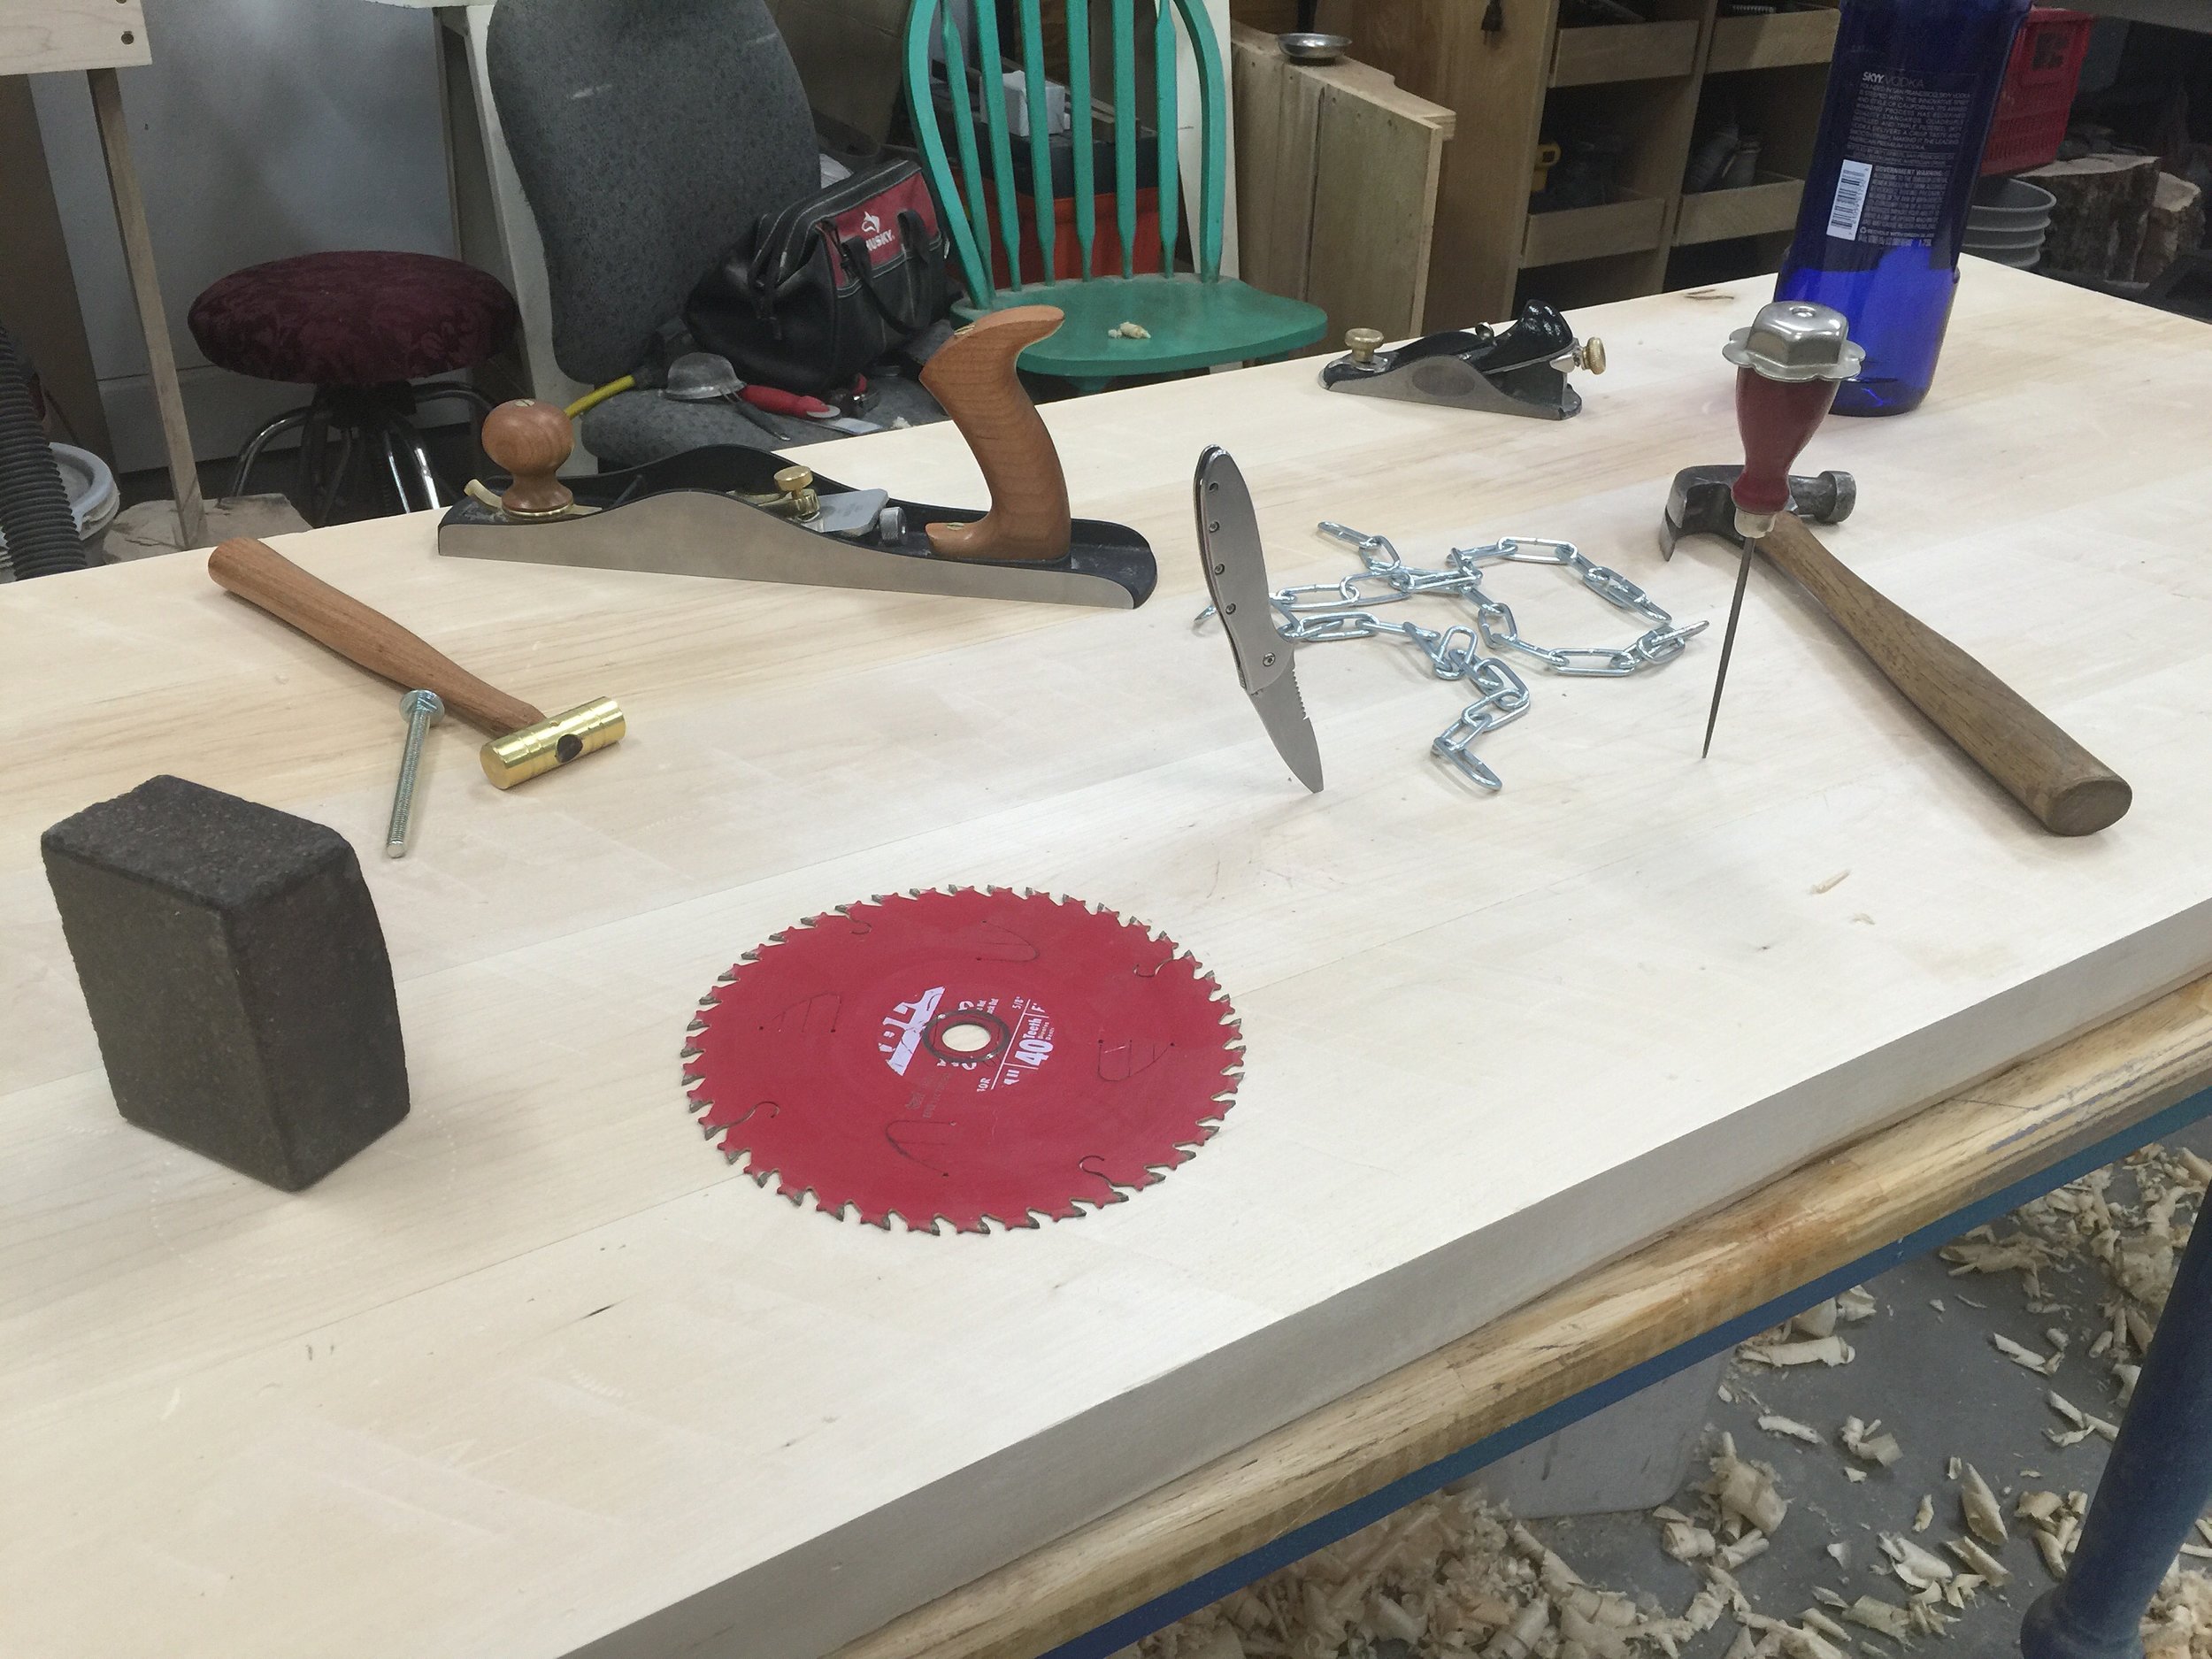
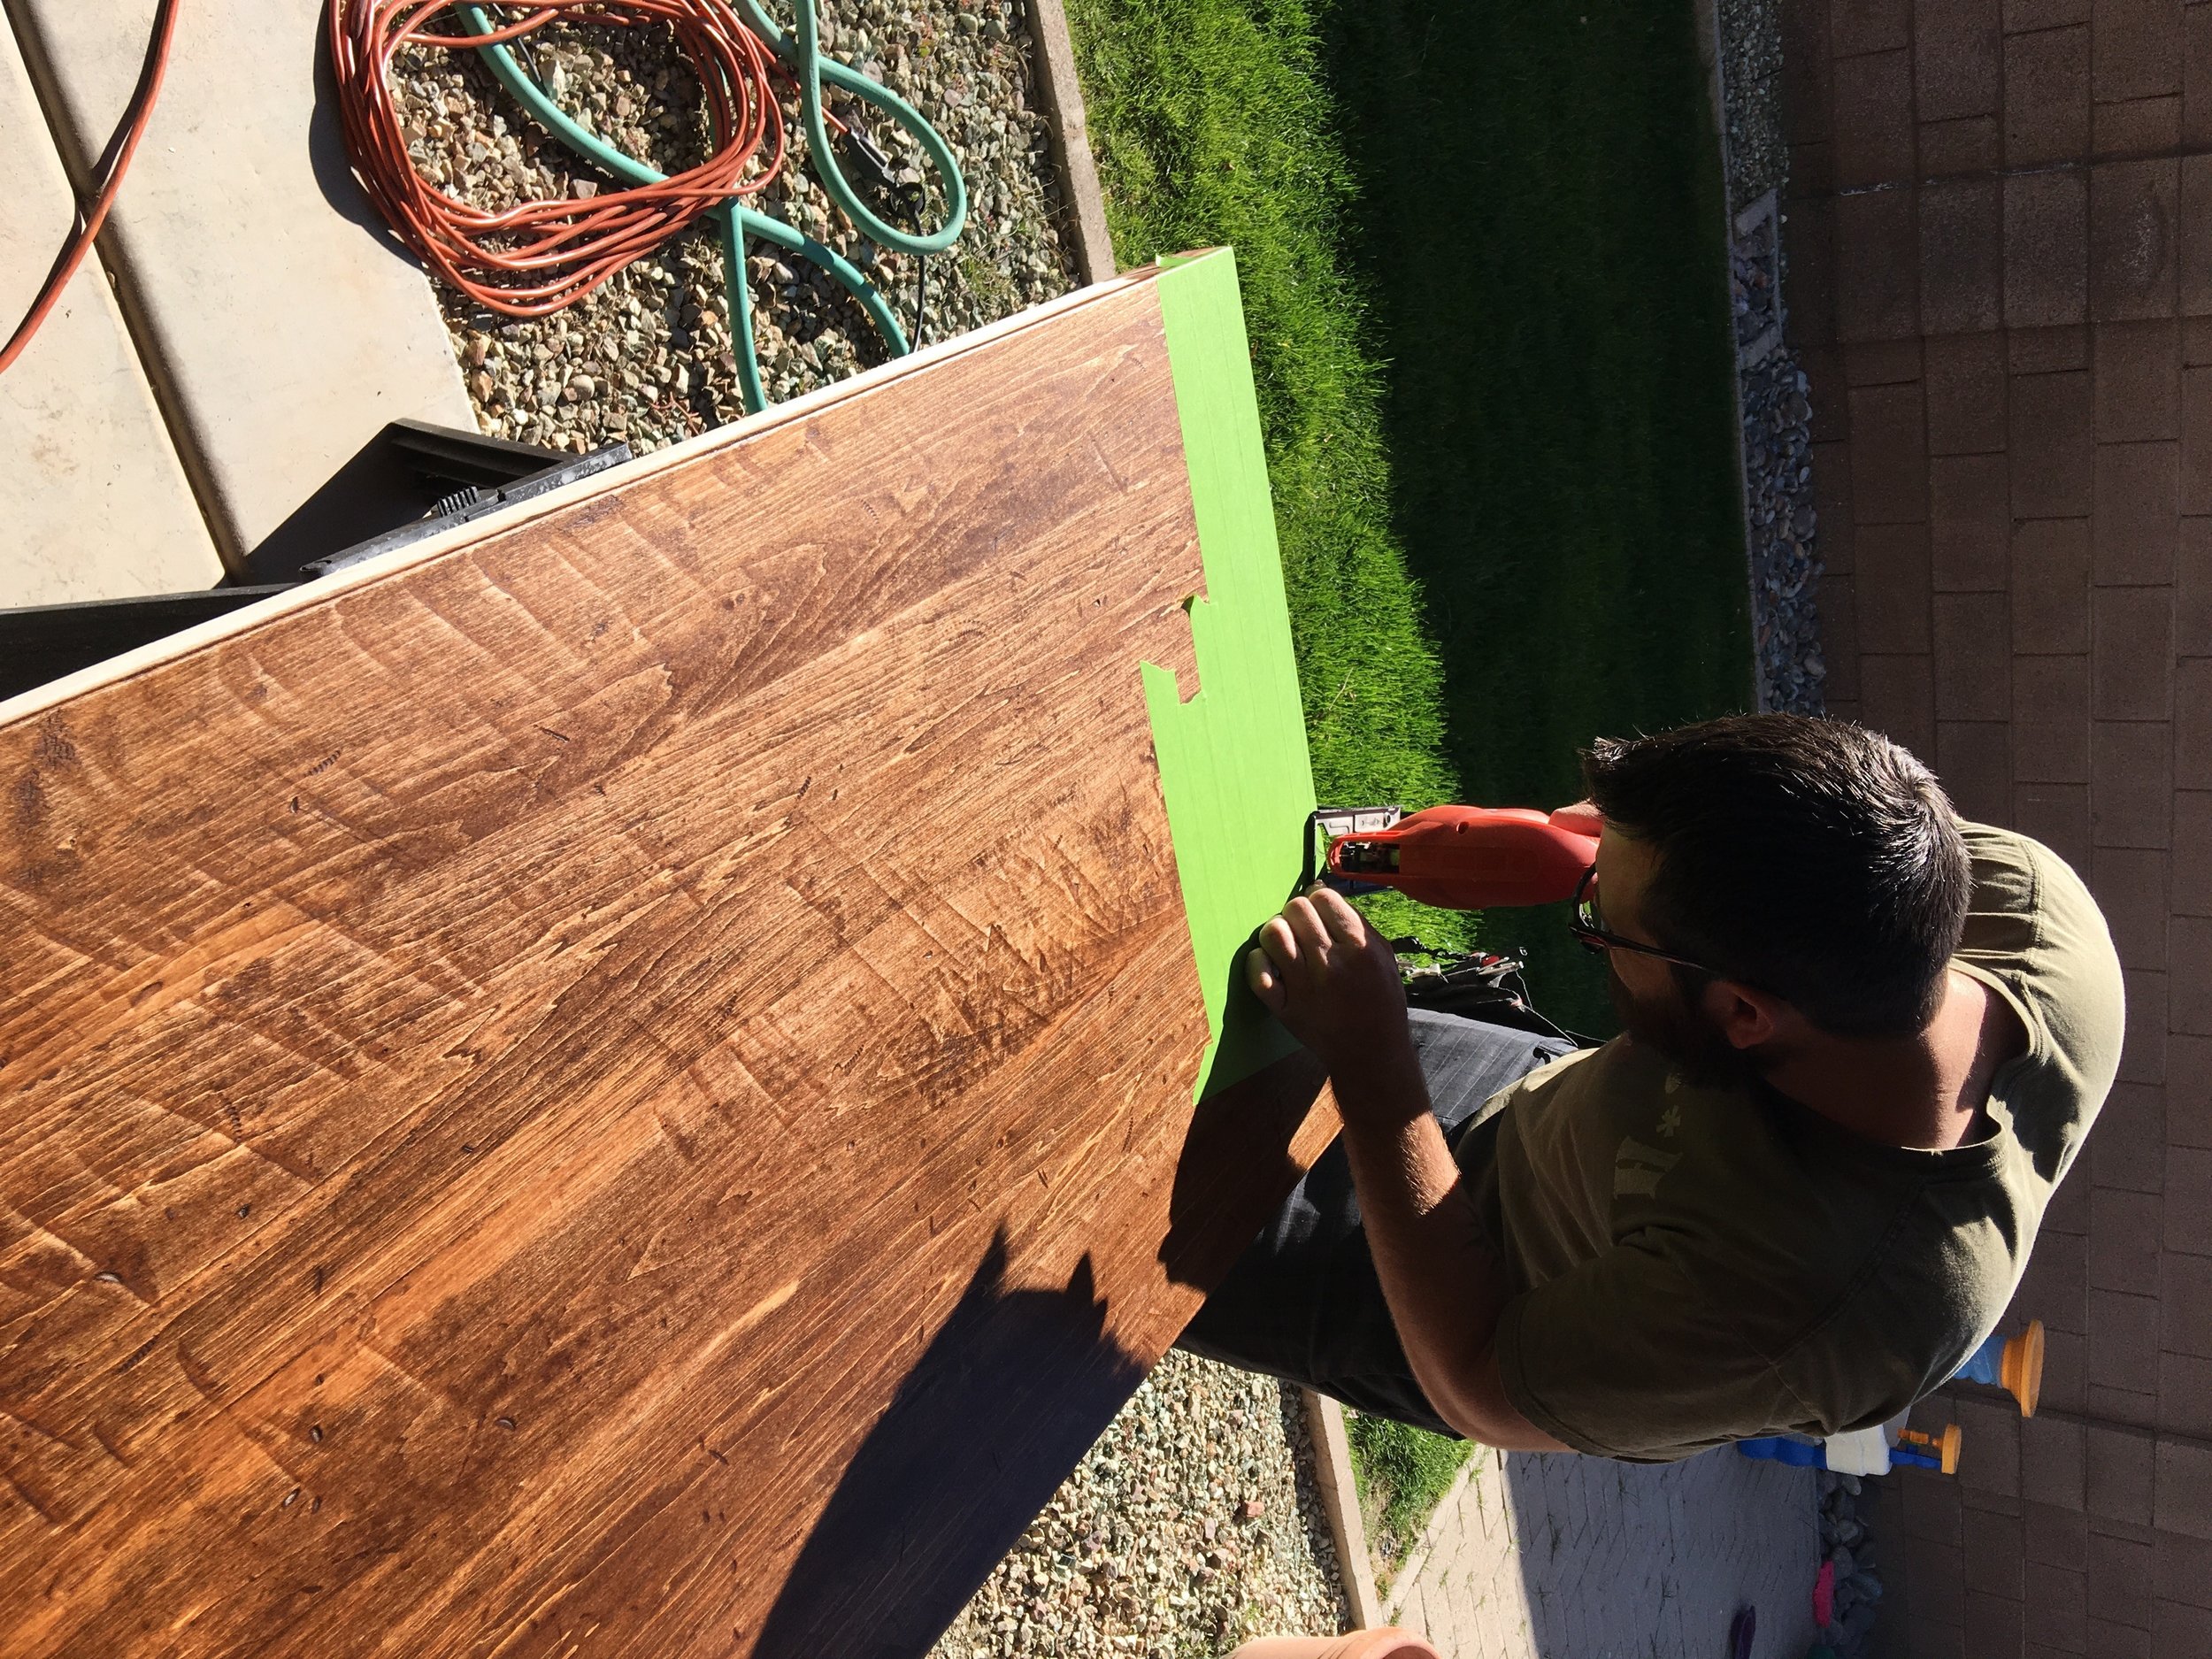
 Then came the fun part! The client wanted the counter to appear to be from an old workbench much like my sofa table that actually was an old workbench. Walking around my garage, I gathered a bunch of objects that might have been used on a workbench and started stabbing, prodding, gouging, scraping and hammering. I think my favorite was the giant vodka bottle and the awl which left a bunch of little dark holes. After sufficiently abusing the counter top, I sanded everything with 220-grit to remove any sharp edges that might catch.
Ultra Smooth Finishing
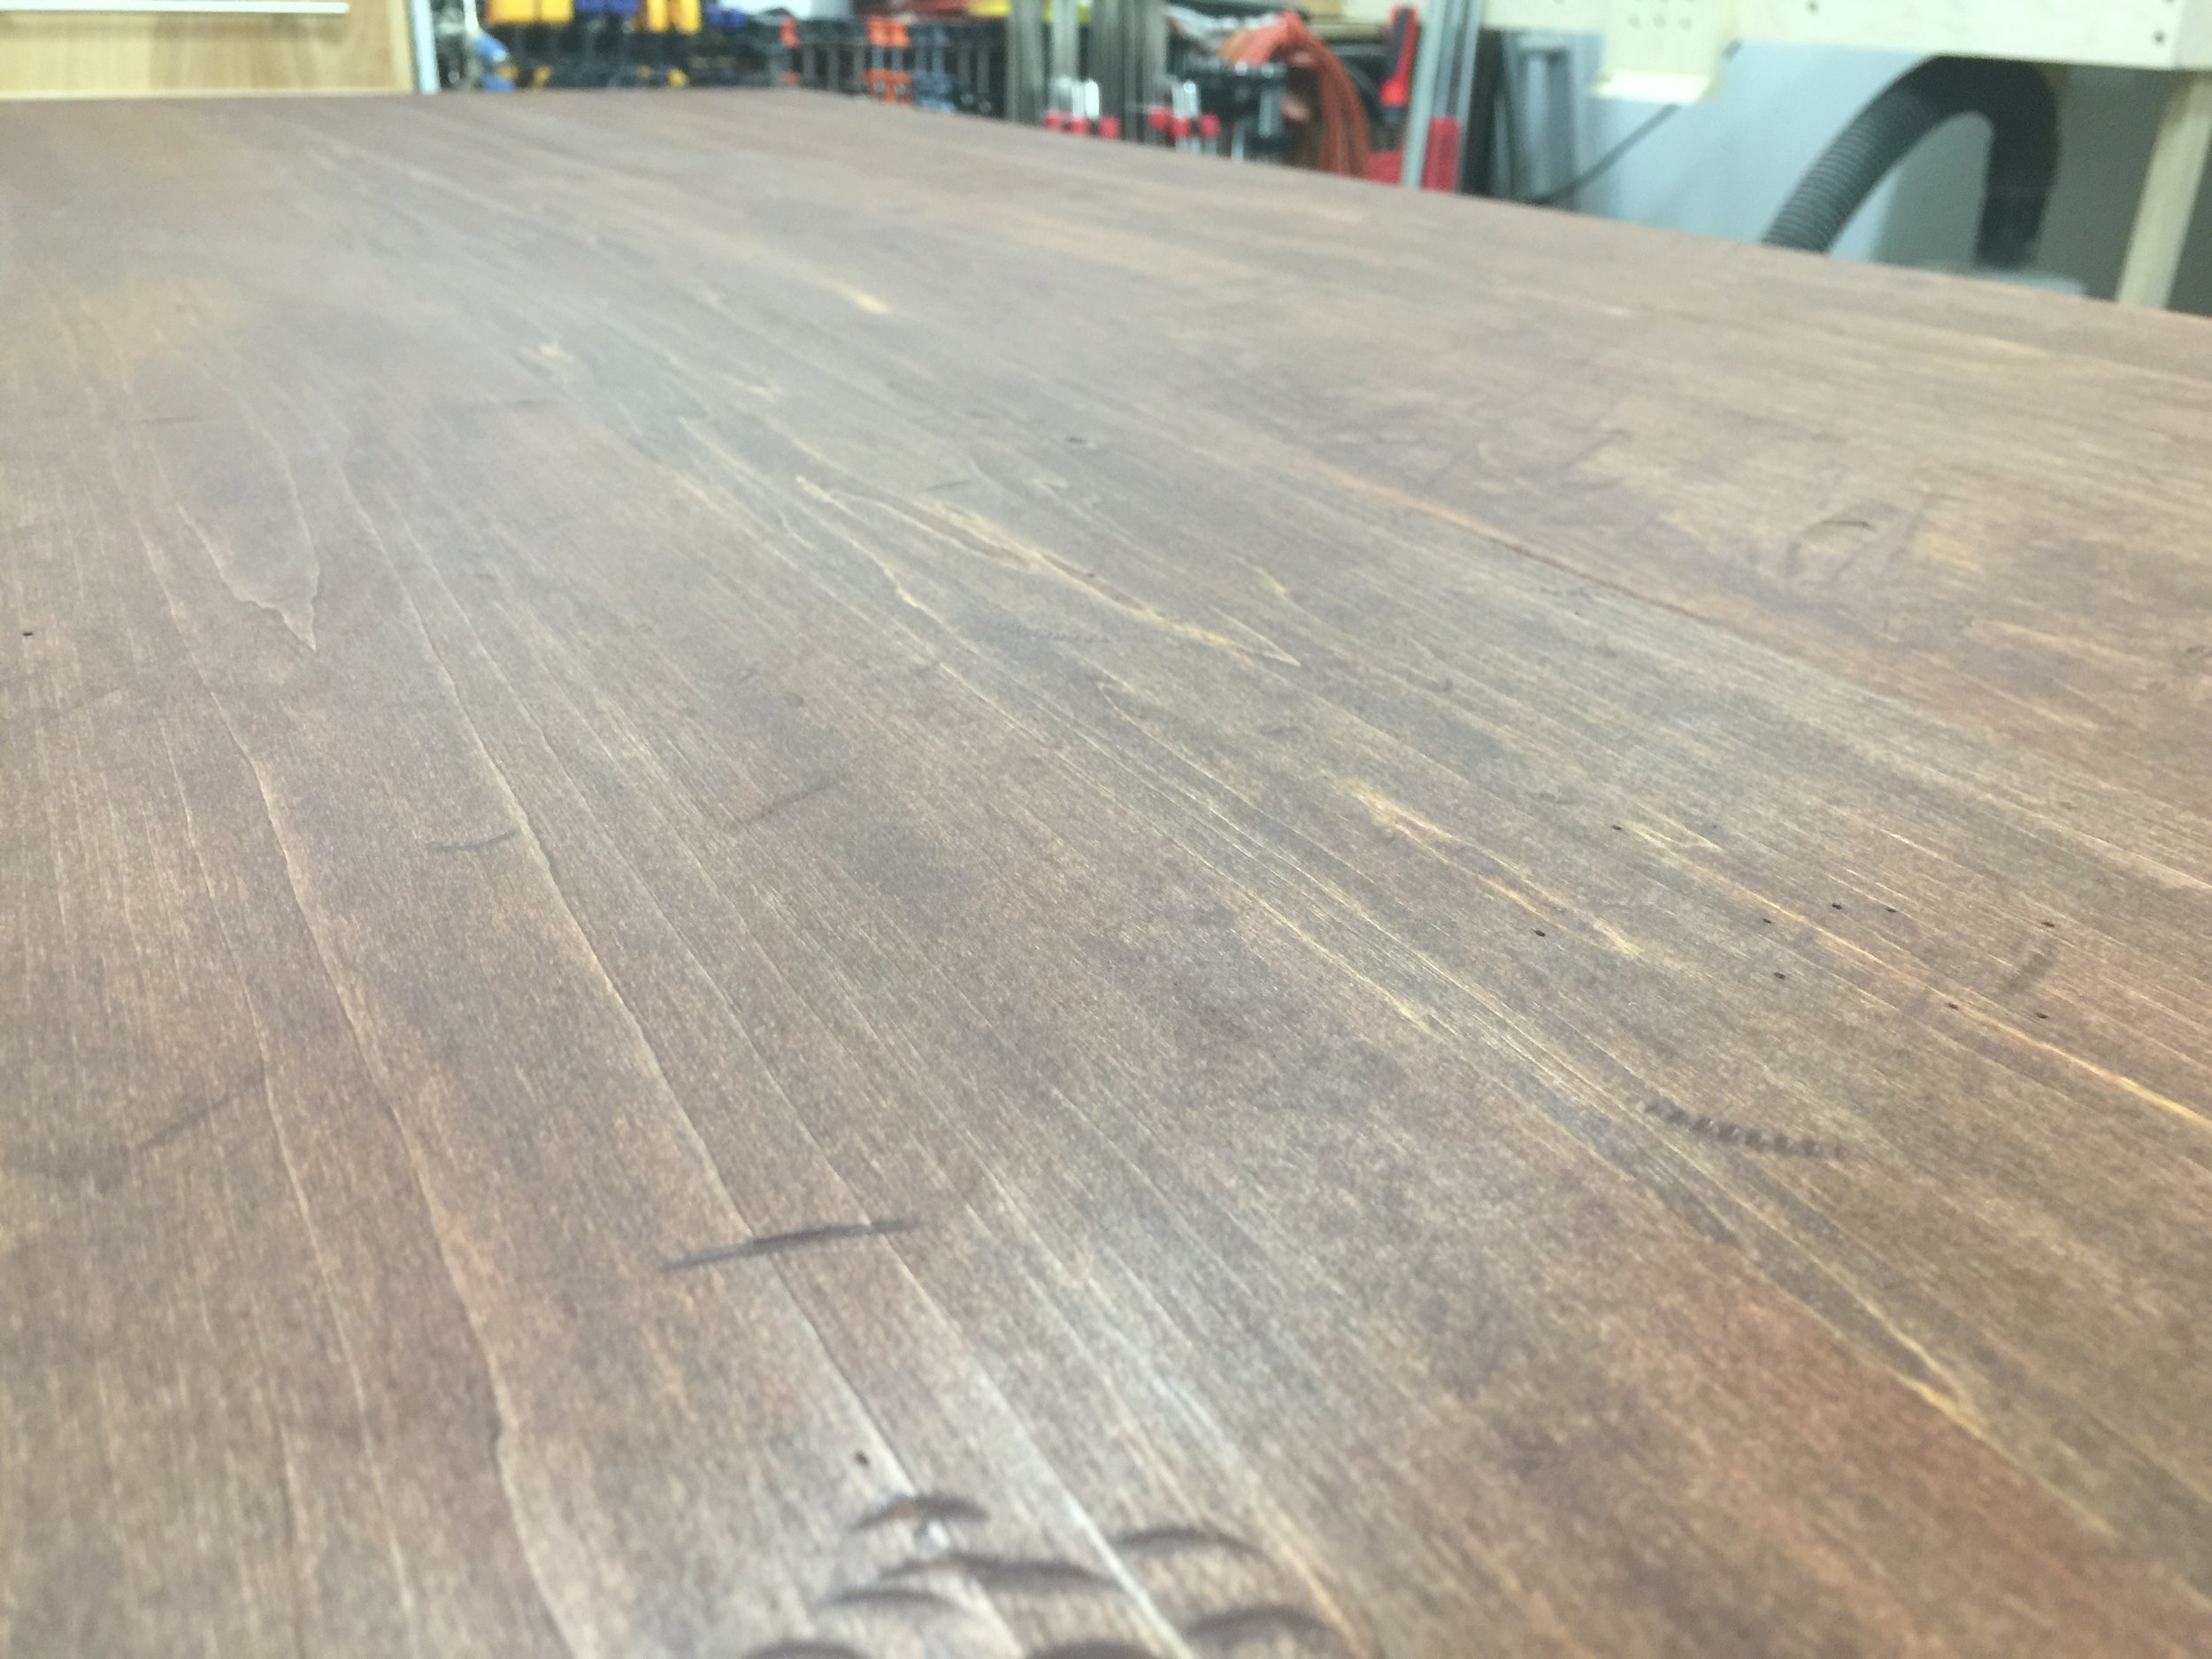
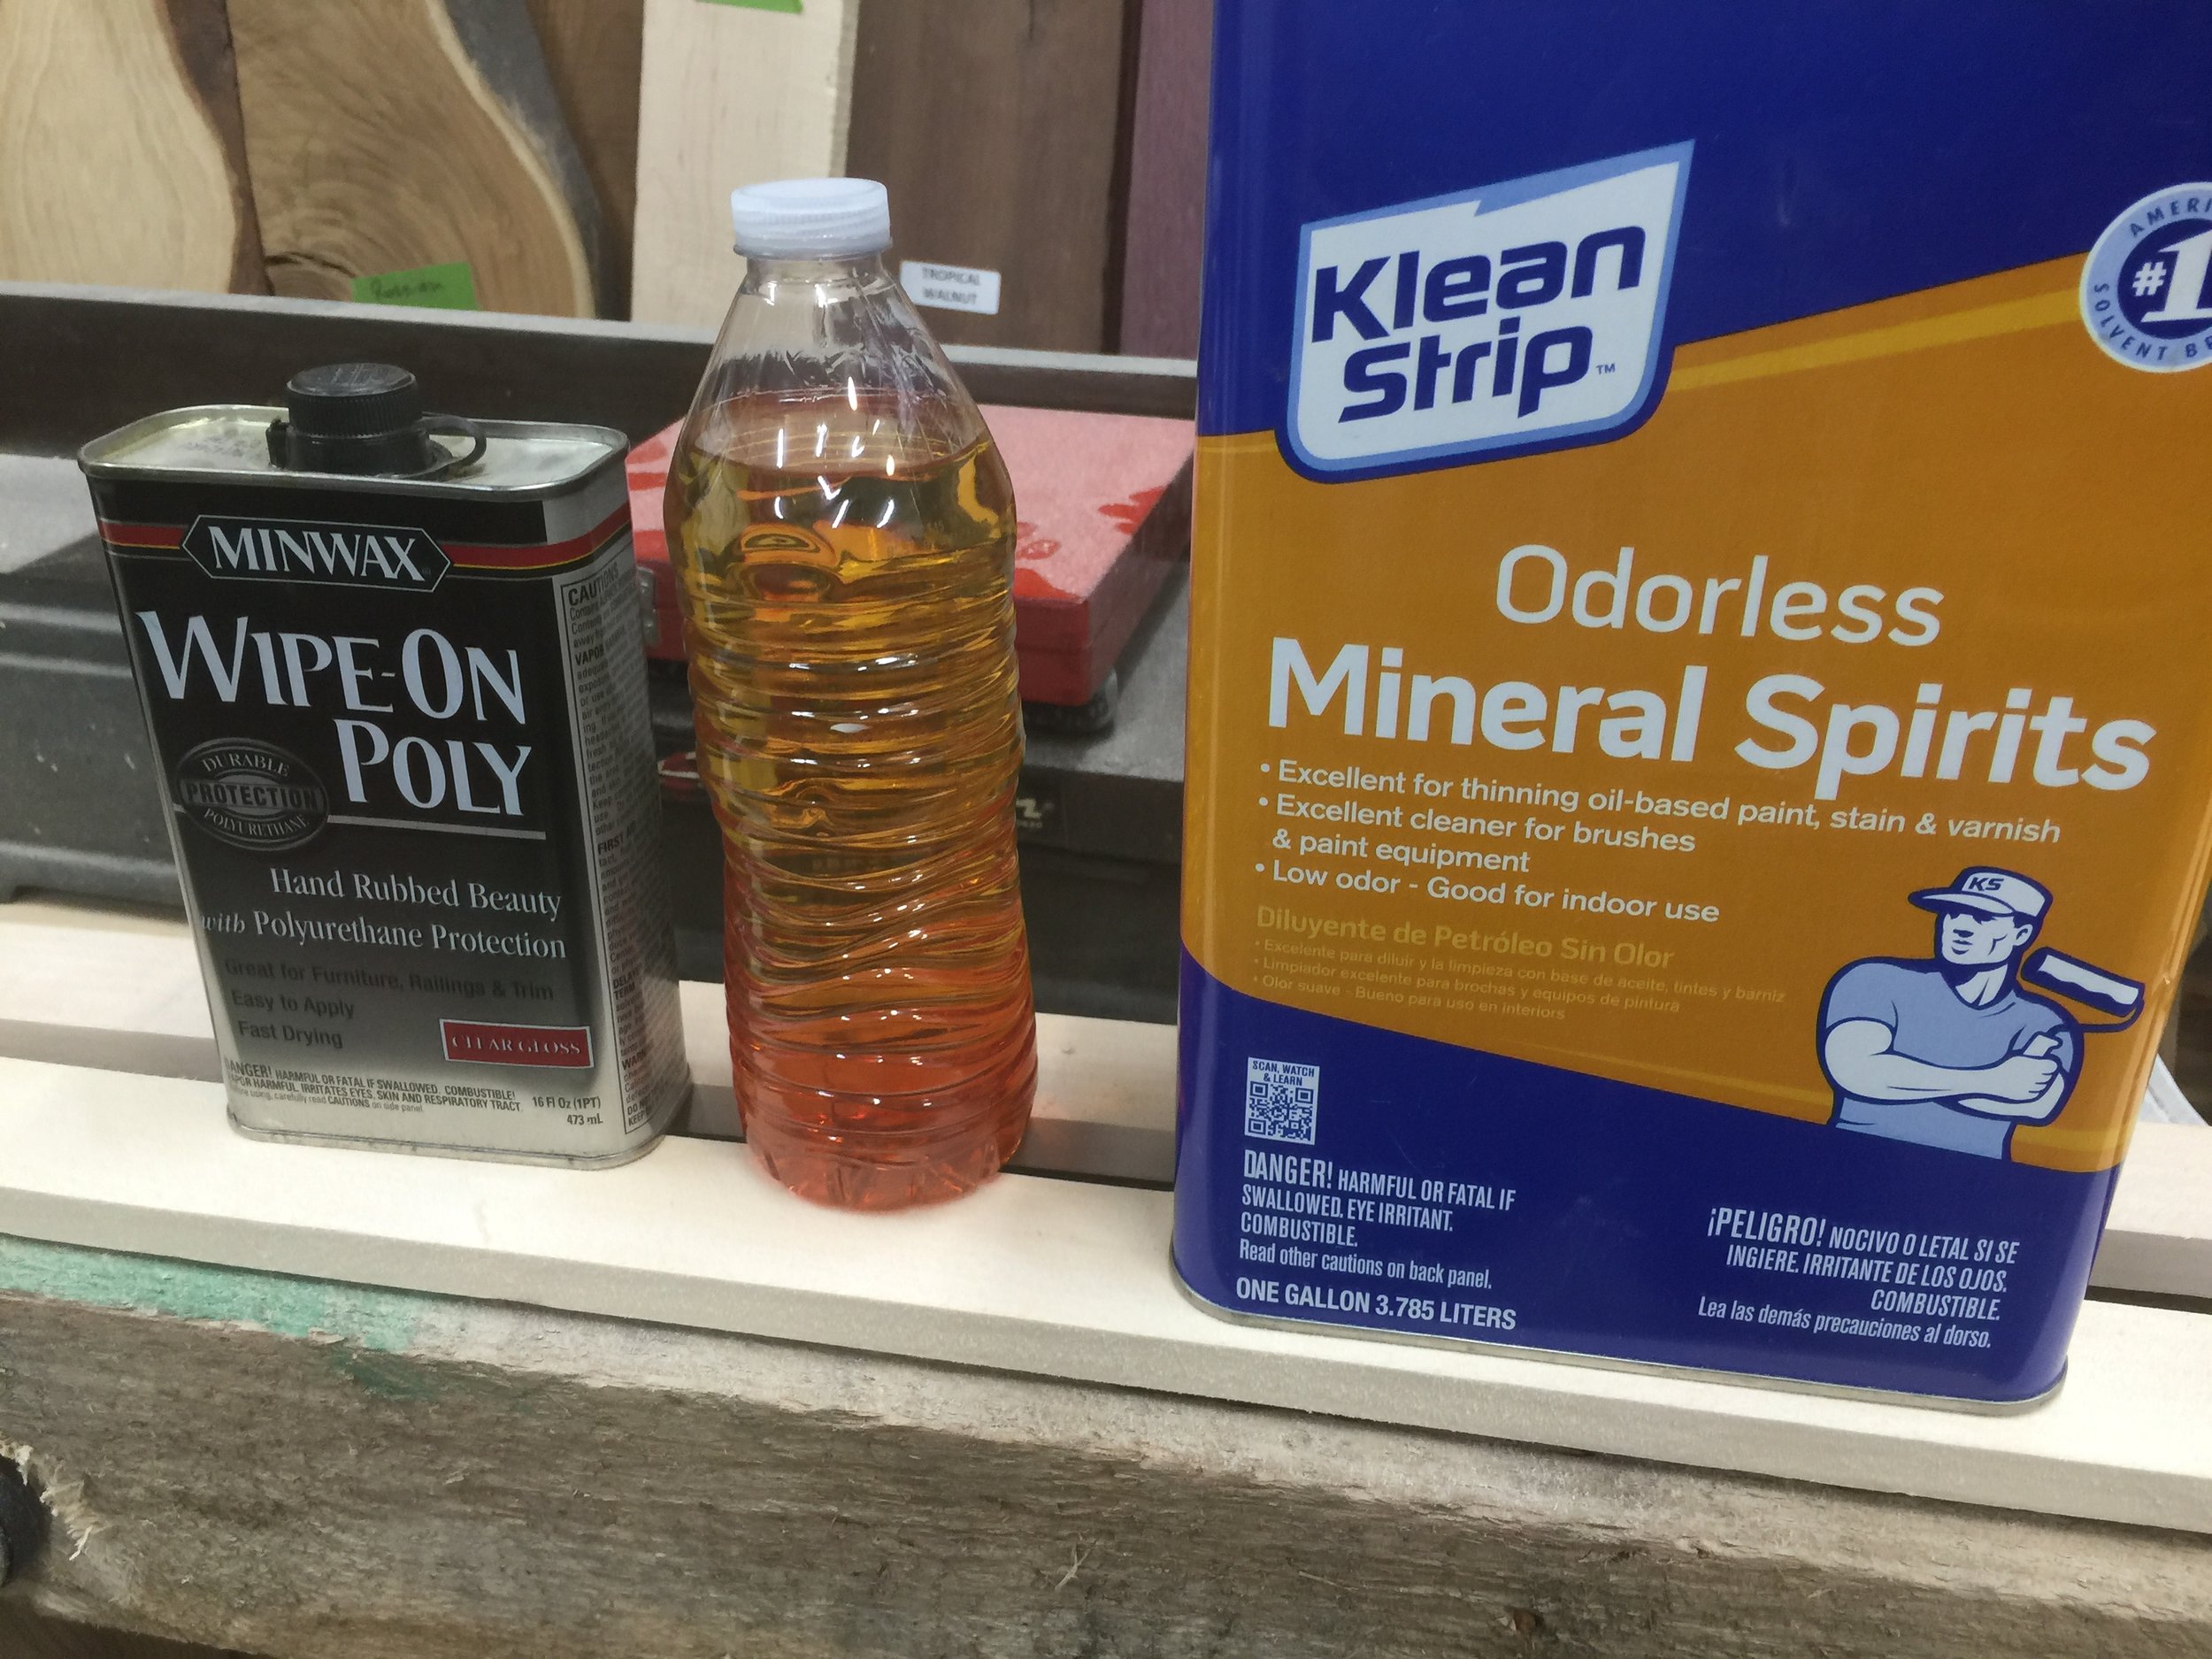
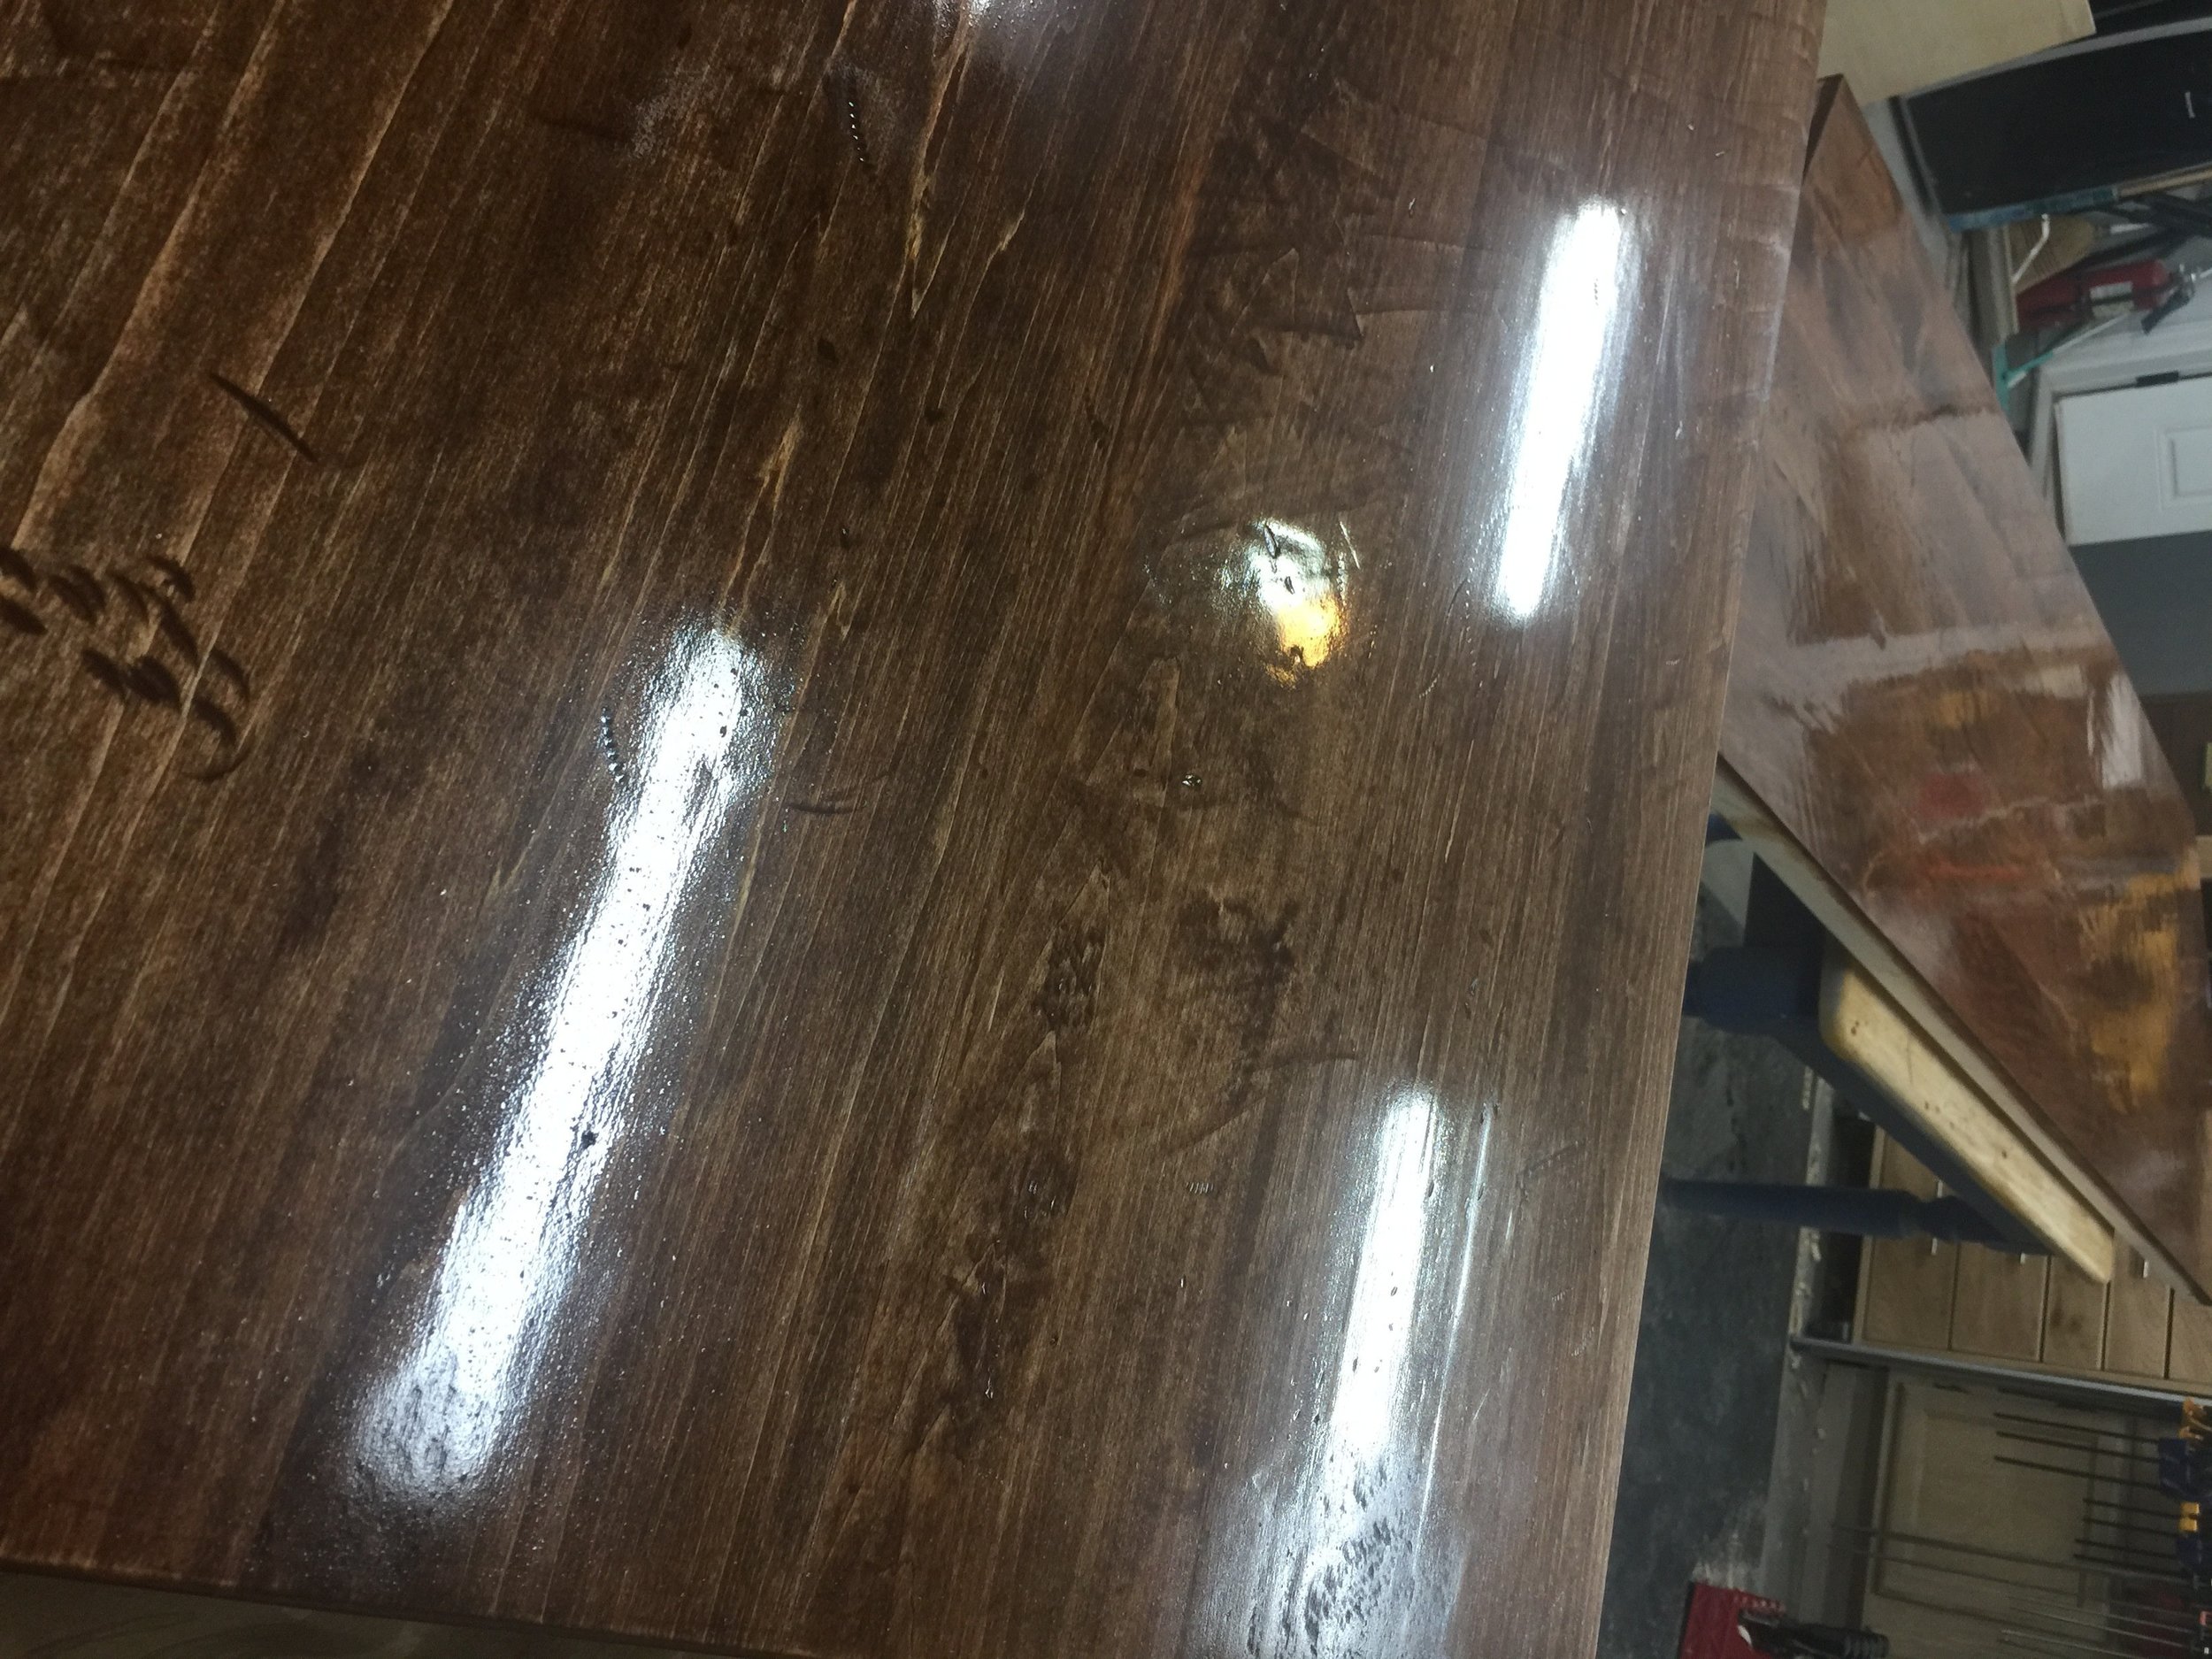 The counters were stained with a single coat of Minwax English Chestnut stain. Since the surface had a lot of scrapes, holes and general damage to it, extra care had to be taken to make sure all cracks and crevices were filled up with stain.The finish I picked for the counter was wipe on poly and I decided to use my ultra smooth finishing technique. Using this method, I applied 7 coats where all but the first one or two coats are wet sanded using a thinned out finish starting with 400-grit and ending with 600-grit. This resulted in a beautify soft and smooth finish that shouldn't give the new owners any issues when it comes time for dusting.
Installation
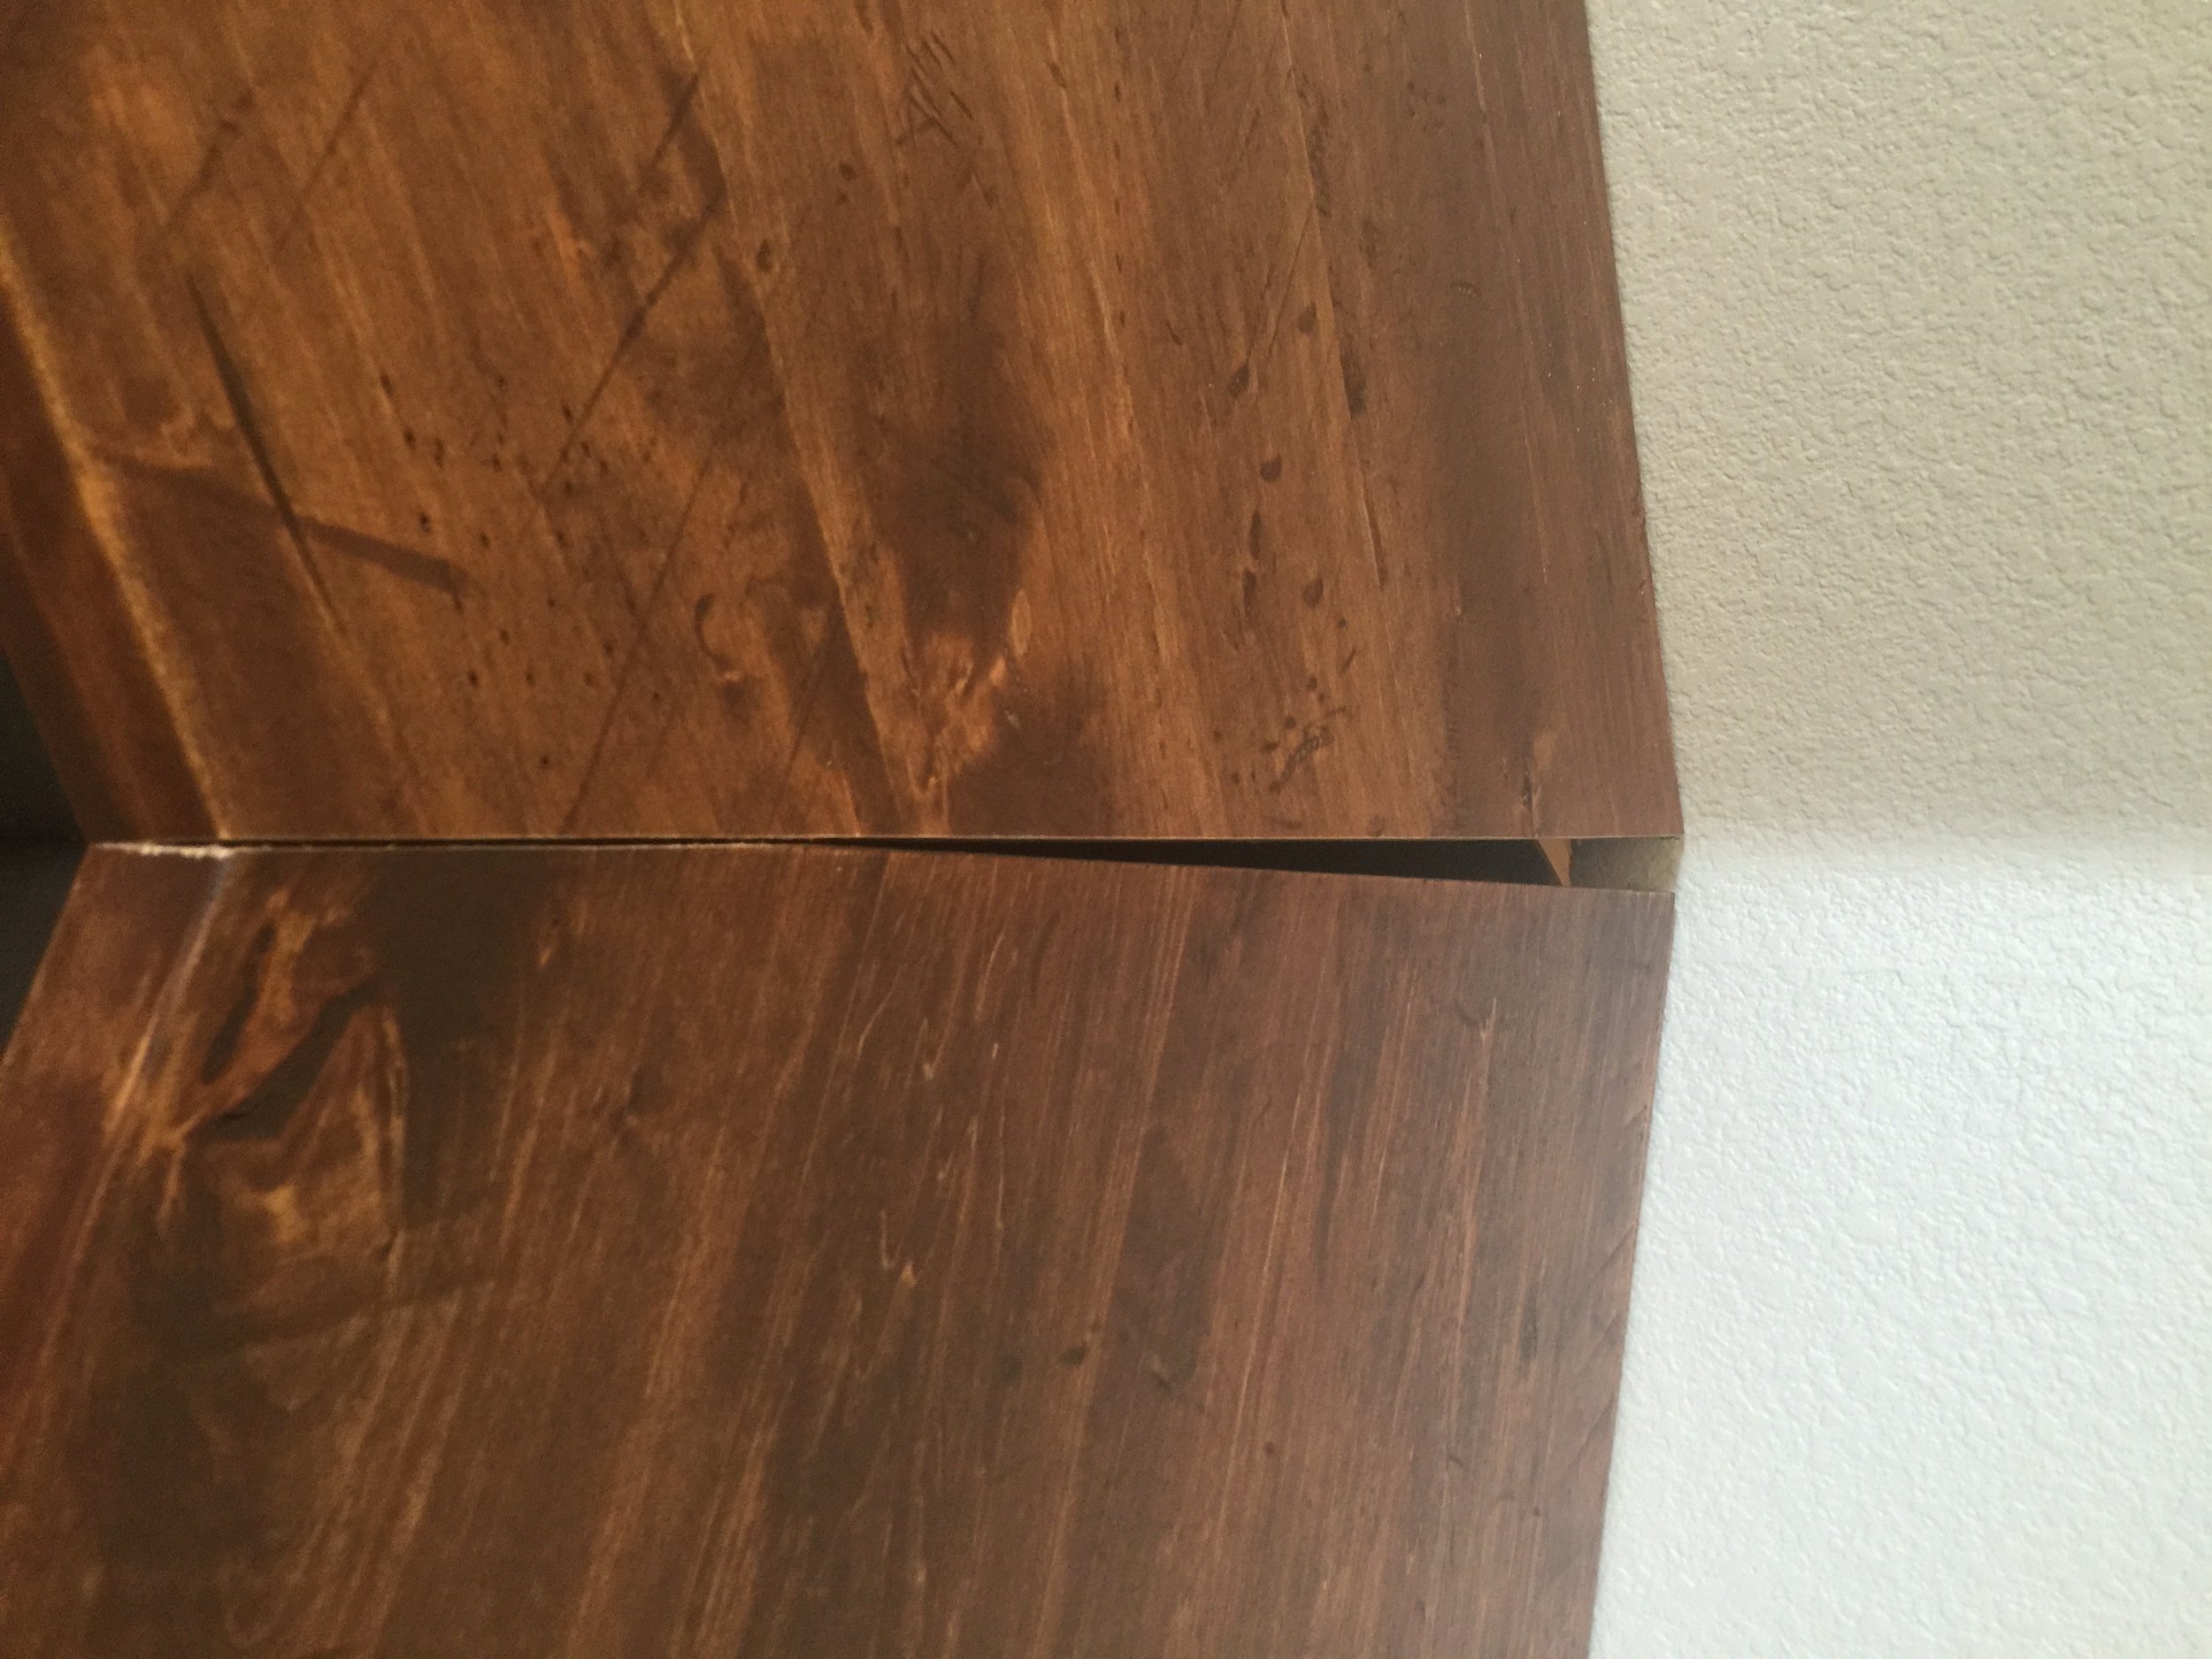
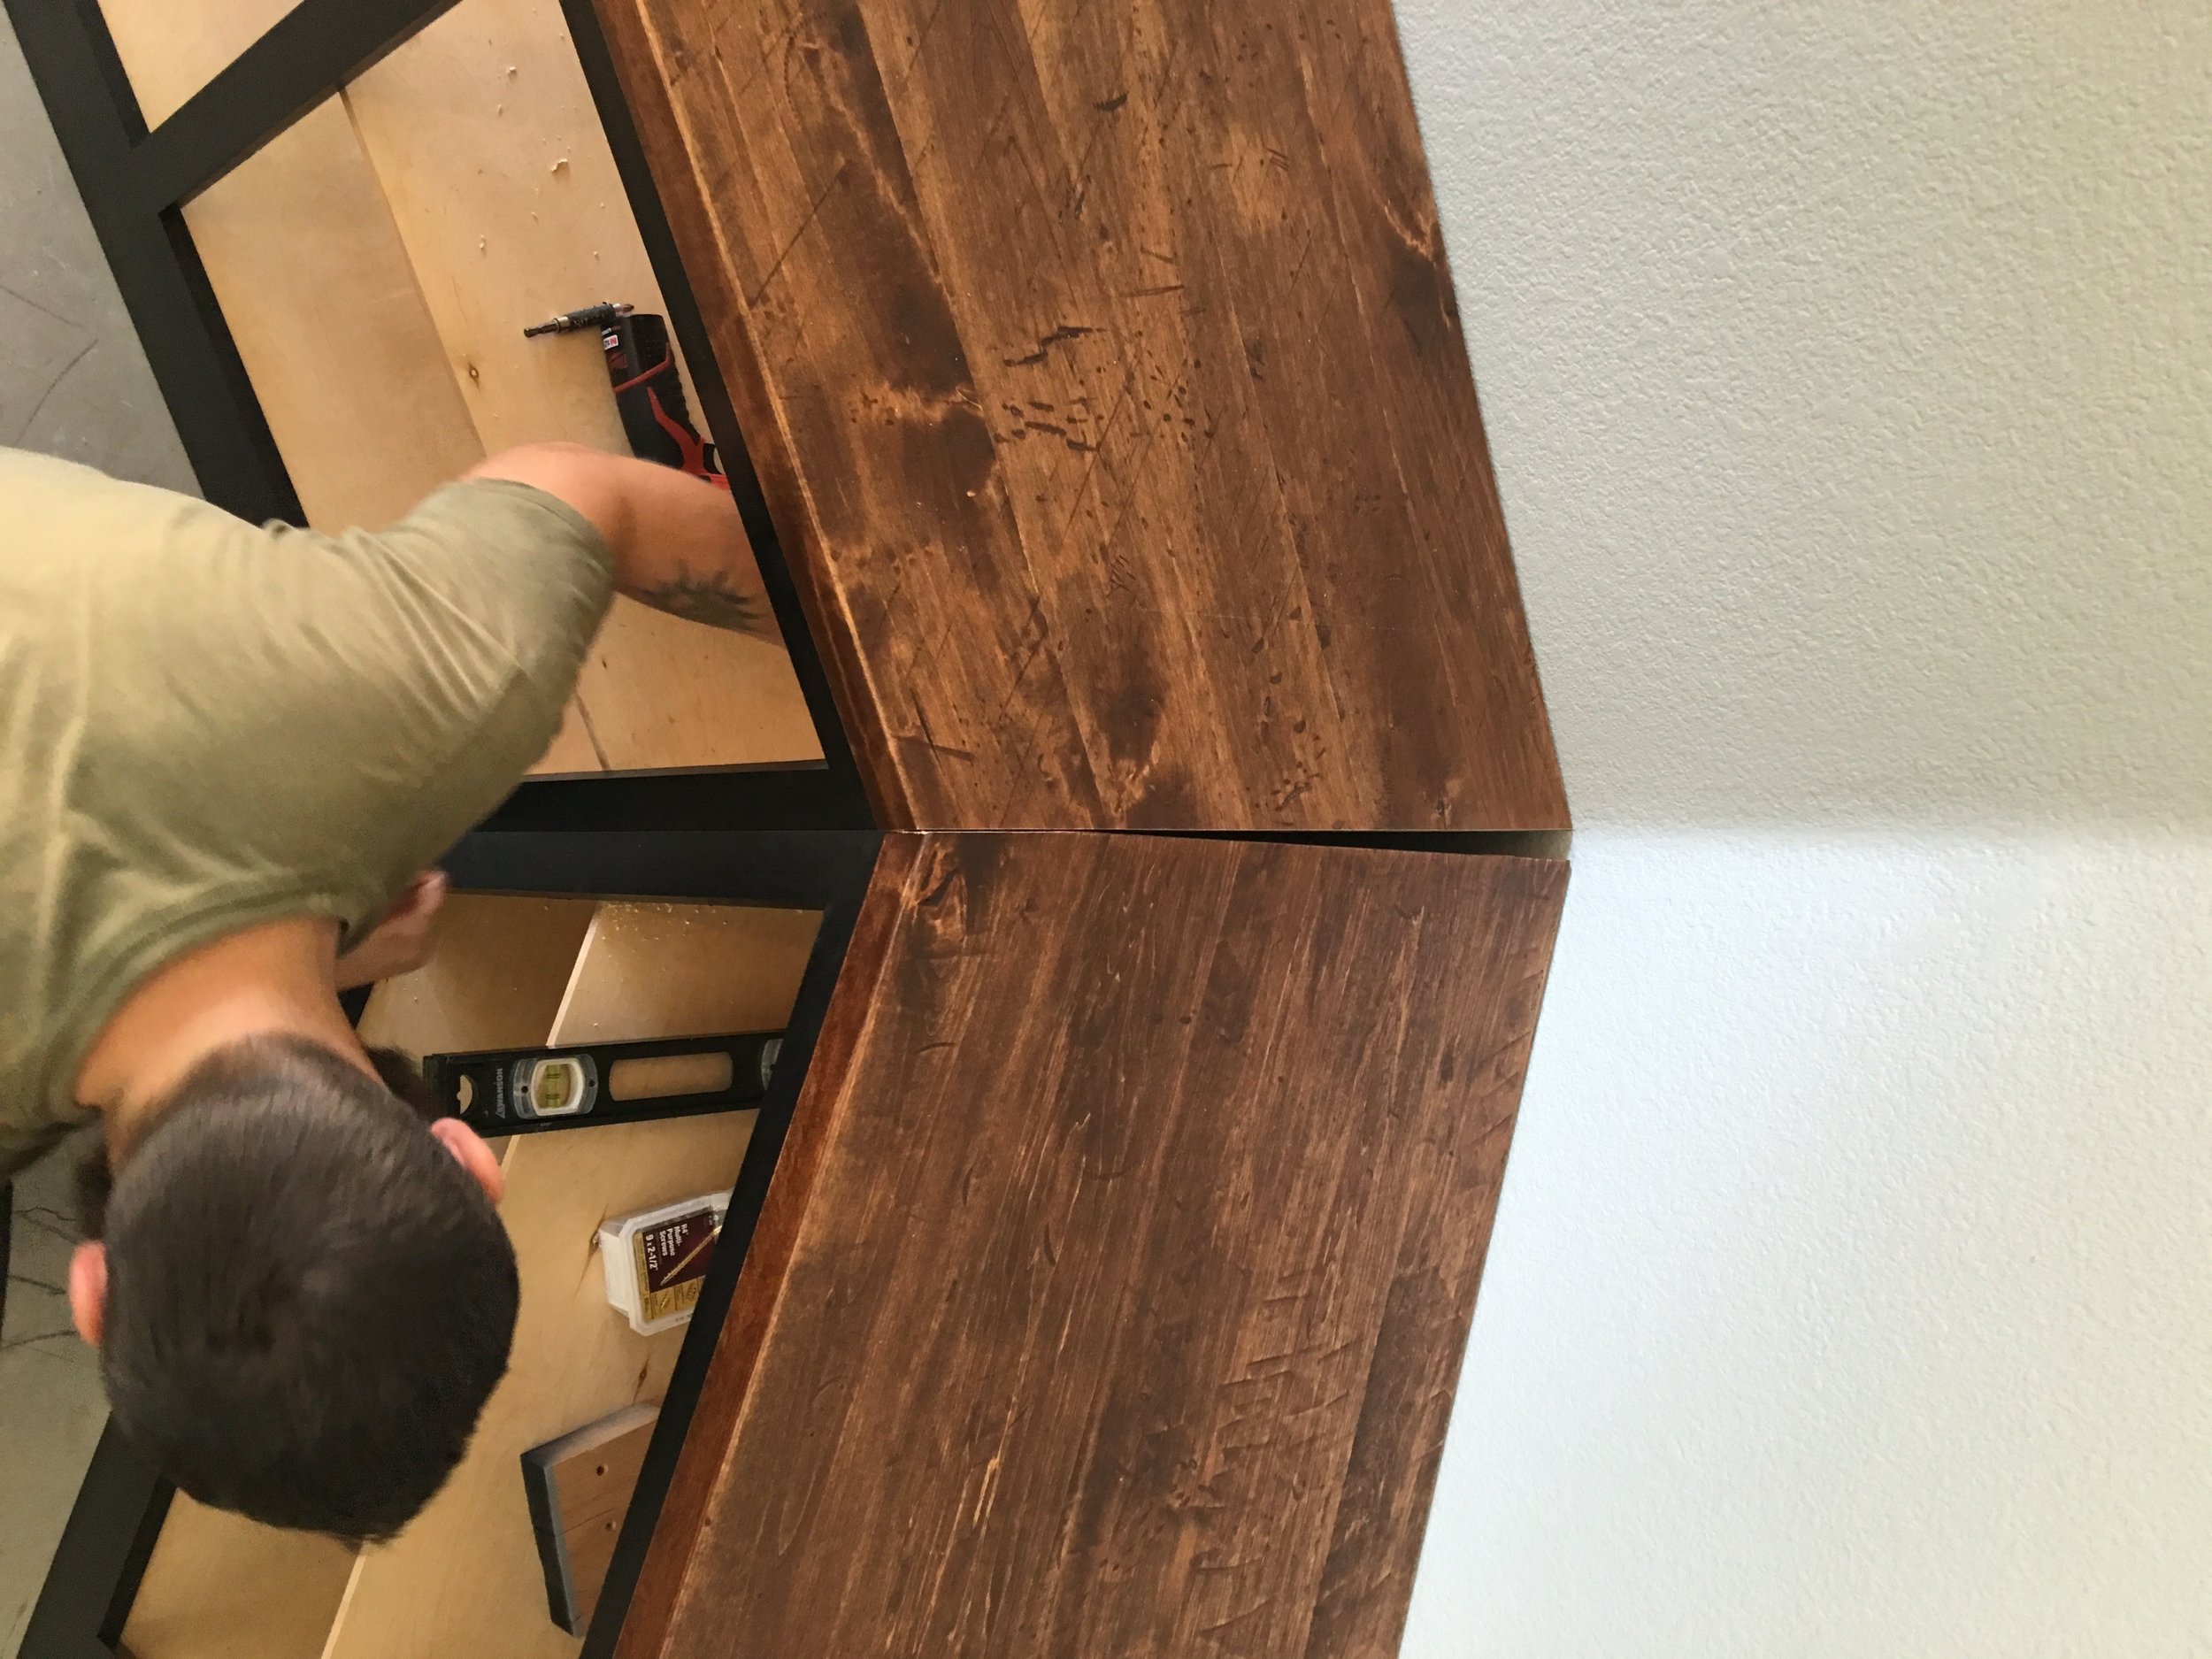 Remember when I mentioned that I cut the counters at the same angle as the cabinets? Yea.. the joining edges were cut at a 20.5° angle which left me with a nice gap where they should have to come together to make a 45°. I knew I was going to have some modifications to do during the install so I left myself some wiggle room but not enough to cover that up.. I'm glad the home owners weren't home during the install because a decent amount of profanity came out of my mouth for a minute or two.
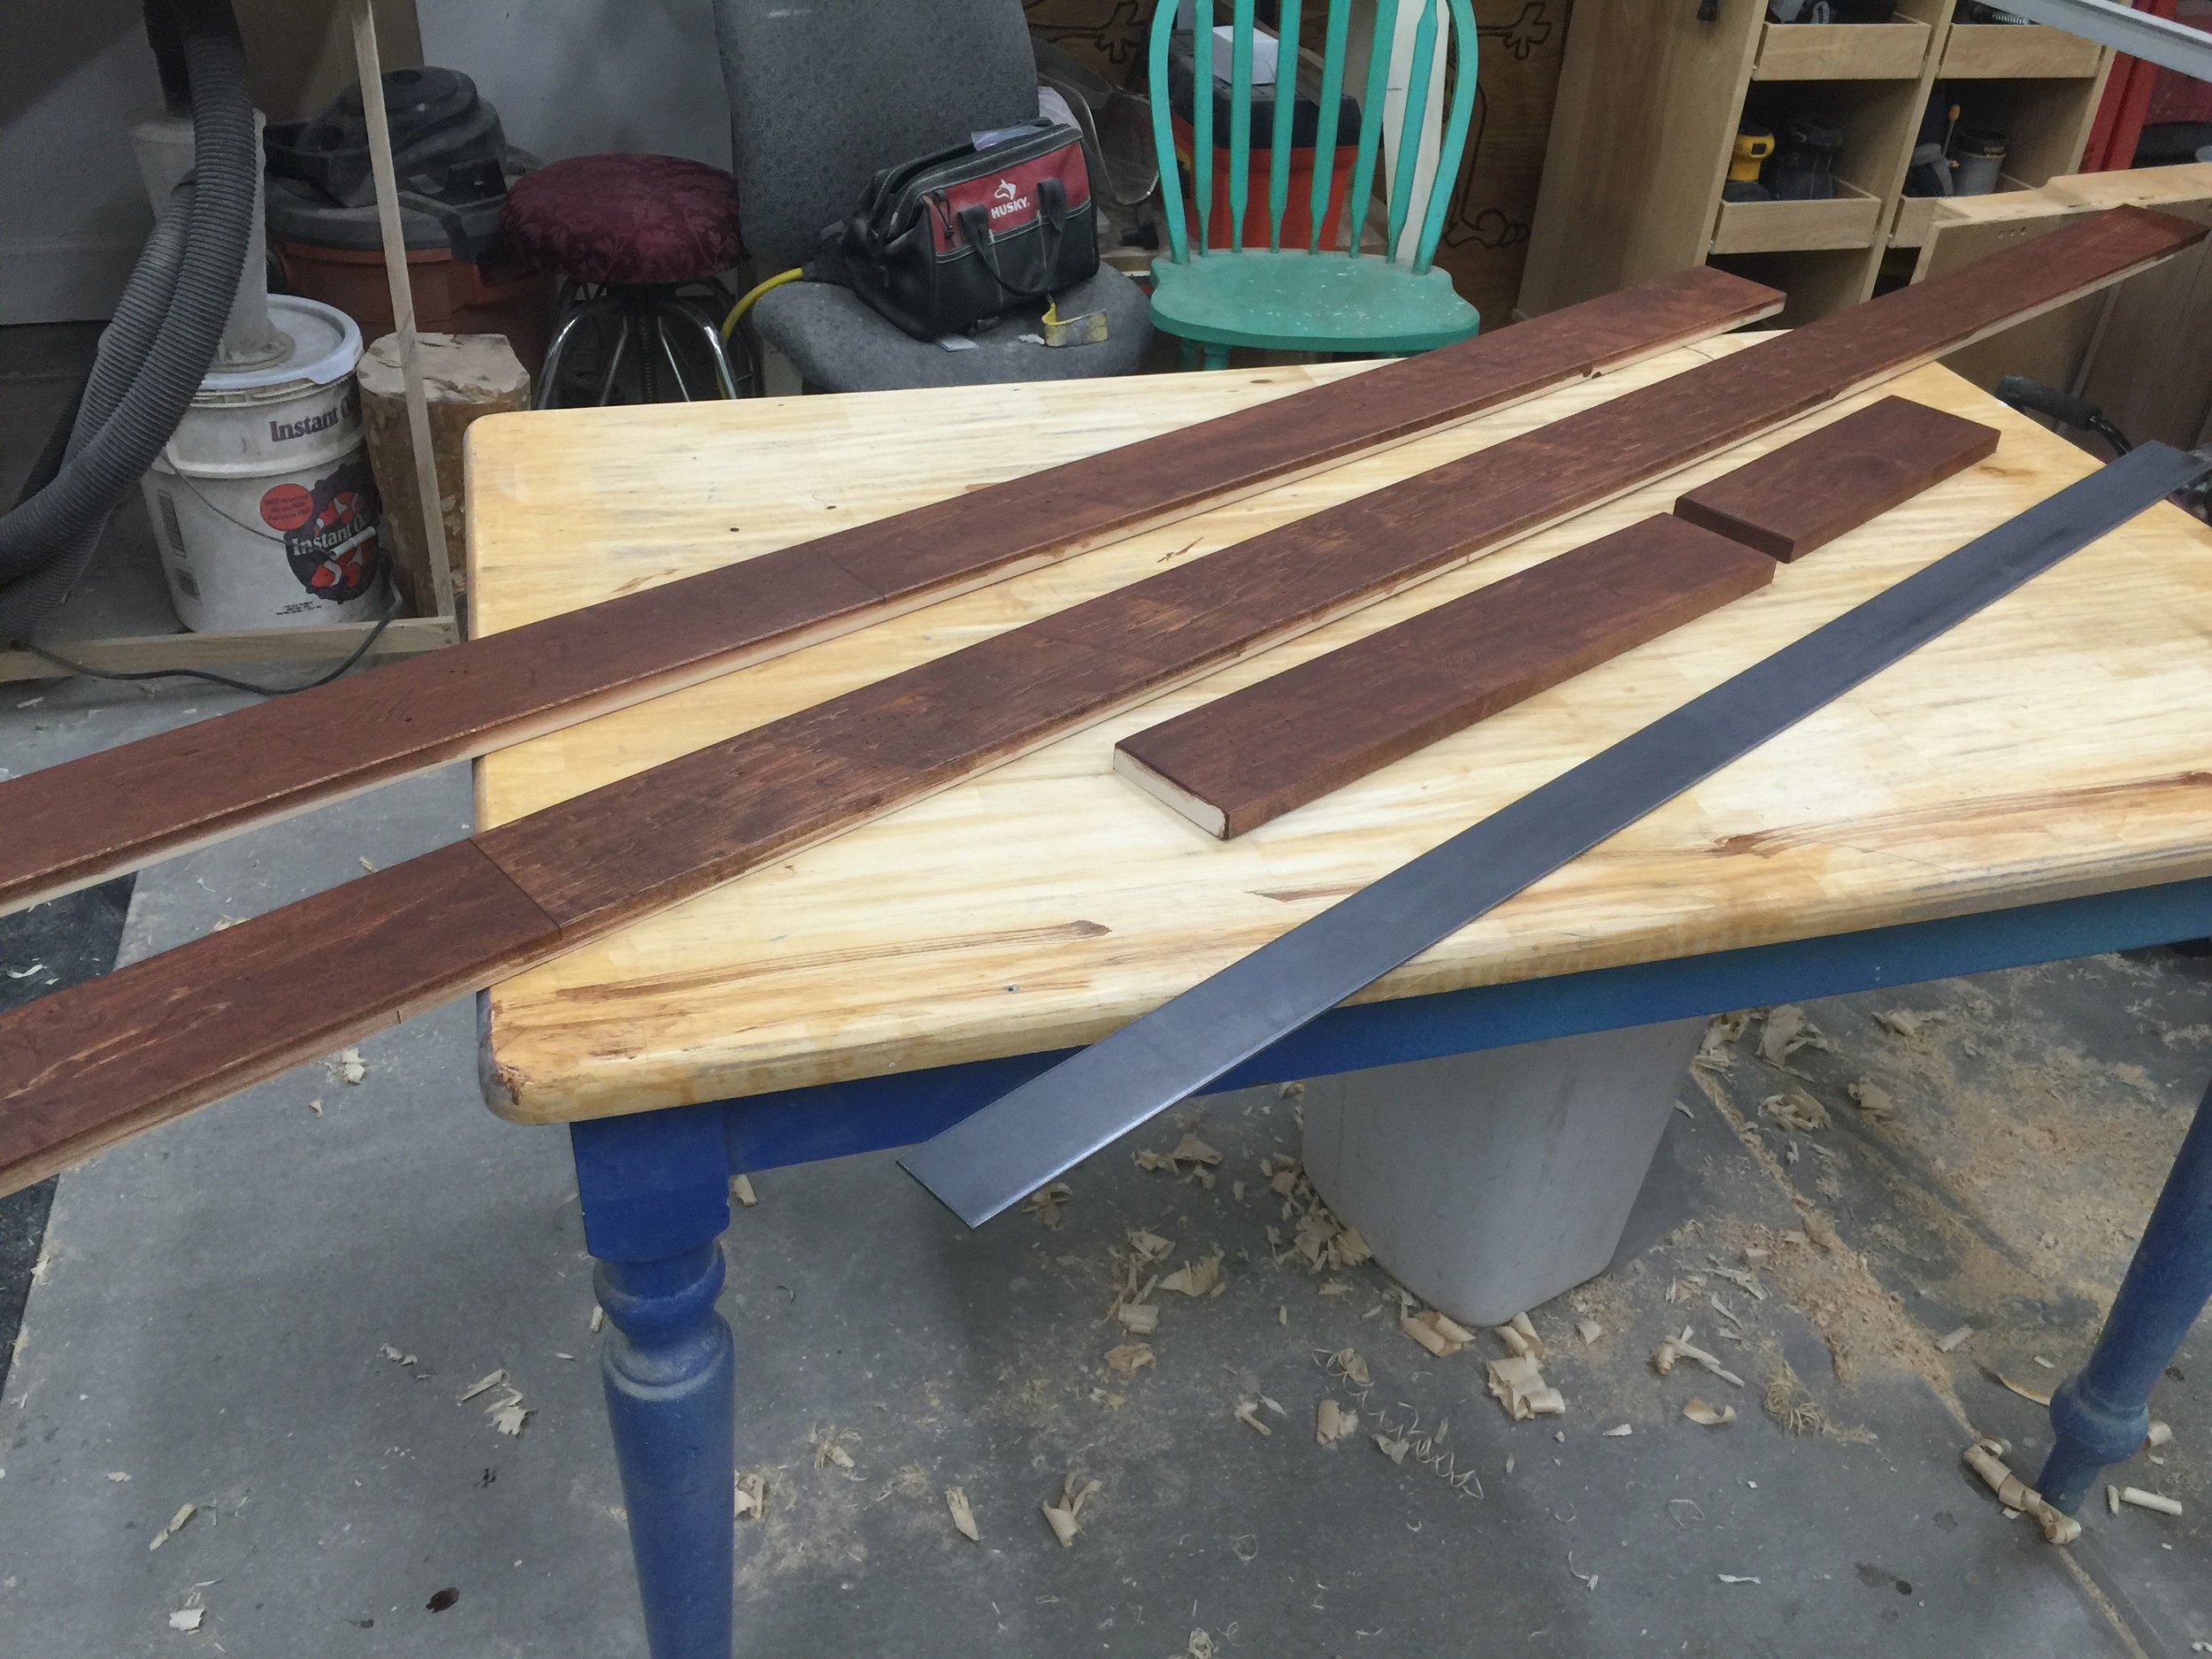
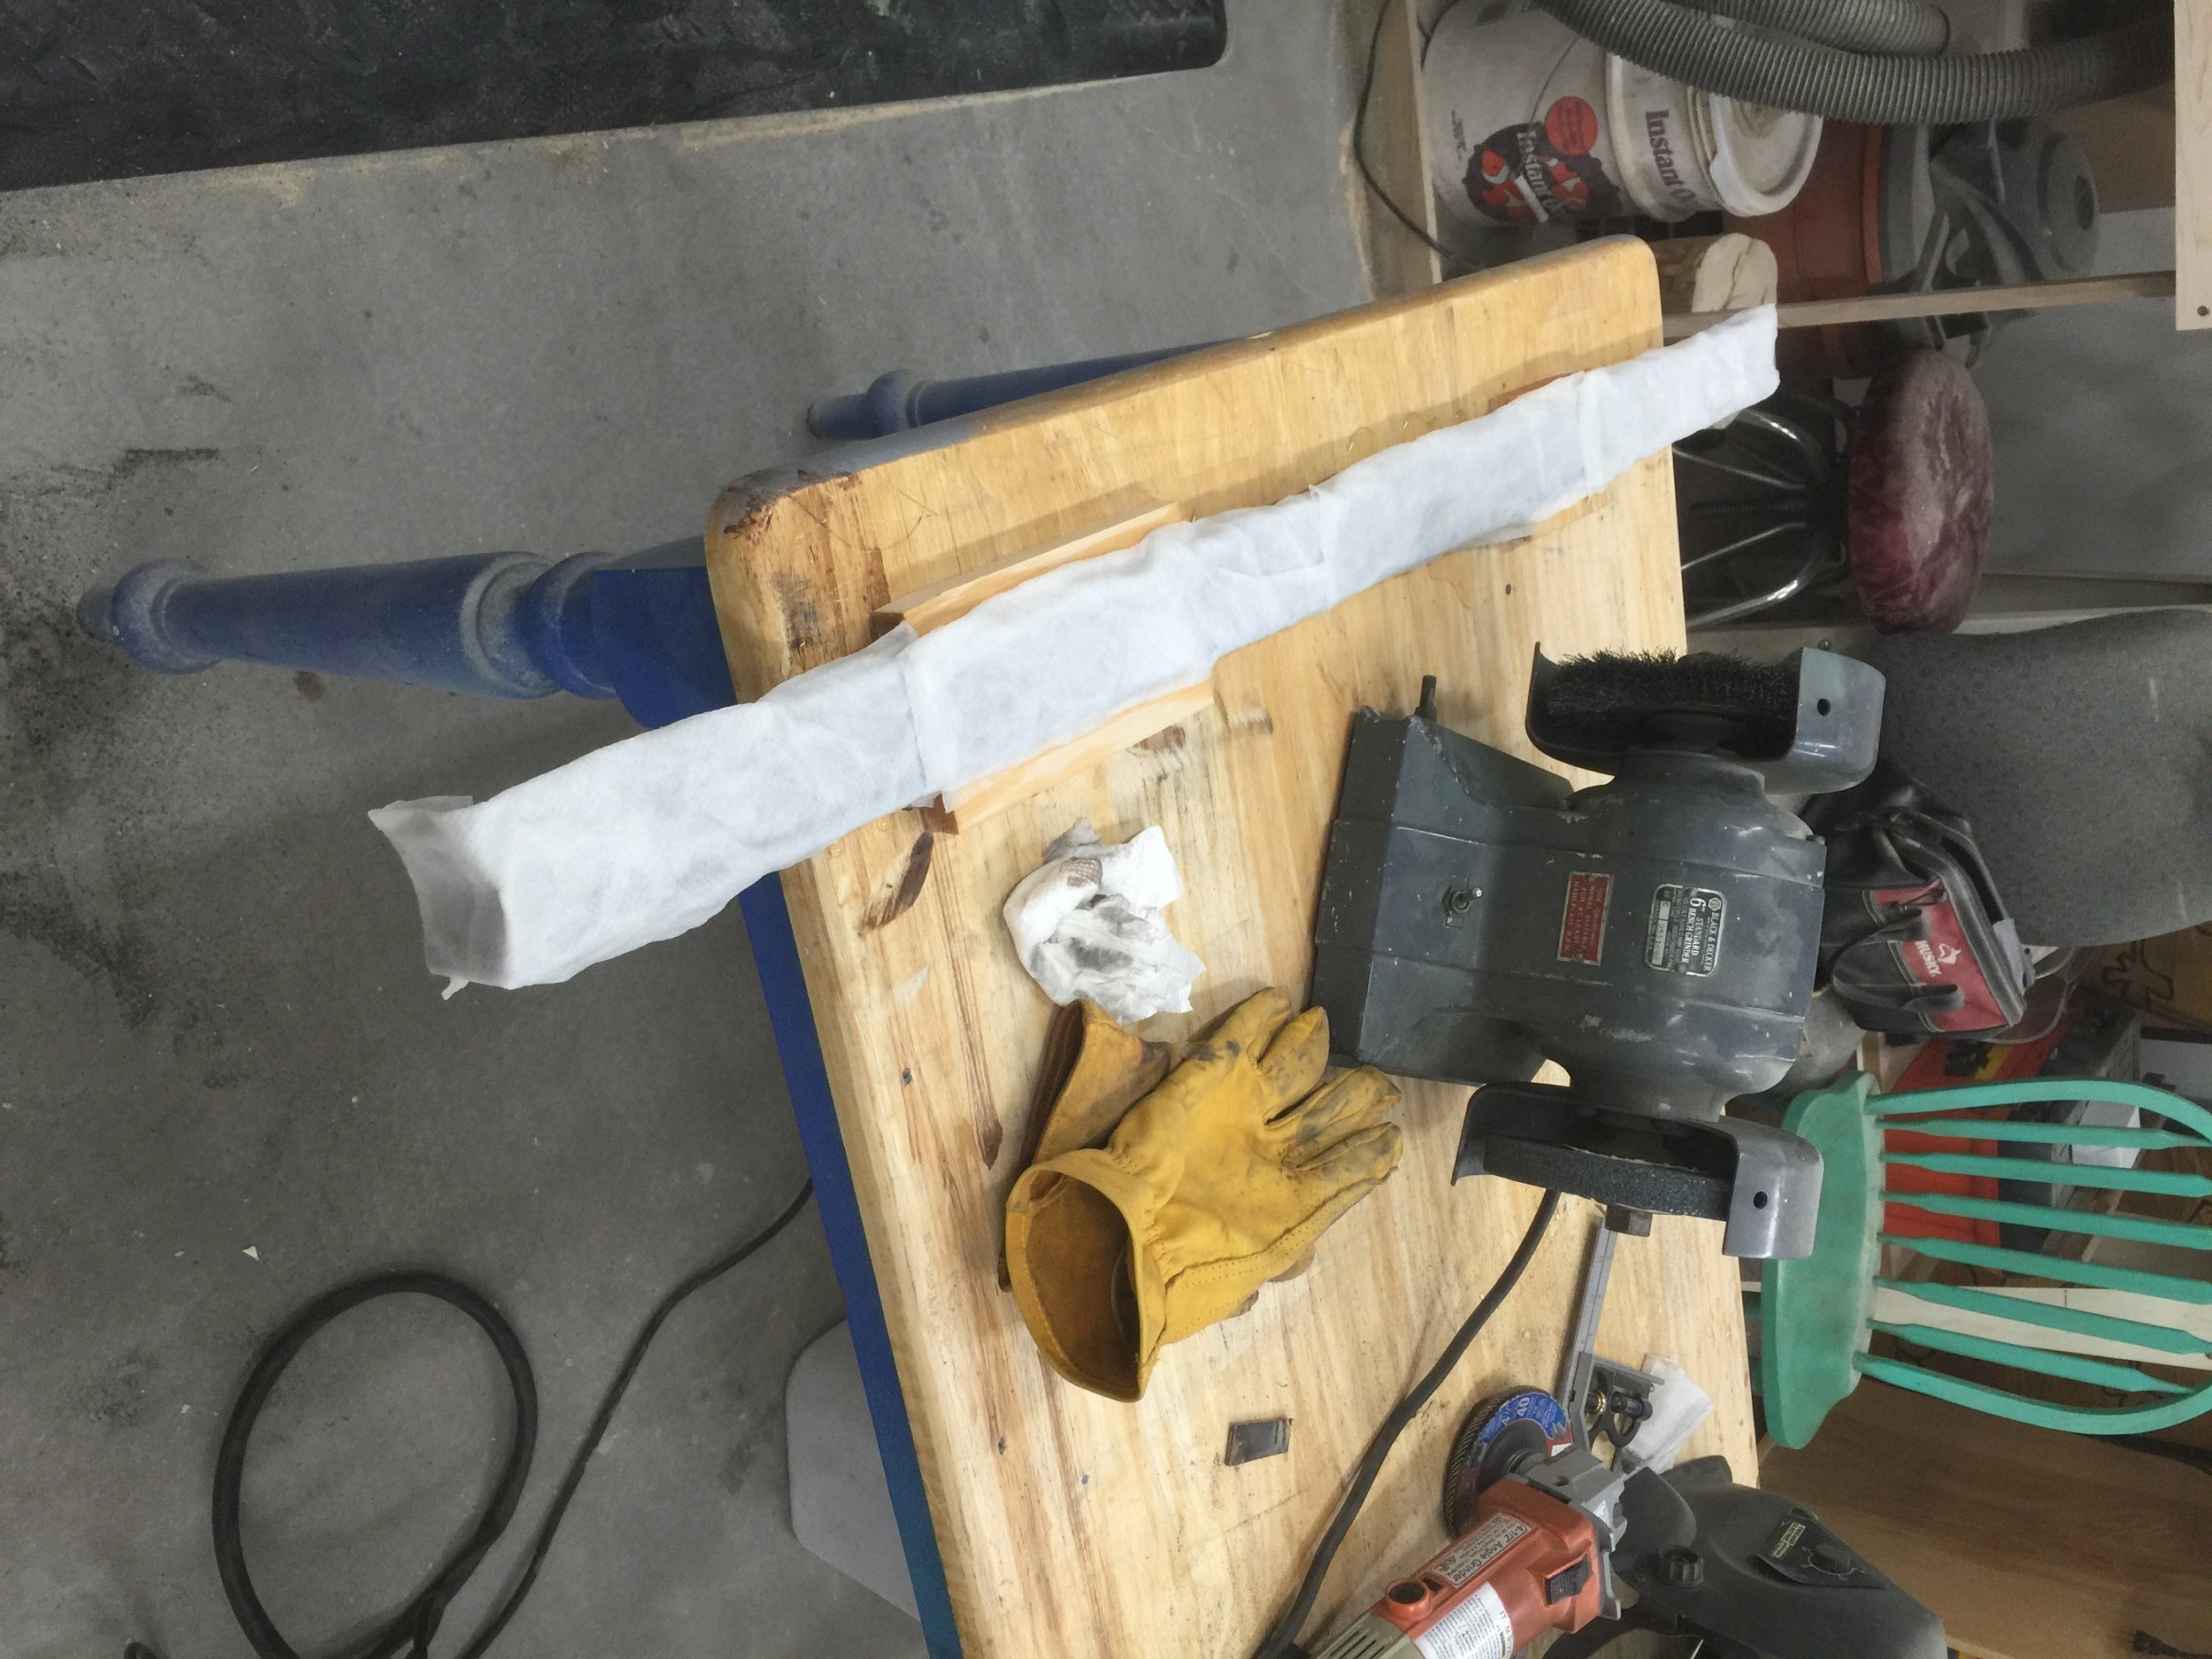
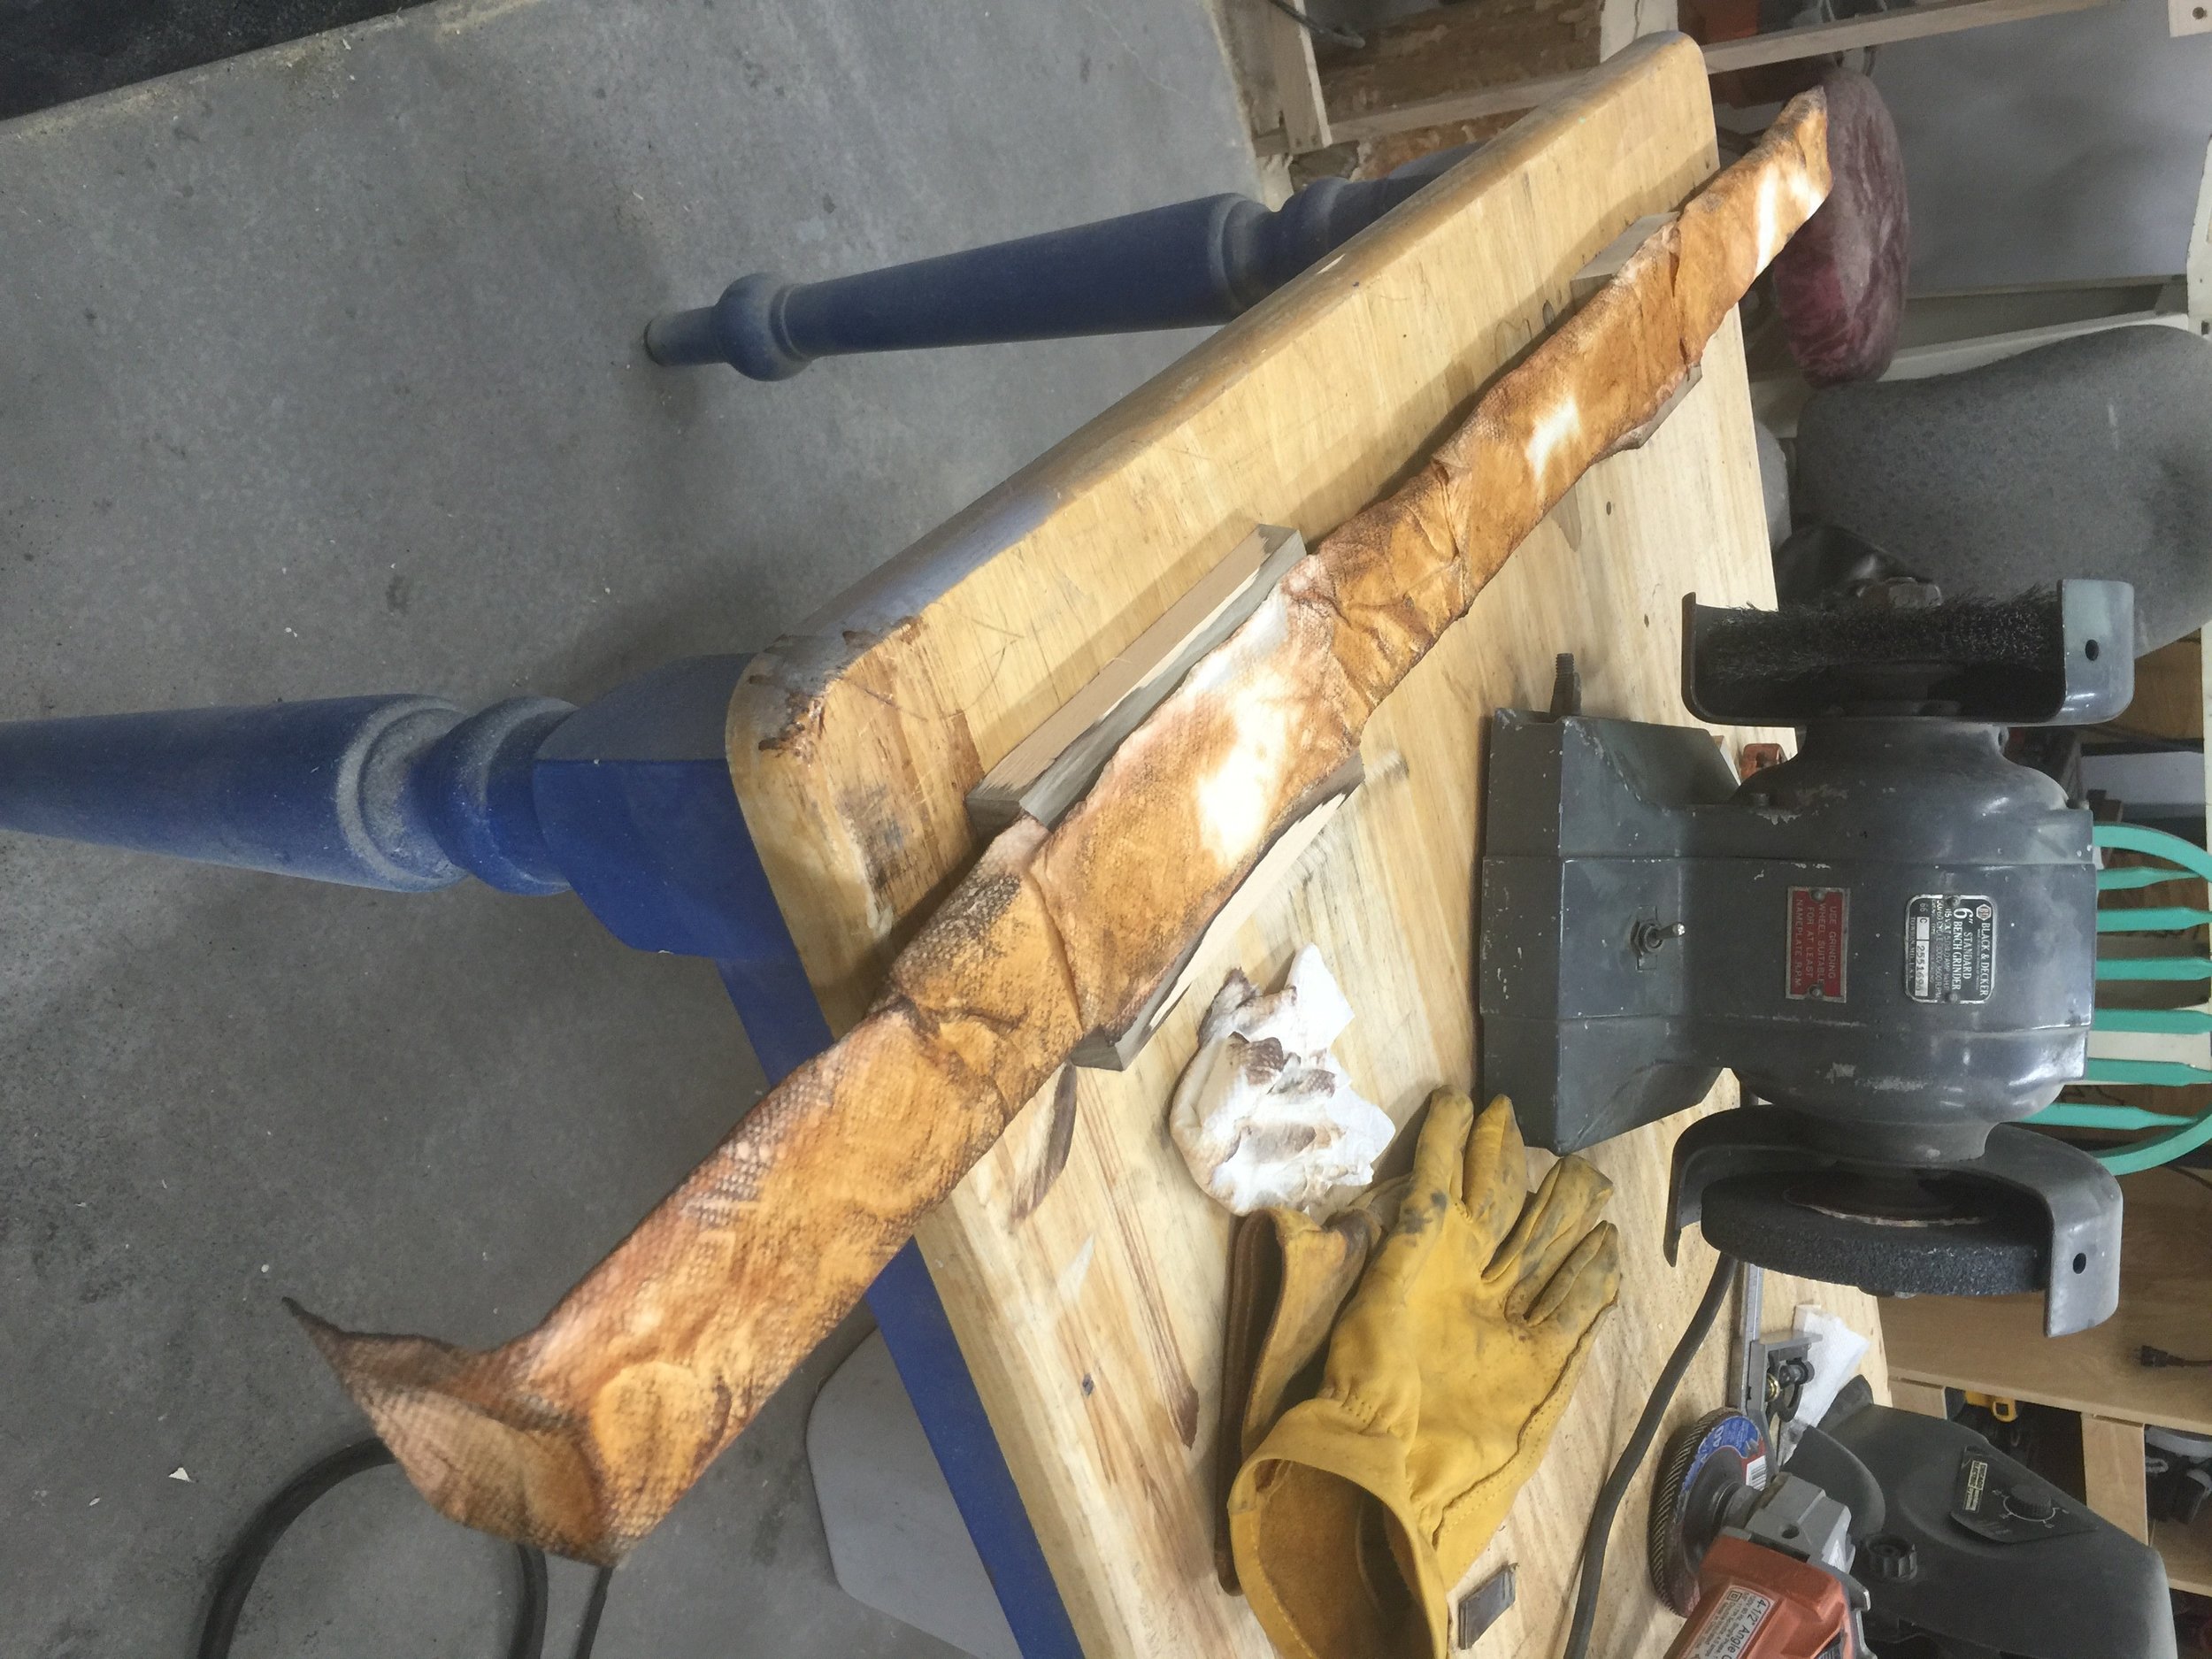
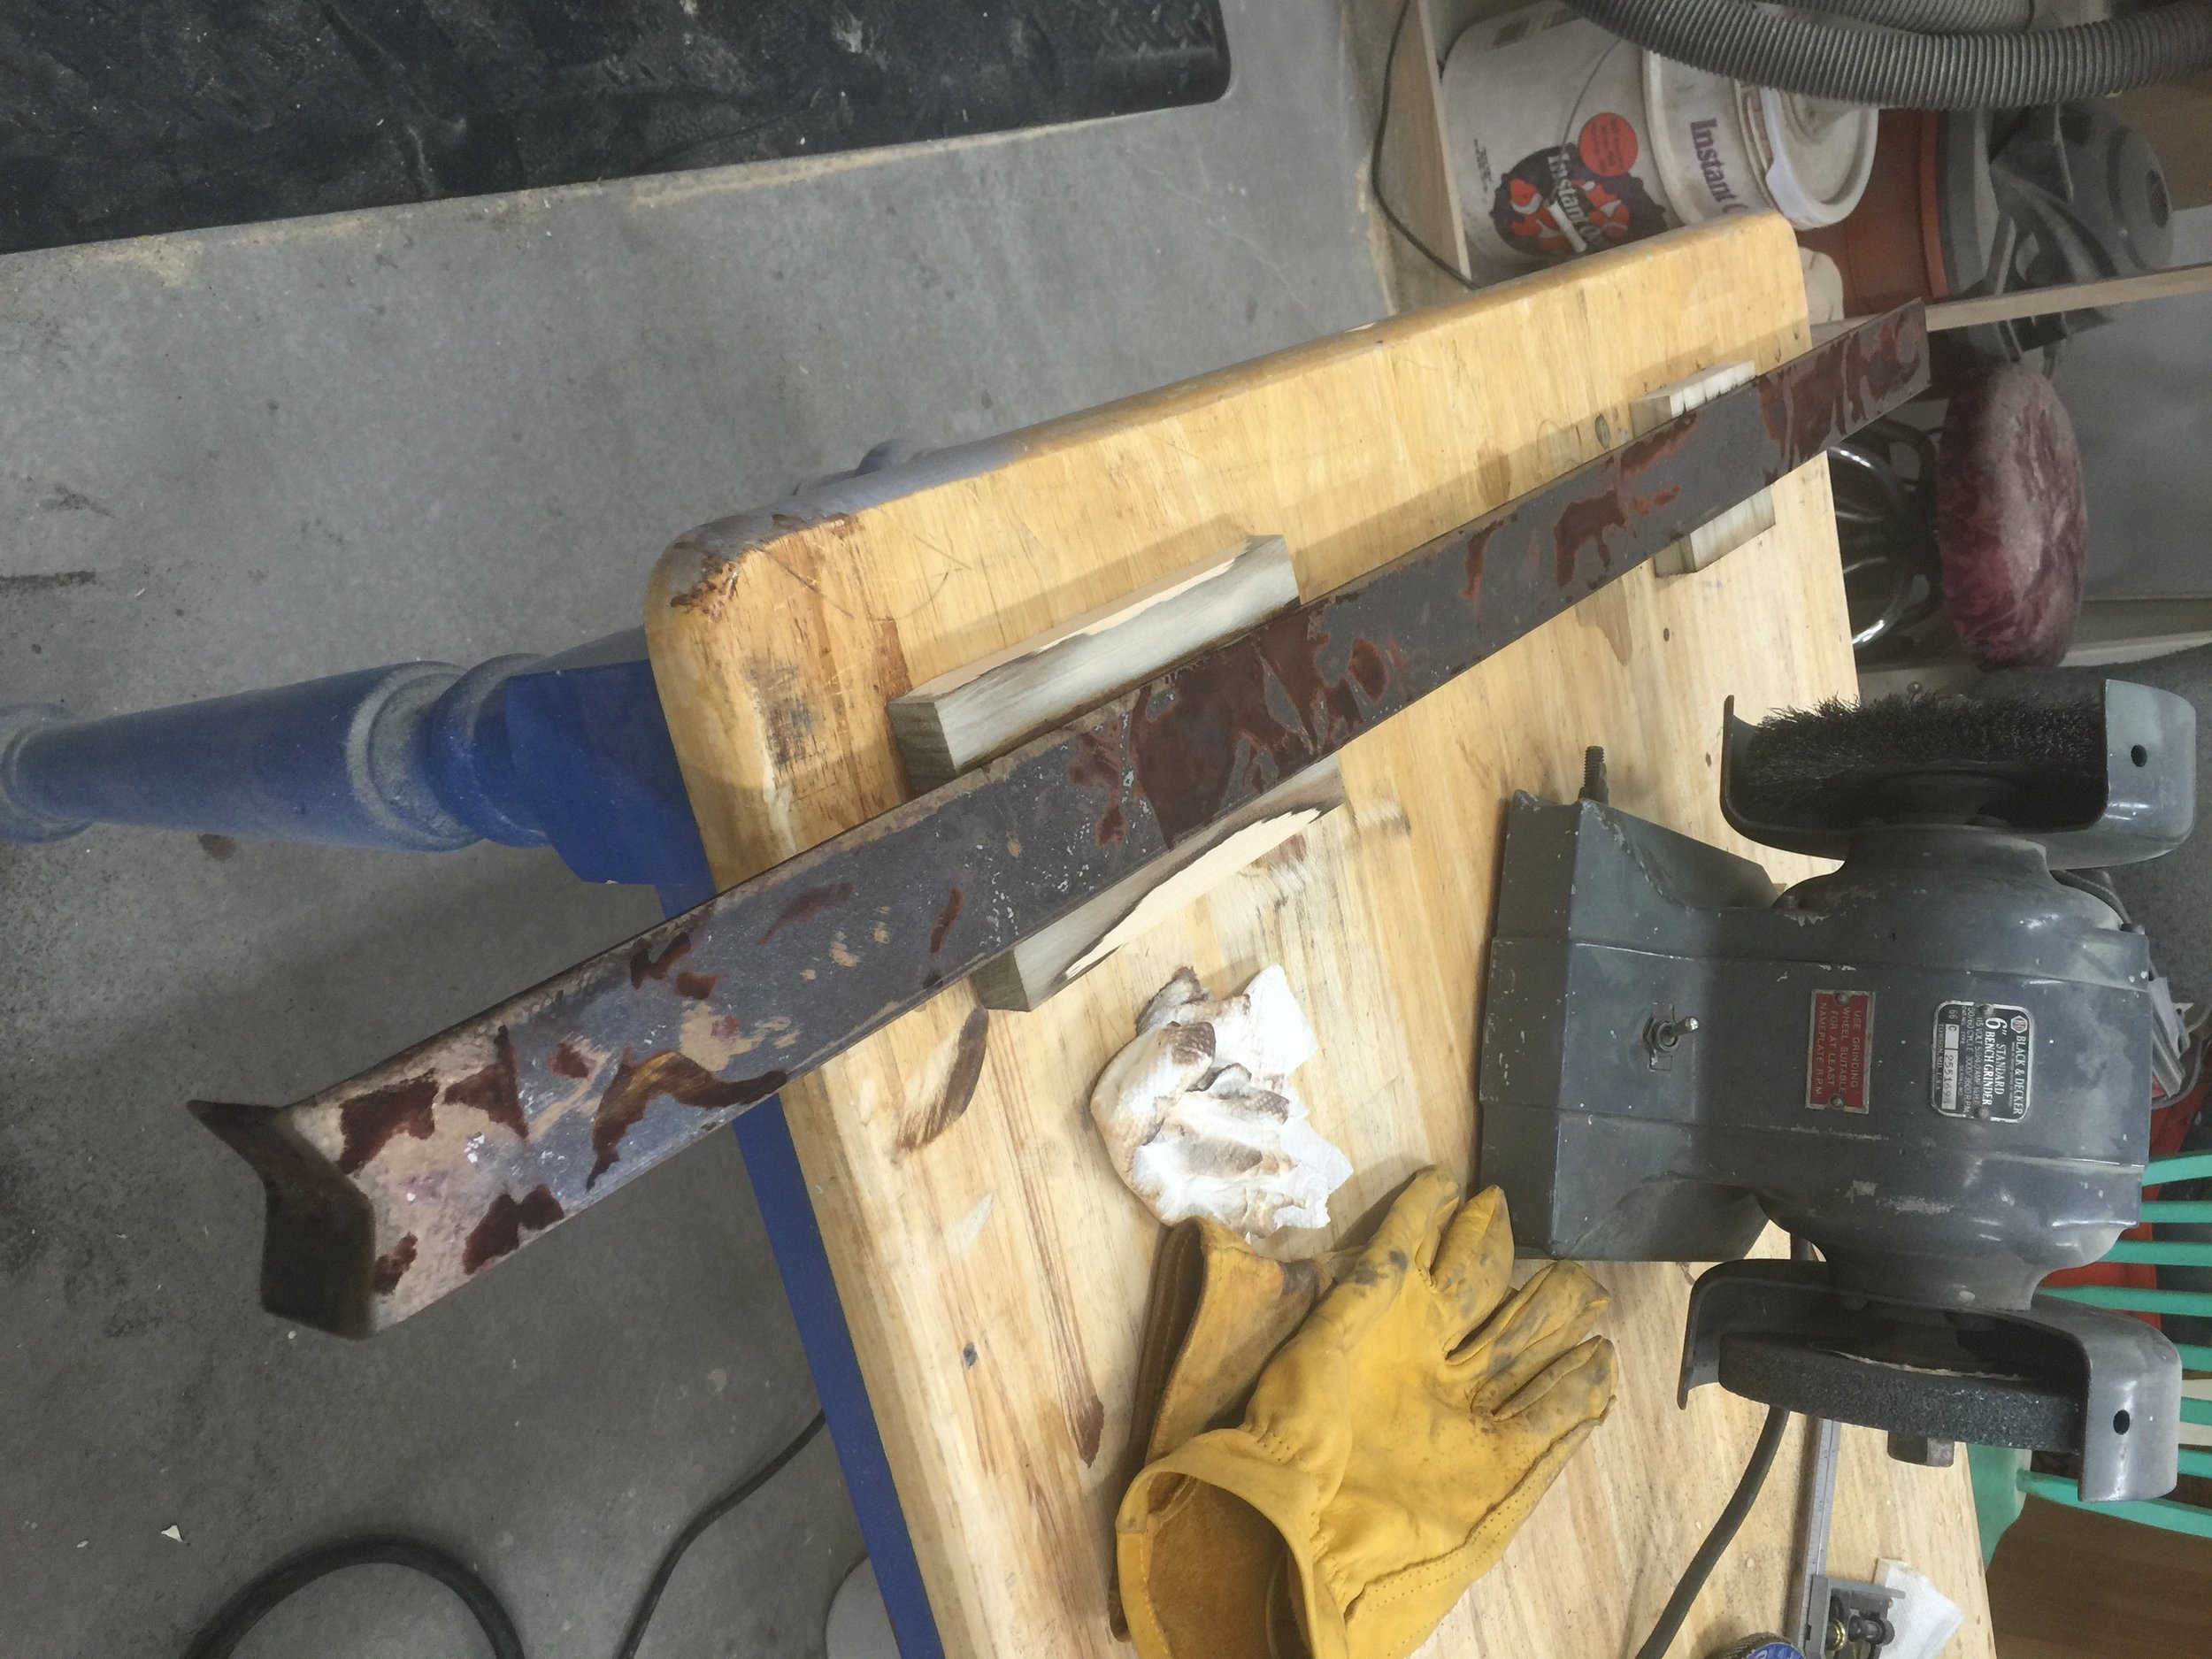
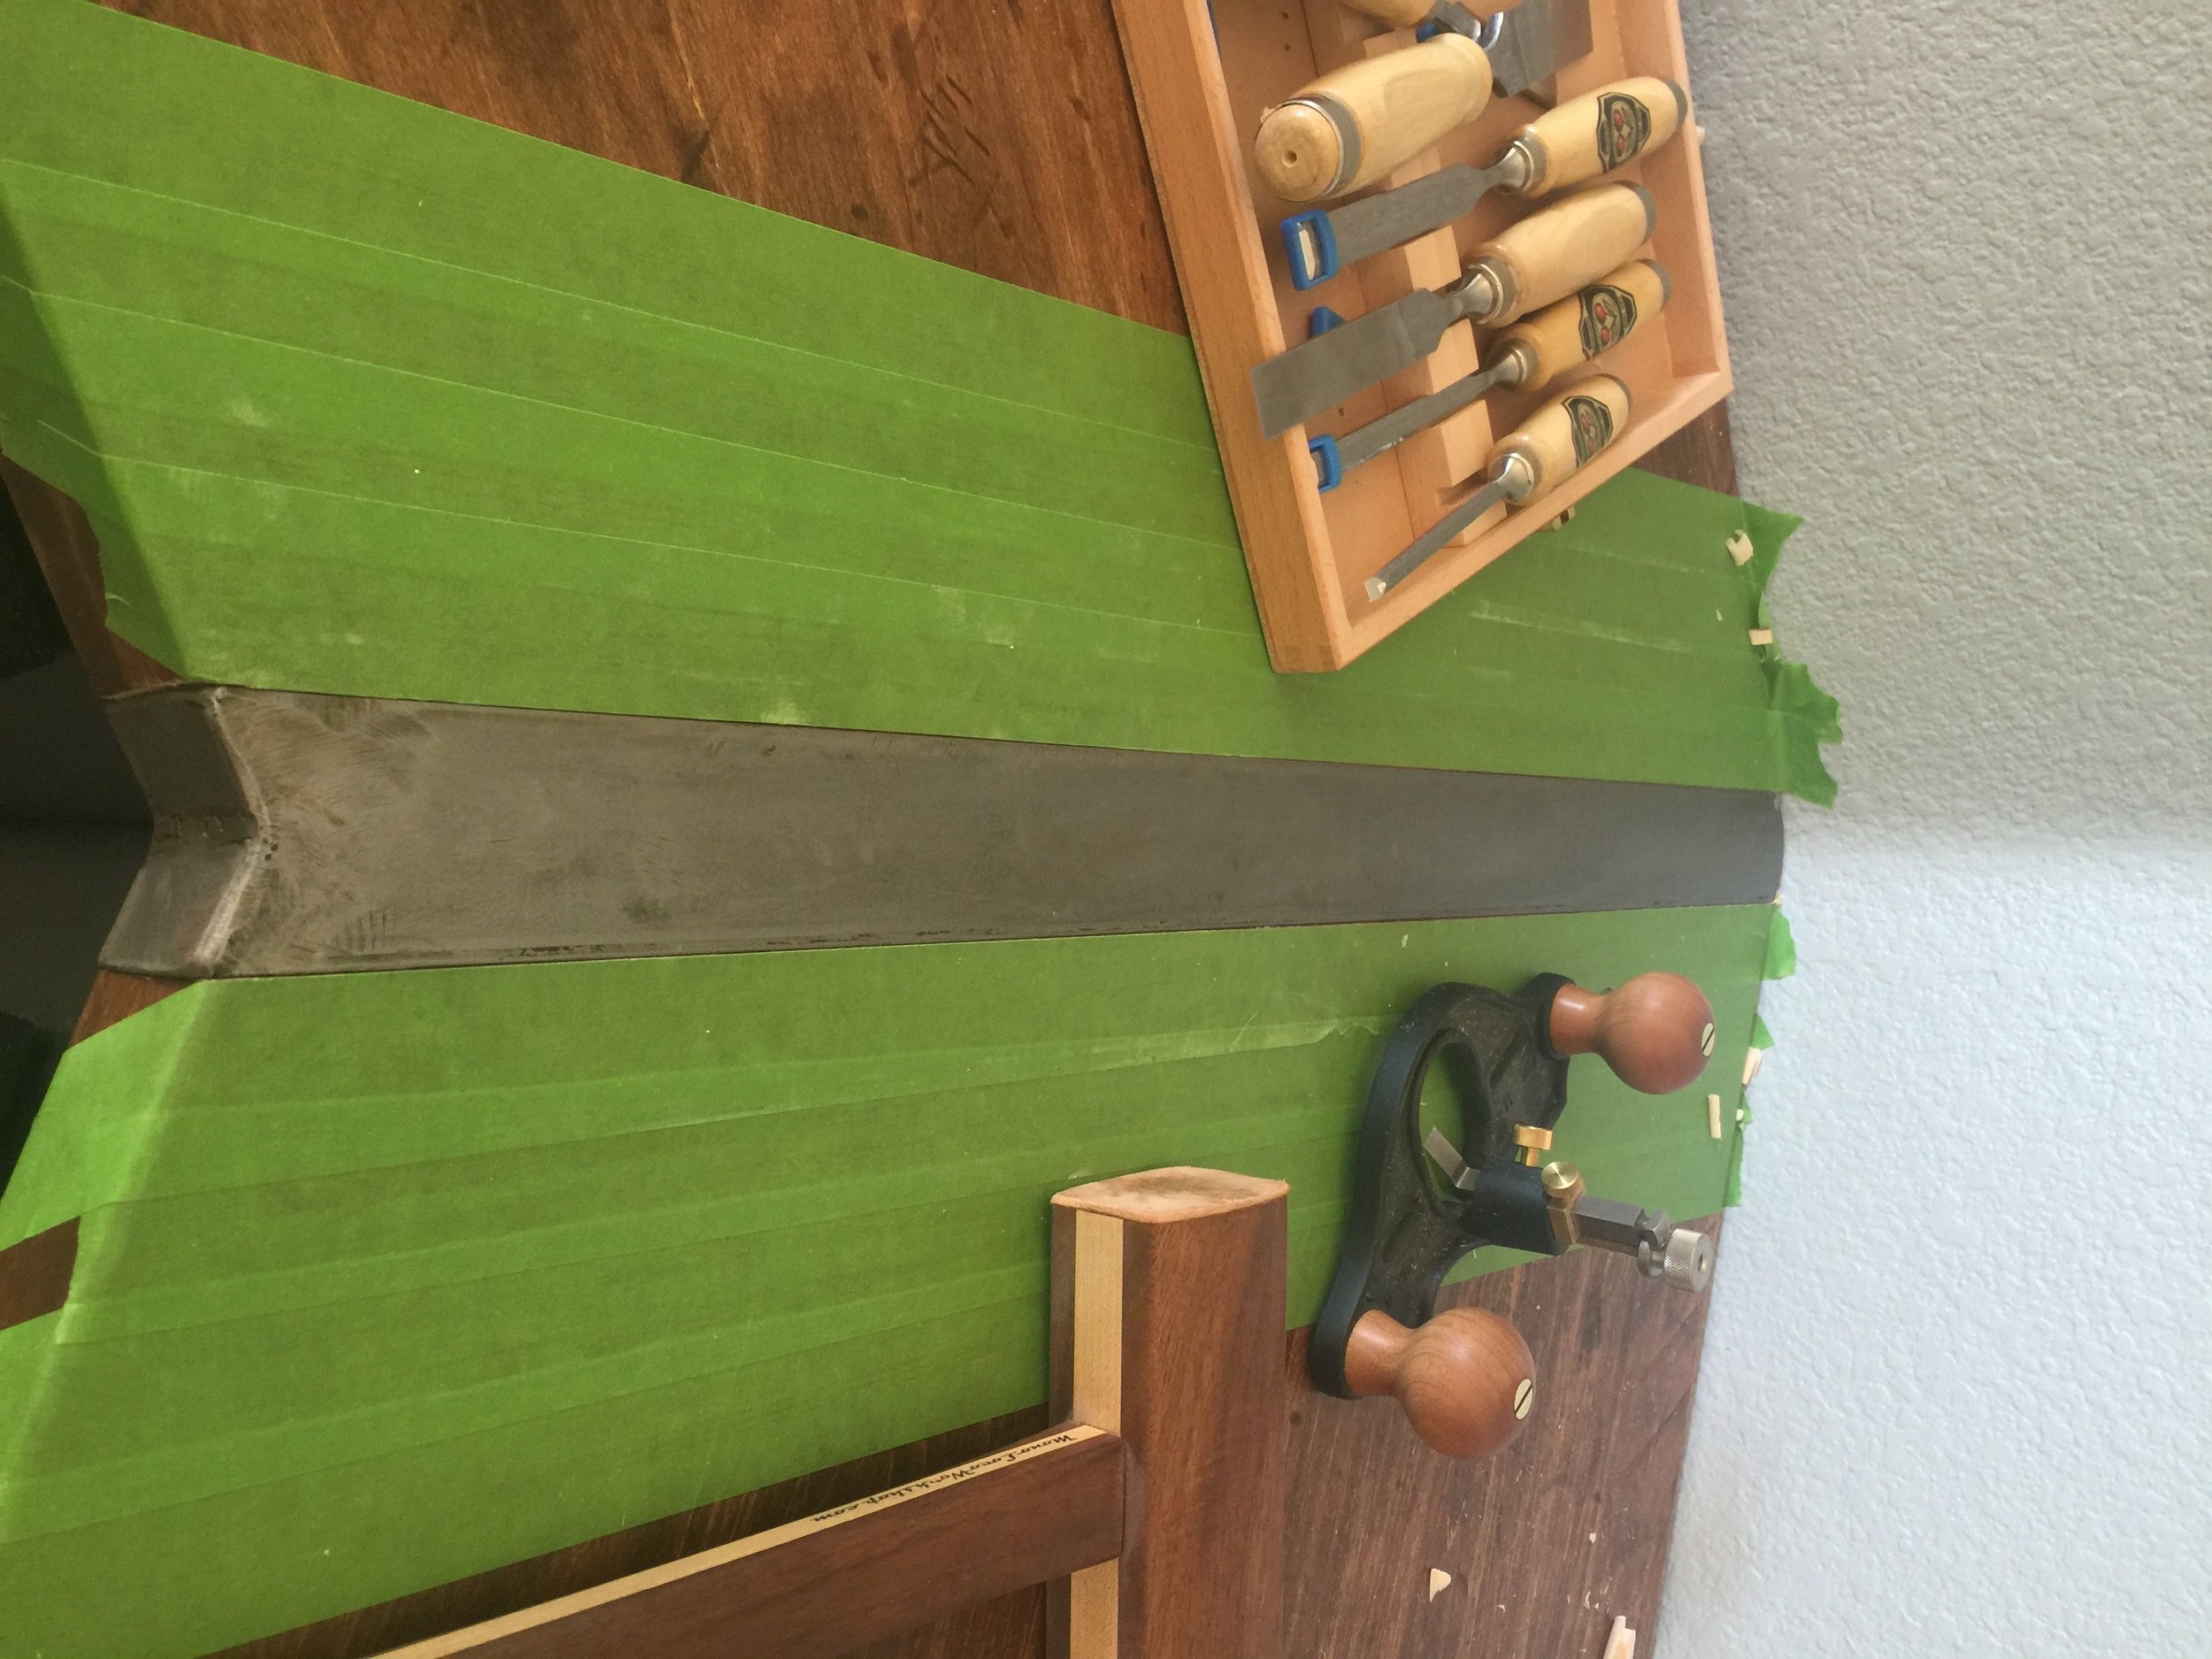
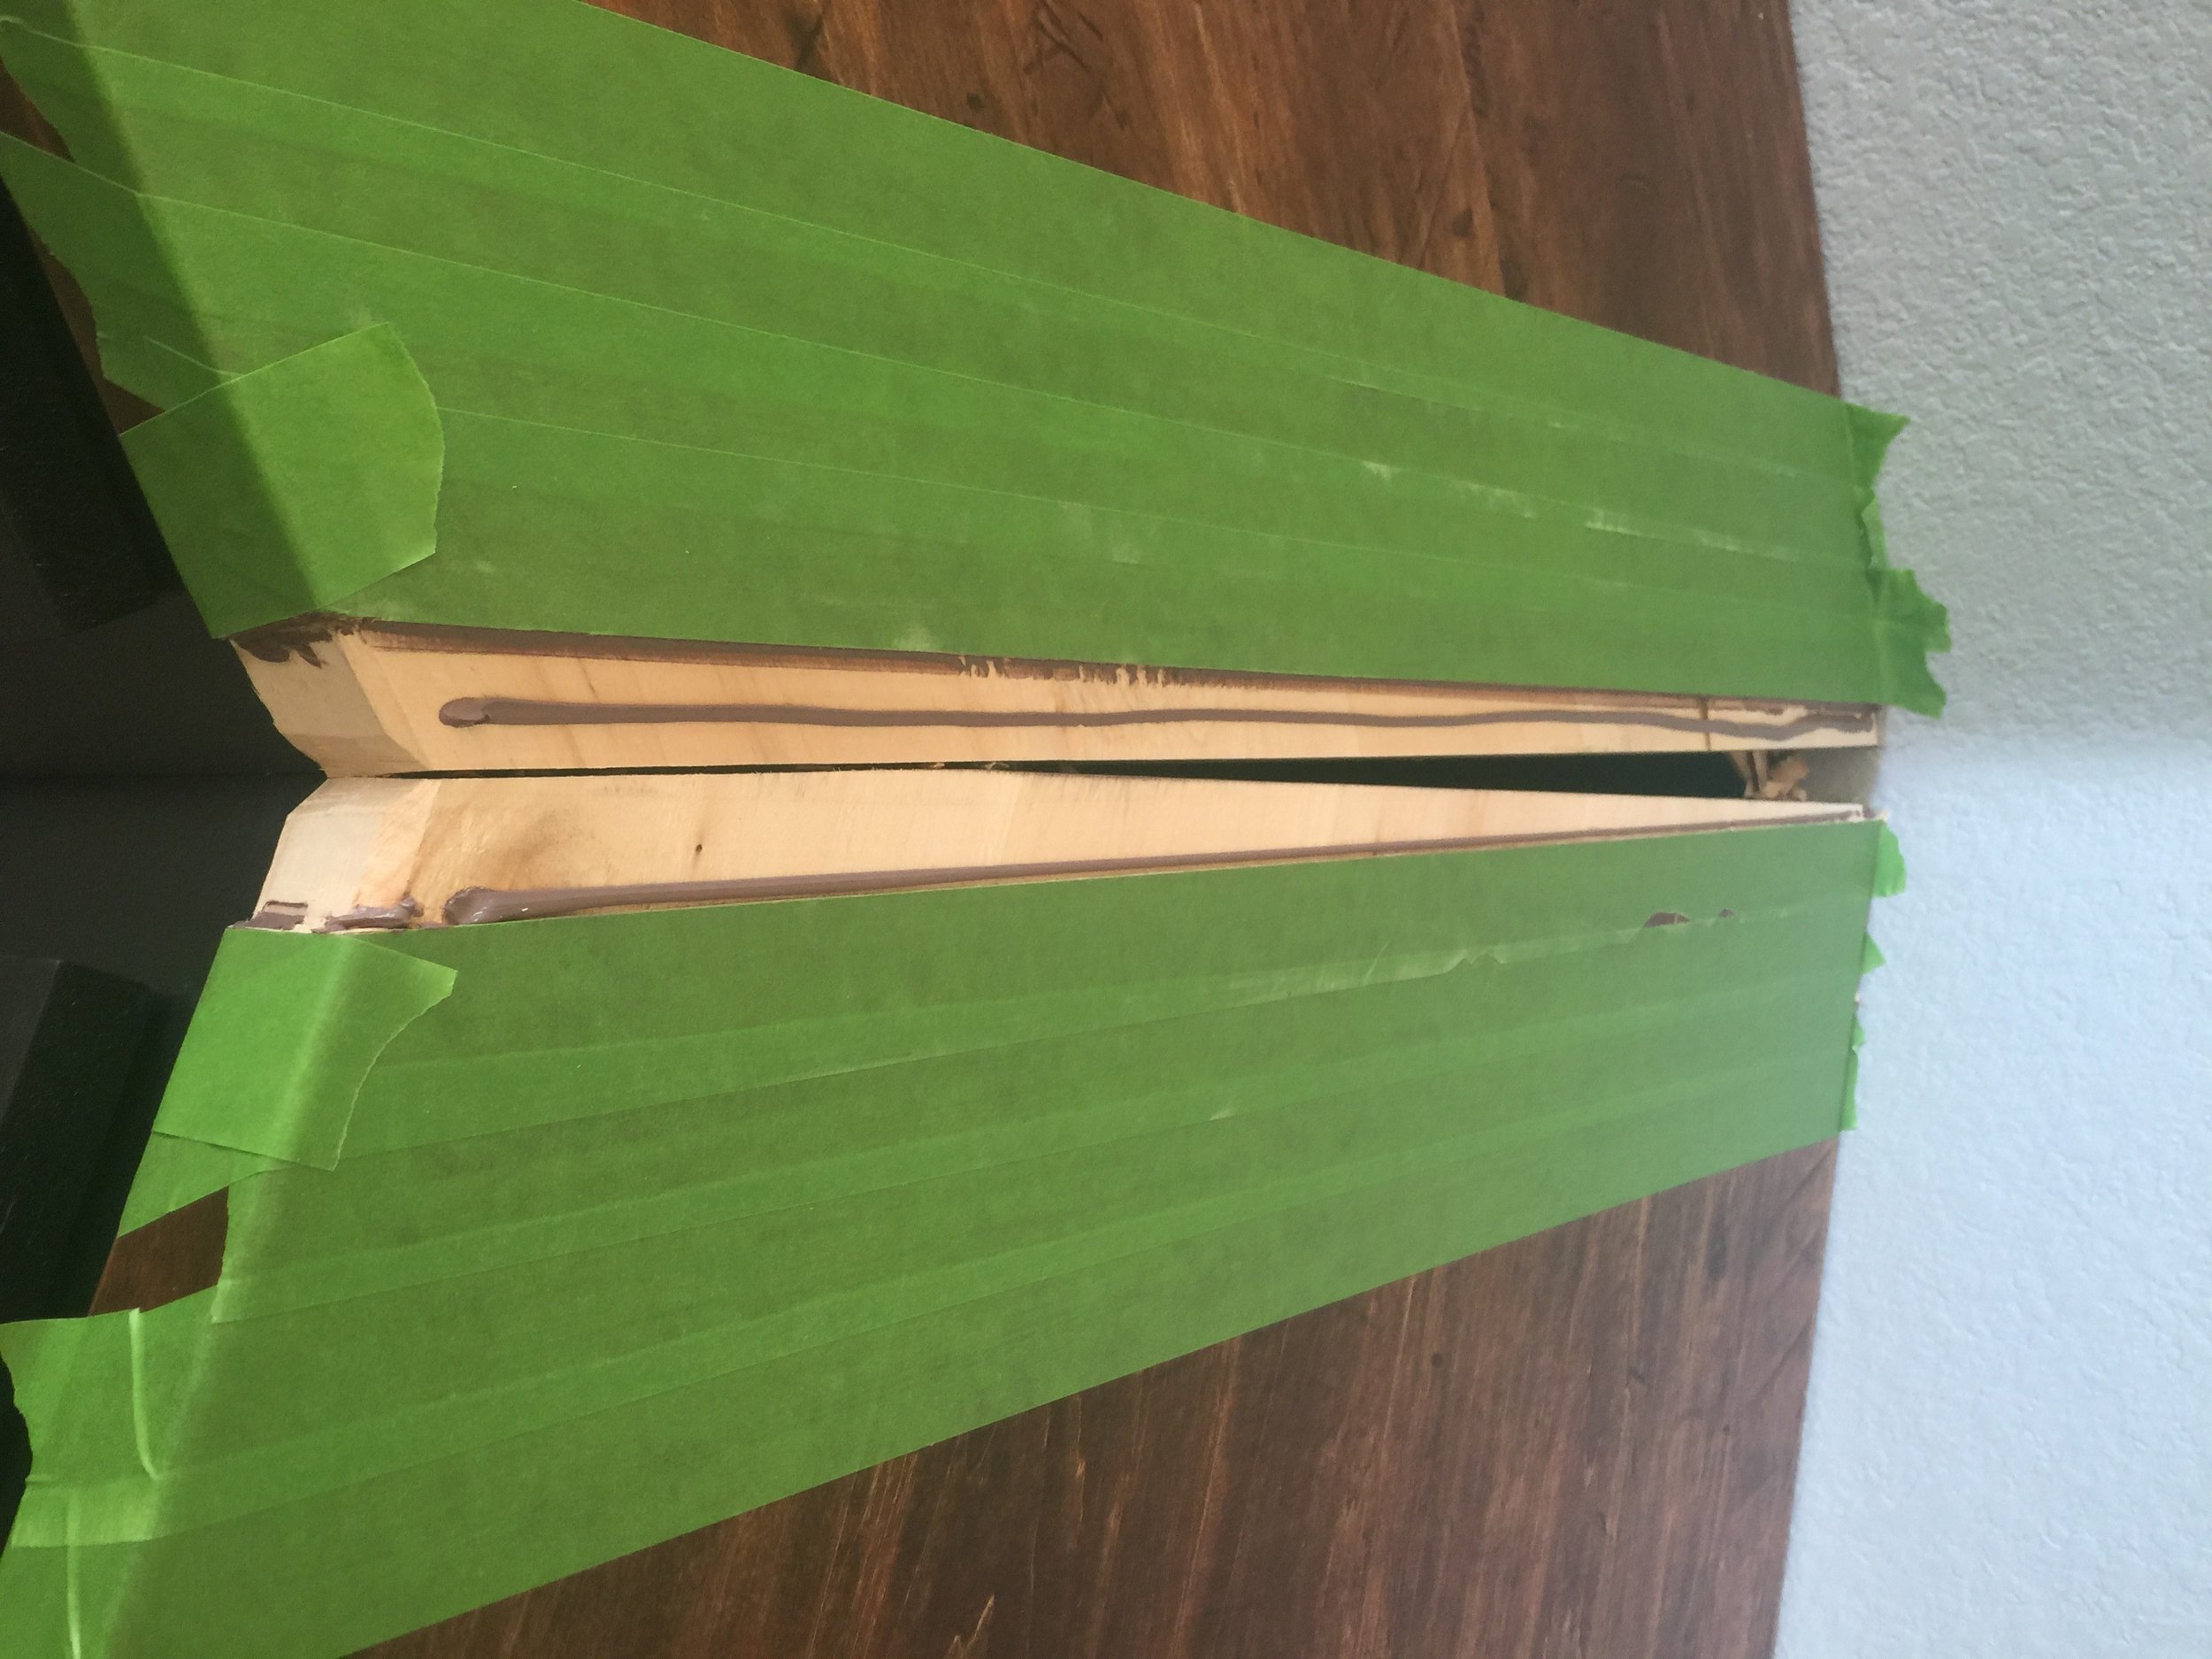
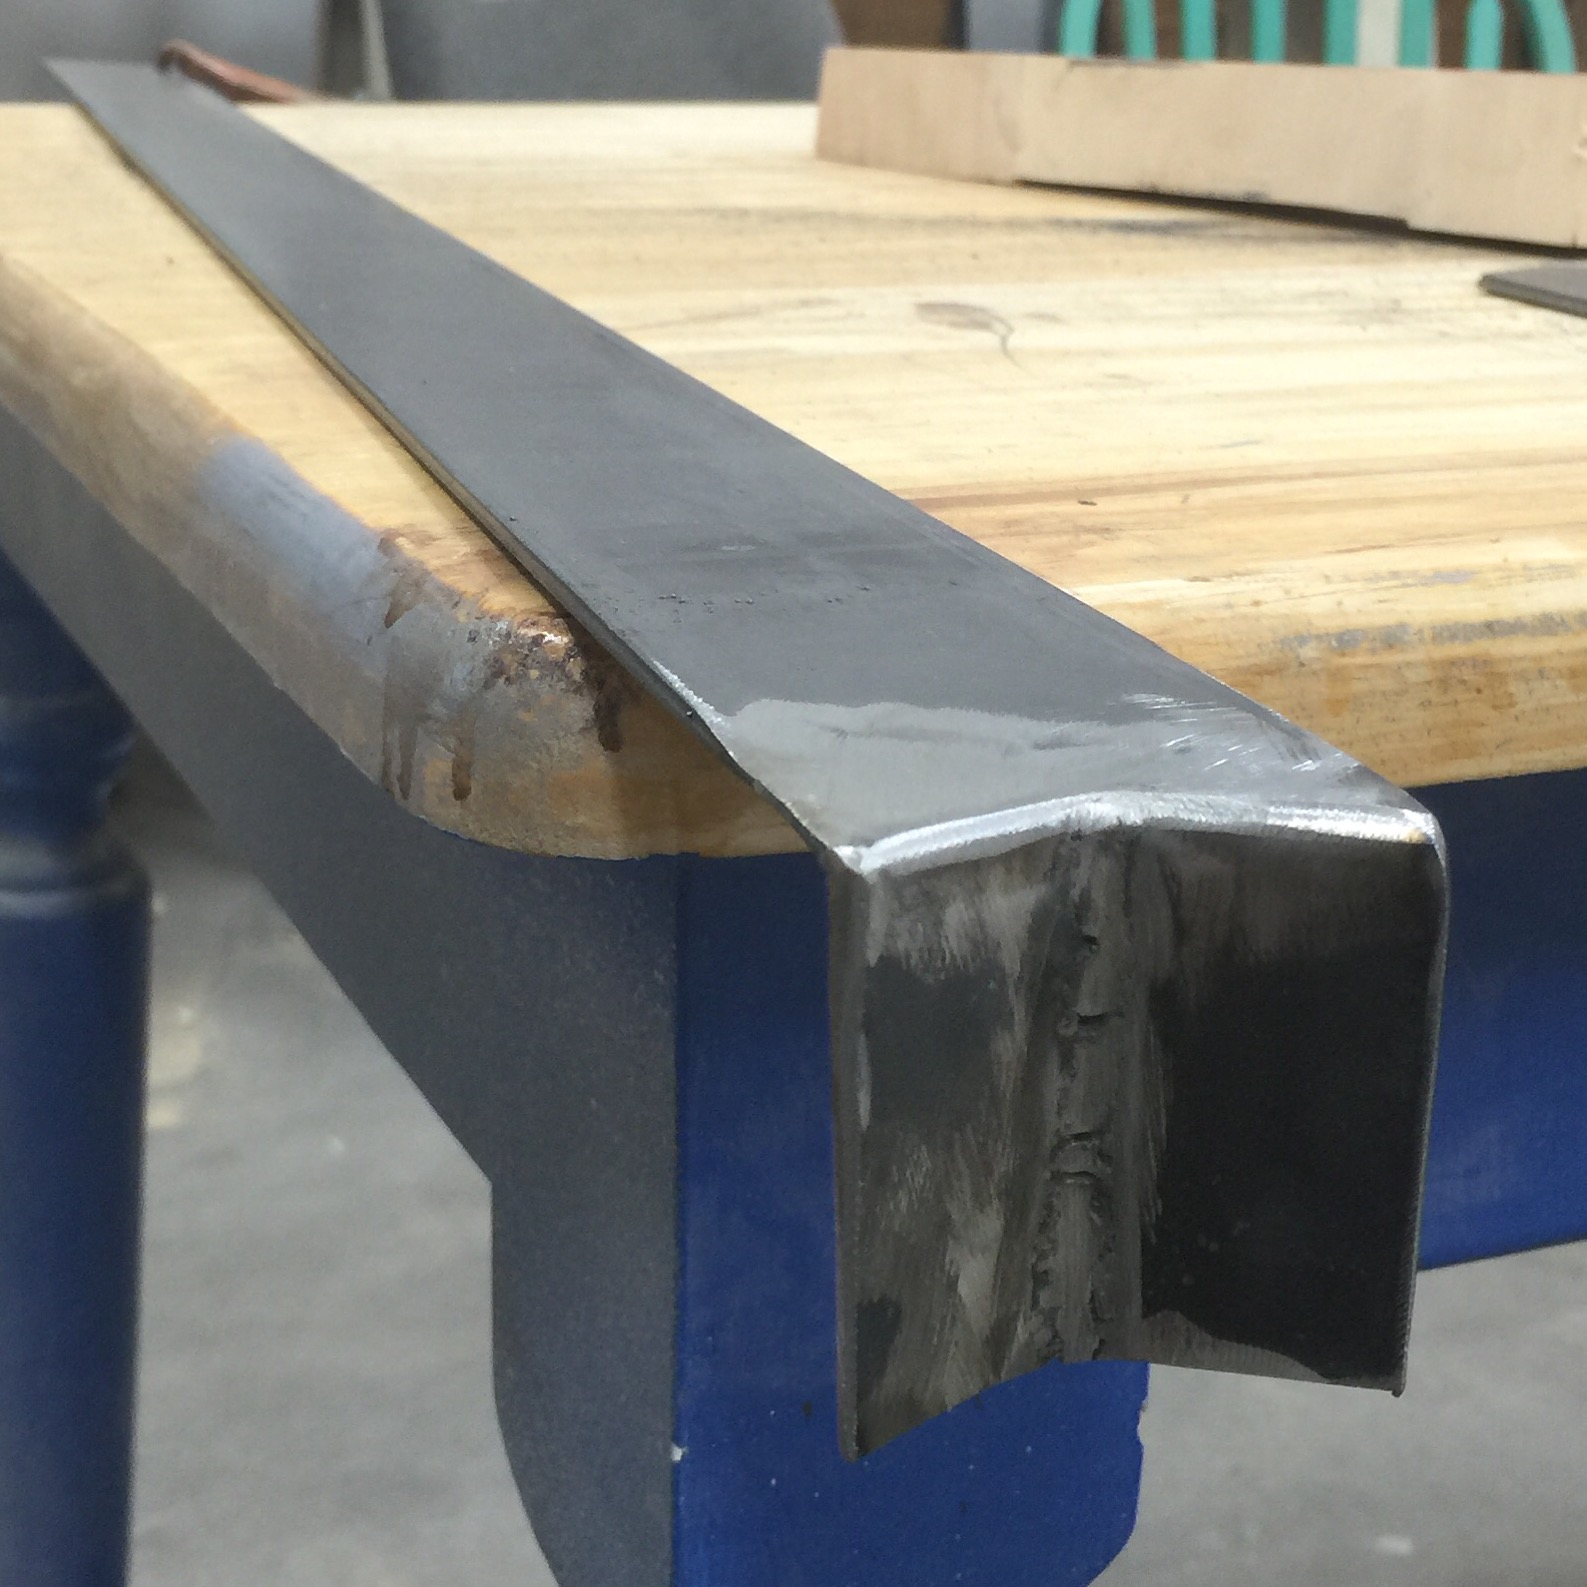 Luckily, I came up with a method to cover up that unsightly gap that I was so pleased with that I'll just plan on it from the start next time. The owners enjoy the rustic/industrial look so I decided to inlay a two-inch steel band in the seam. I wanted the band to wrap around the front of the counter so I cut a 45° notch using my angle grinder and welded two pieces on the front. I cleaned off all of the oil and wrapped the band in paper towels soaked in vinegar to try to rust it up a bit. I applied the same finish as the counter and went over the next weekend to finish everything up.
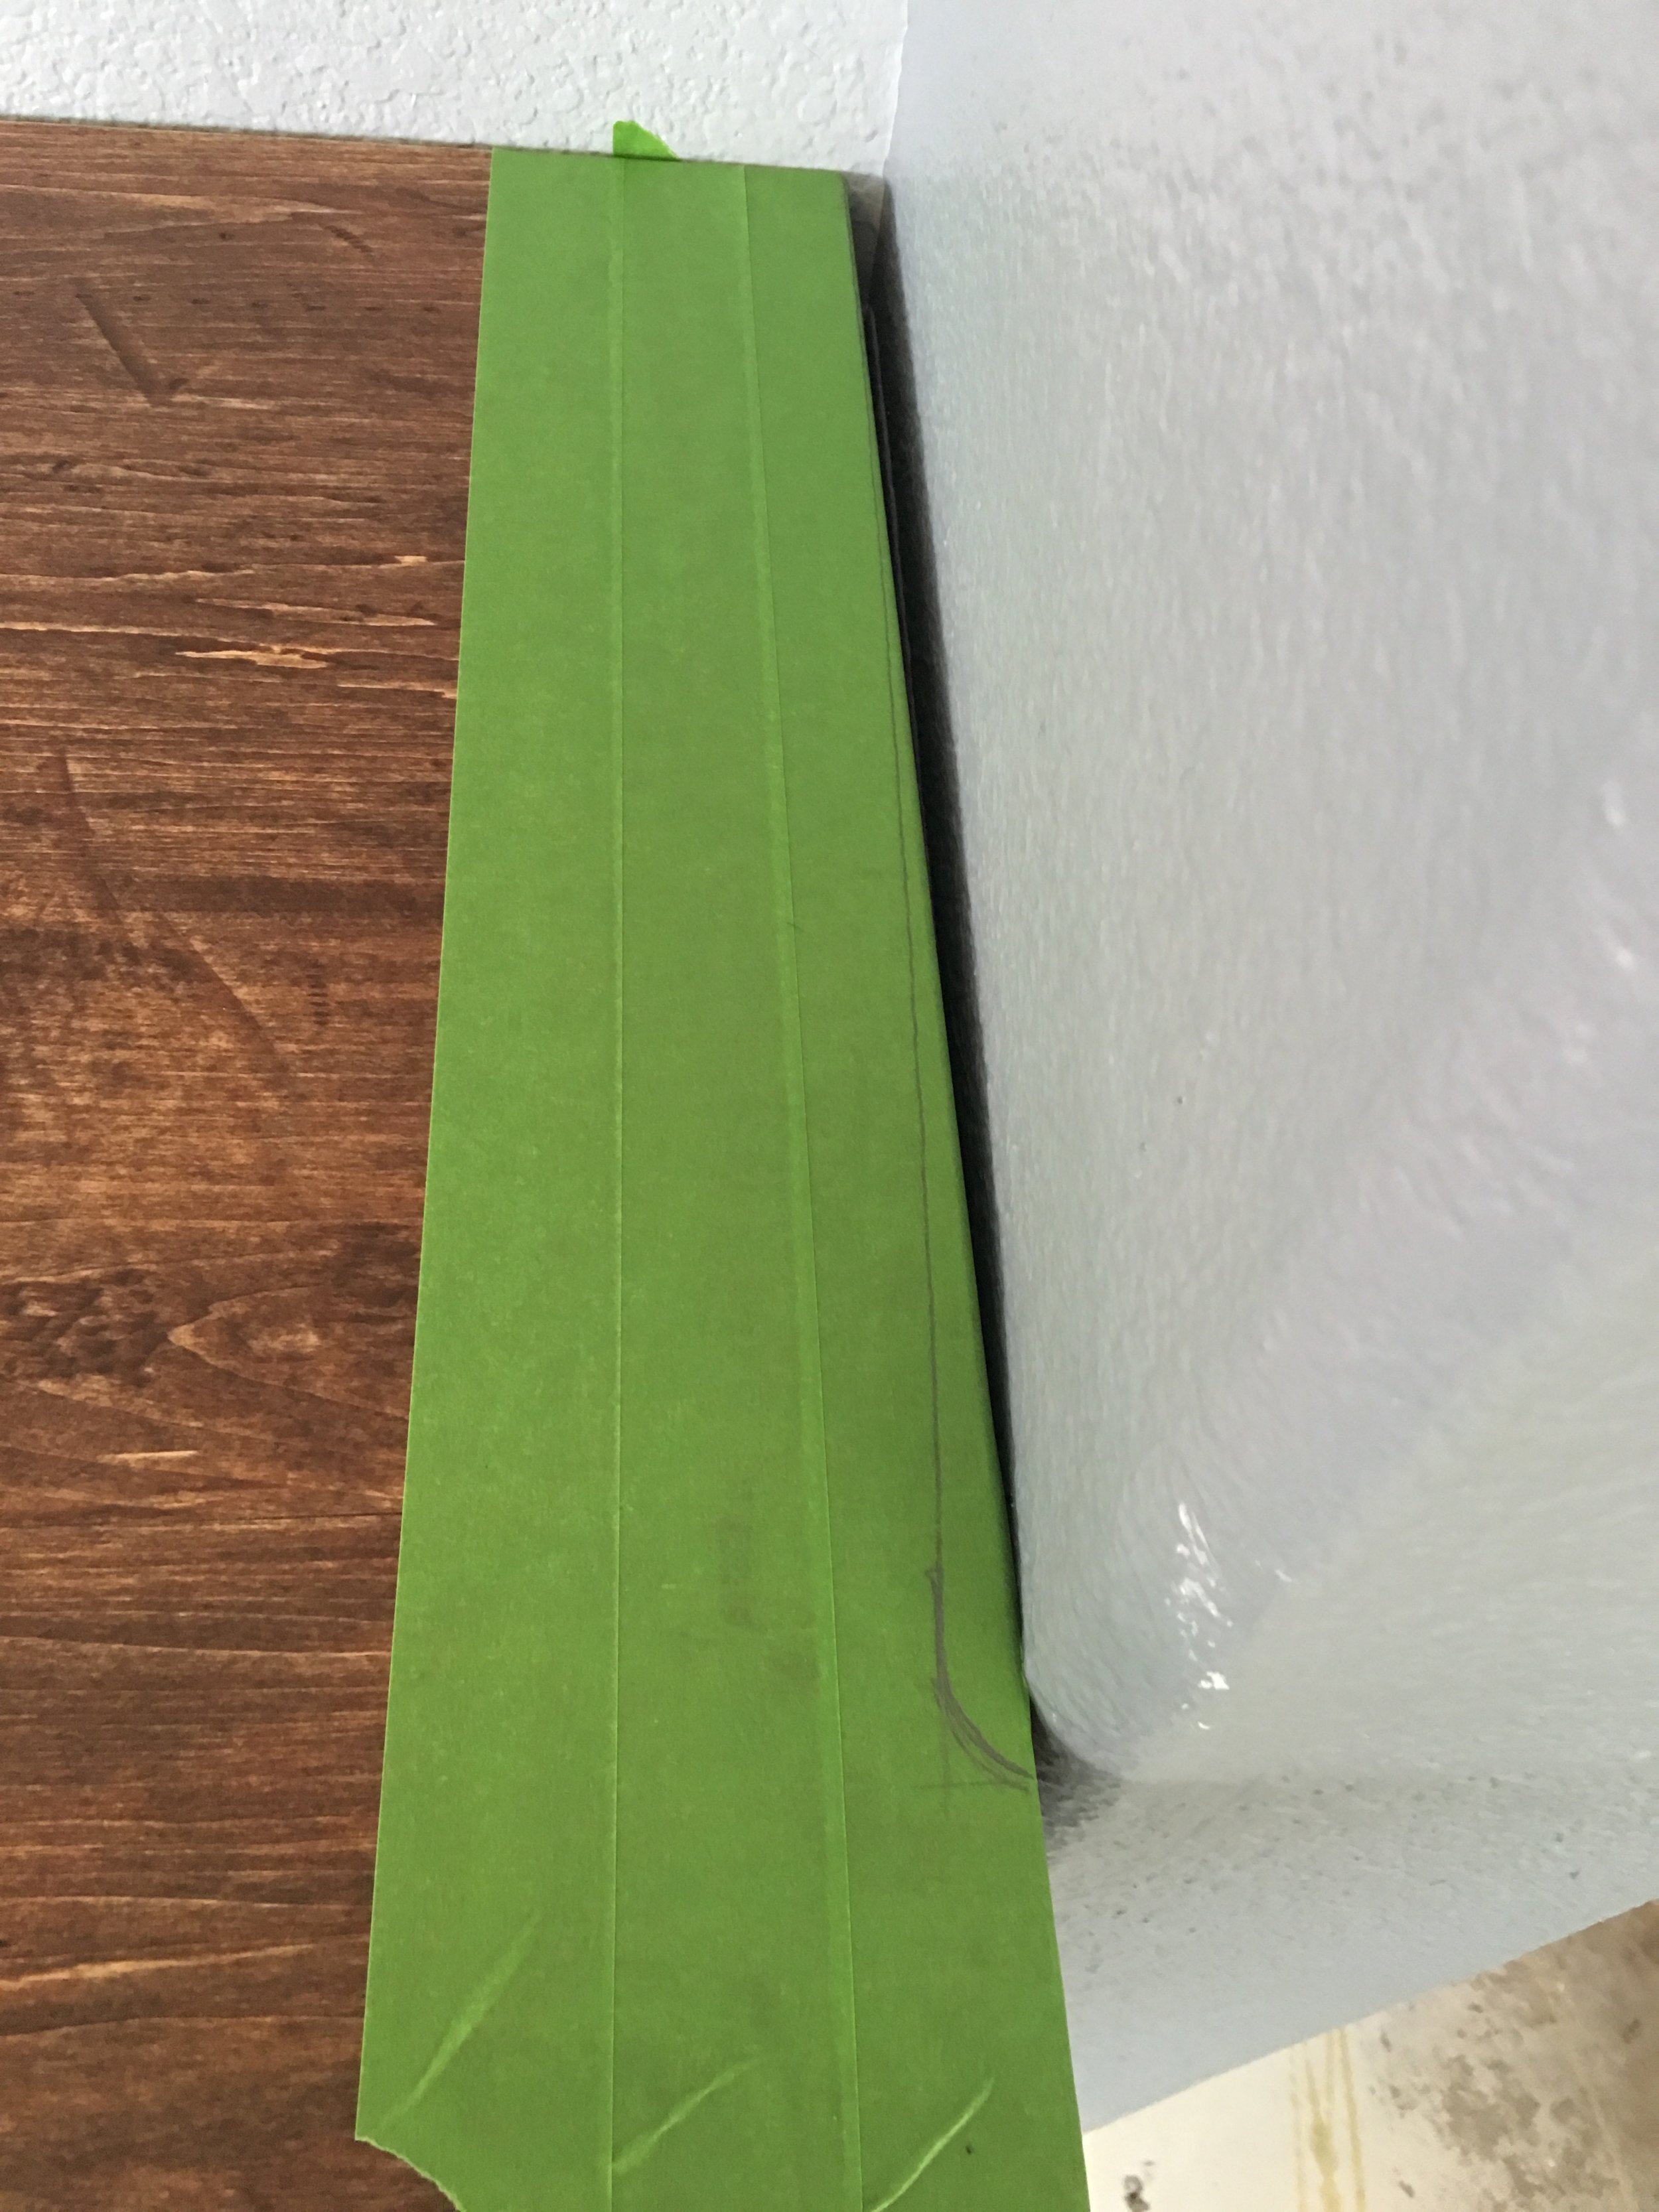
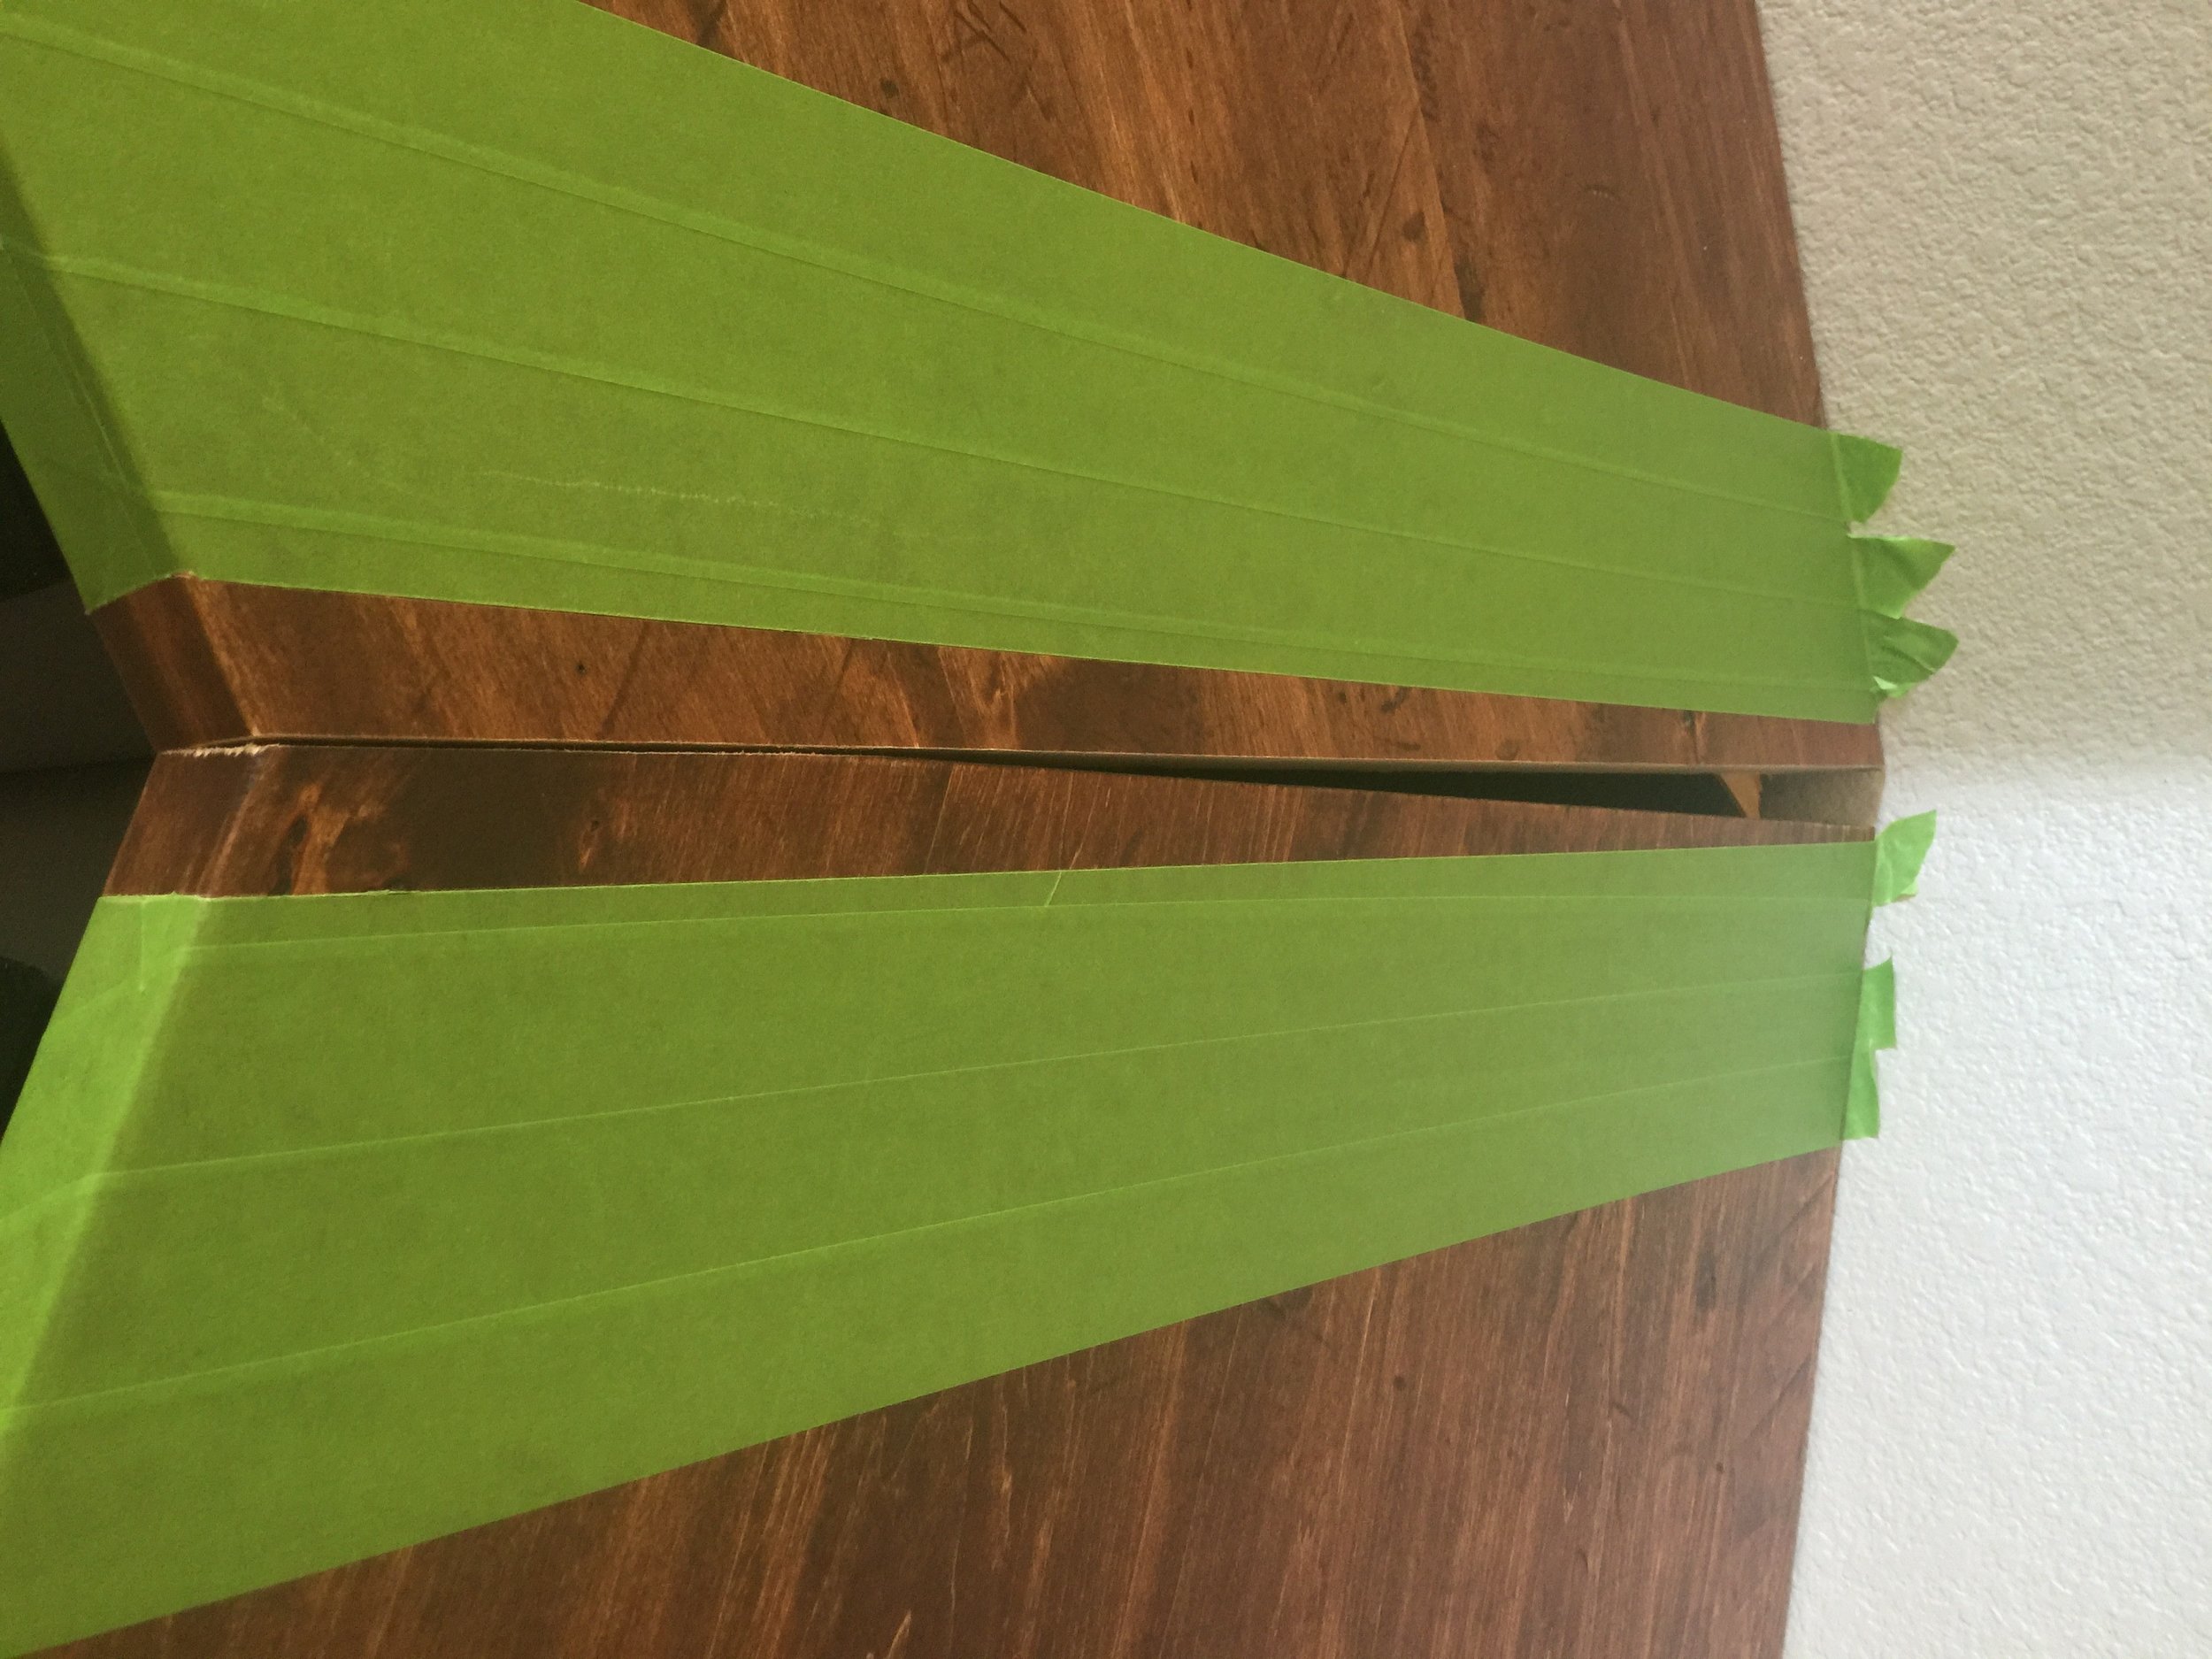
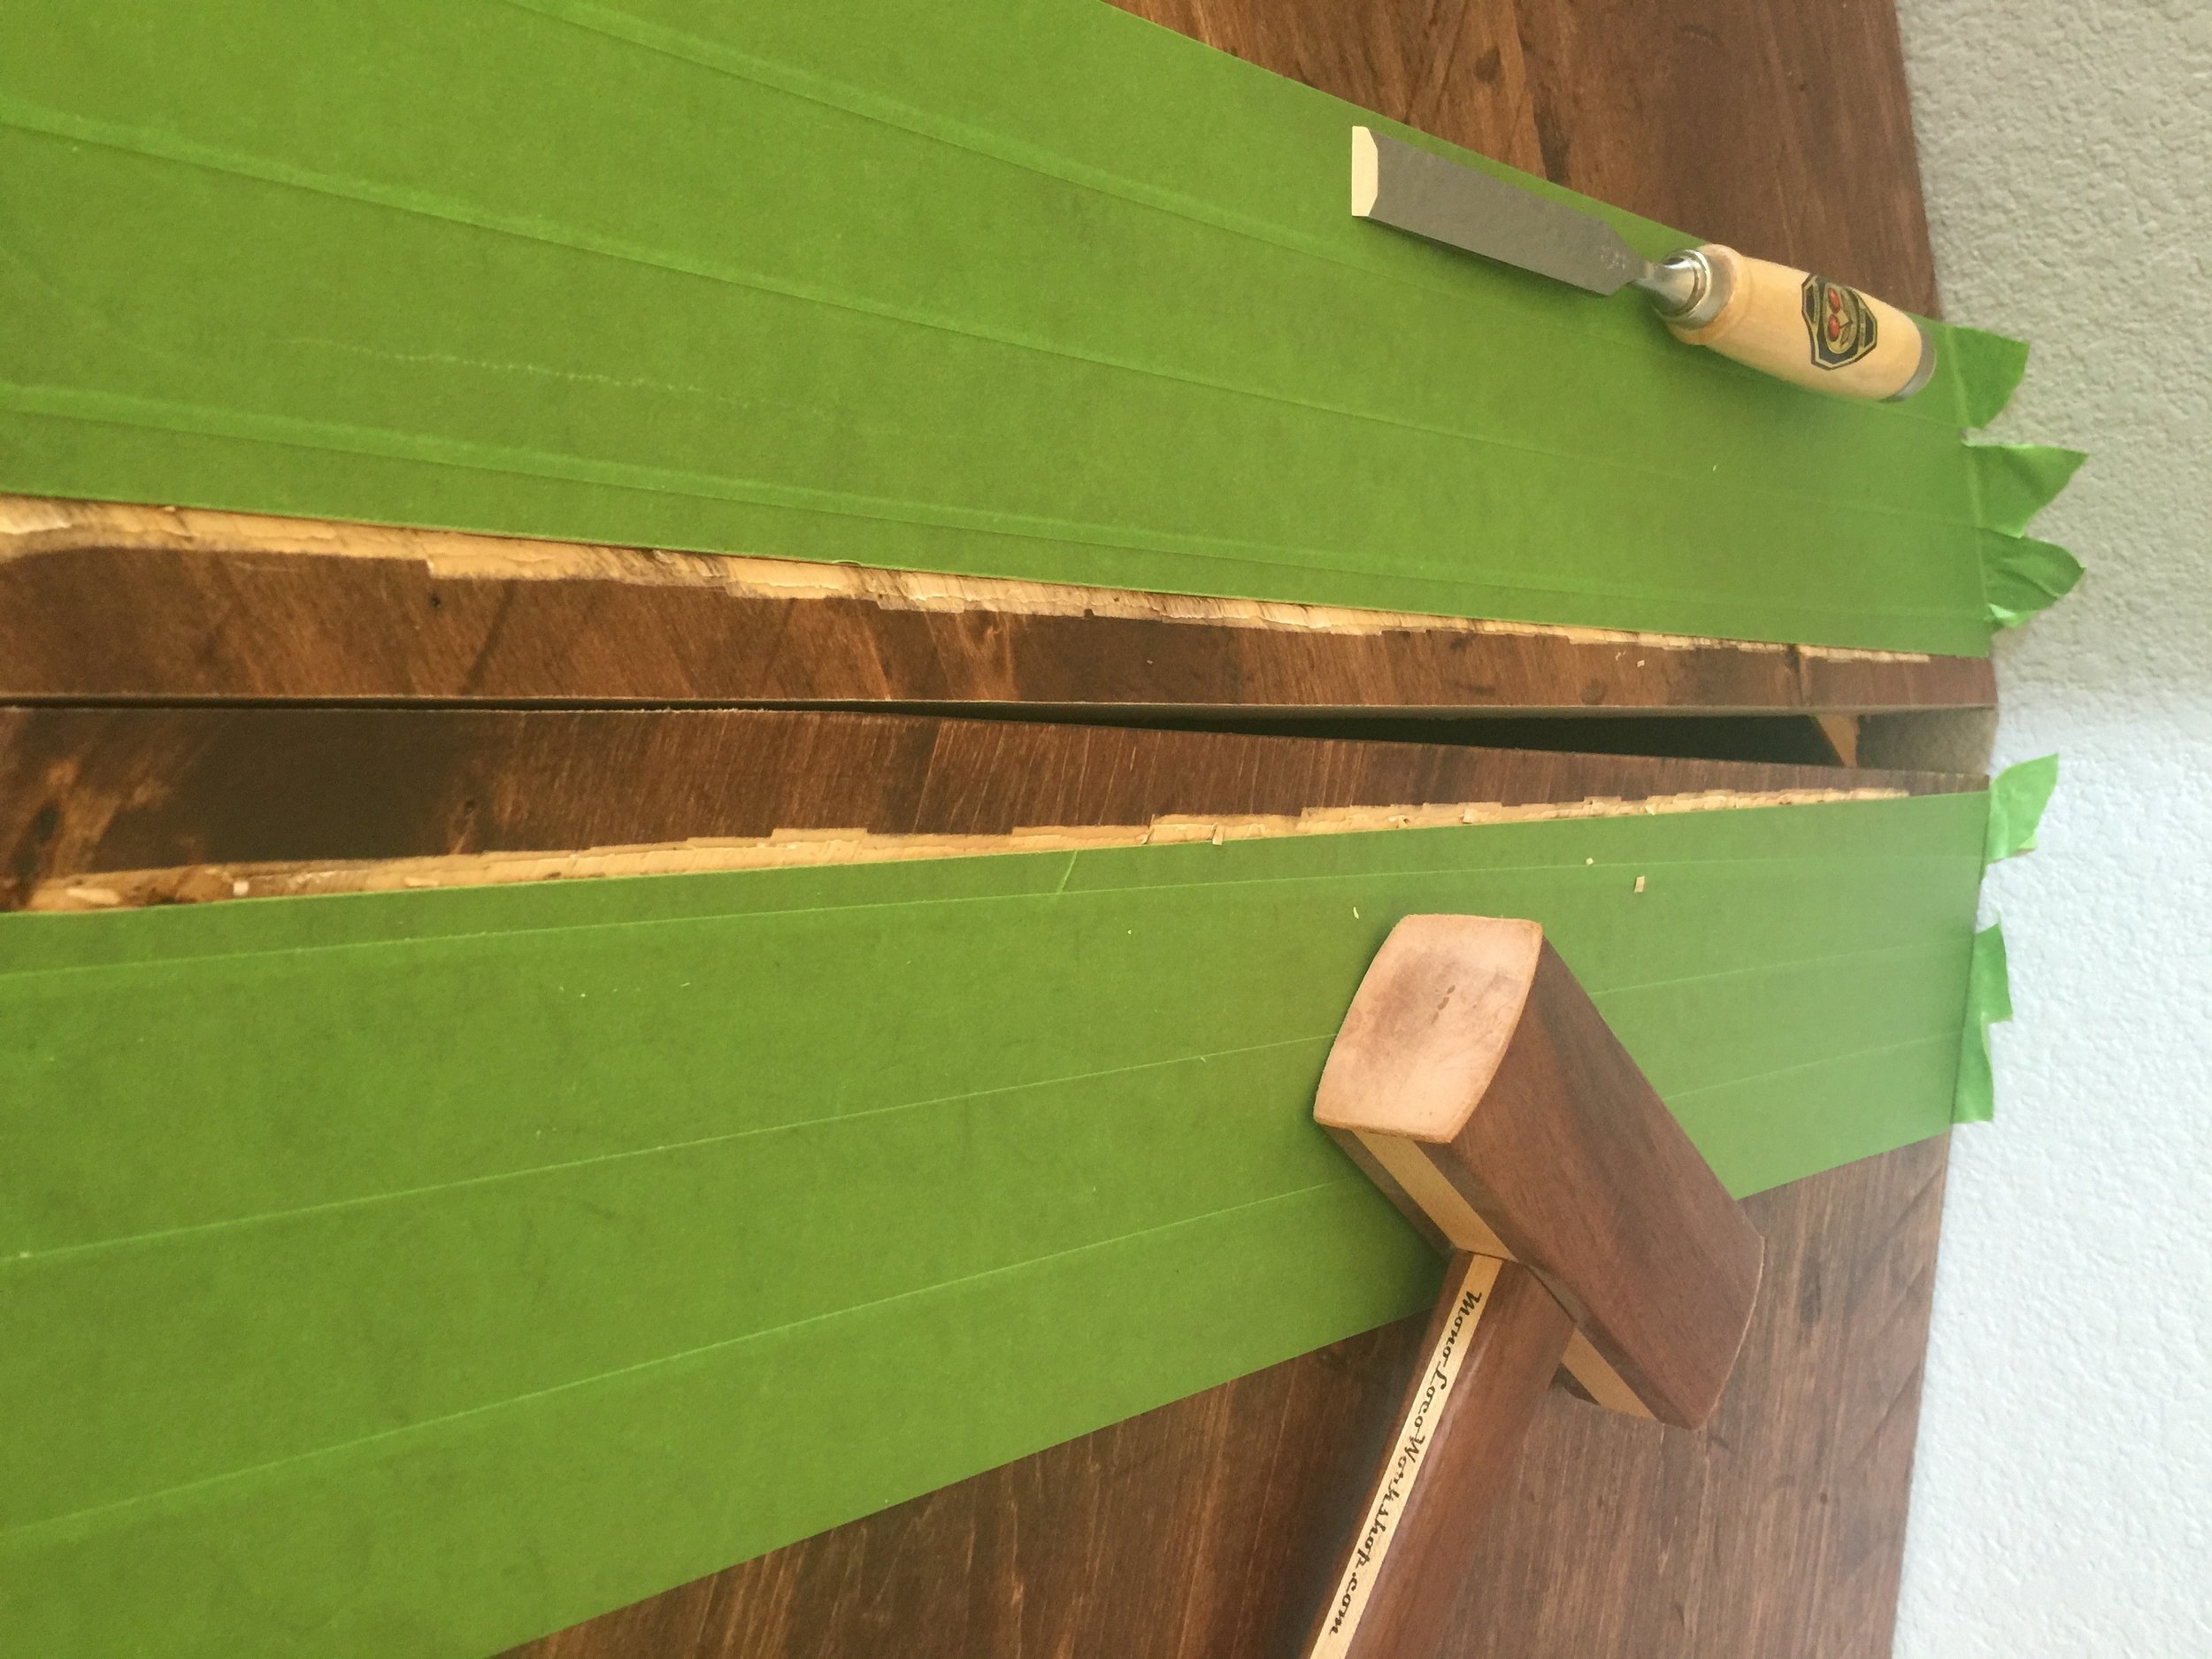
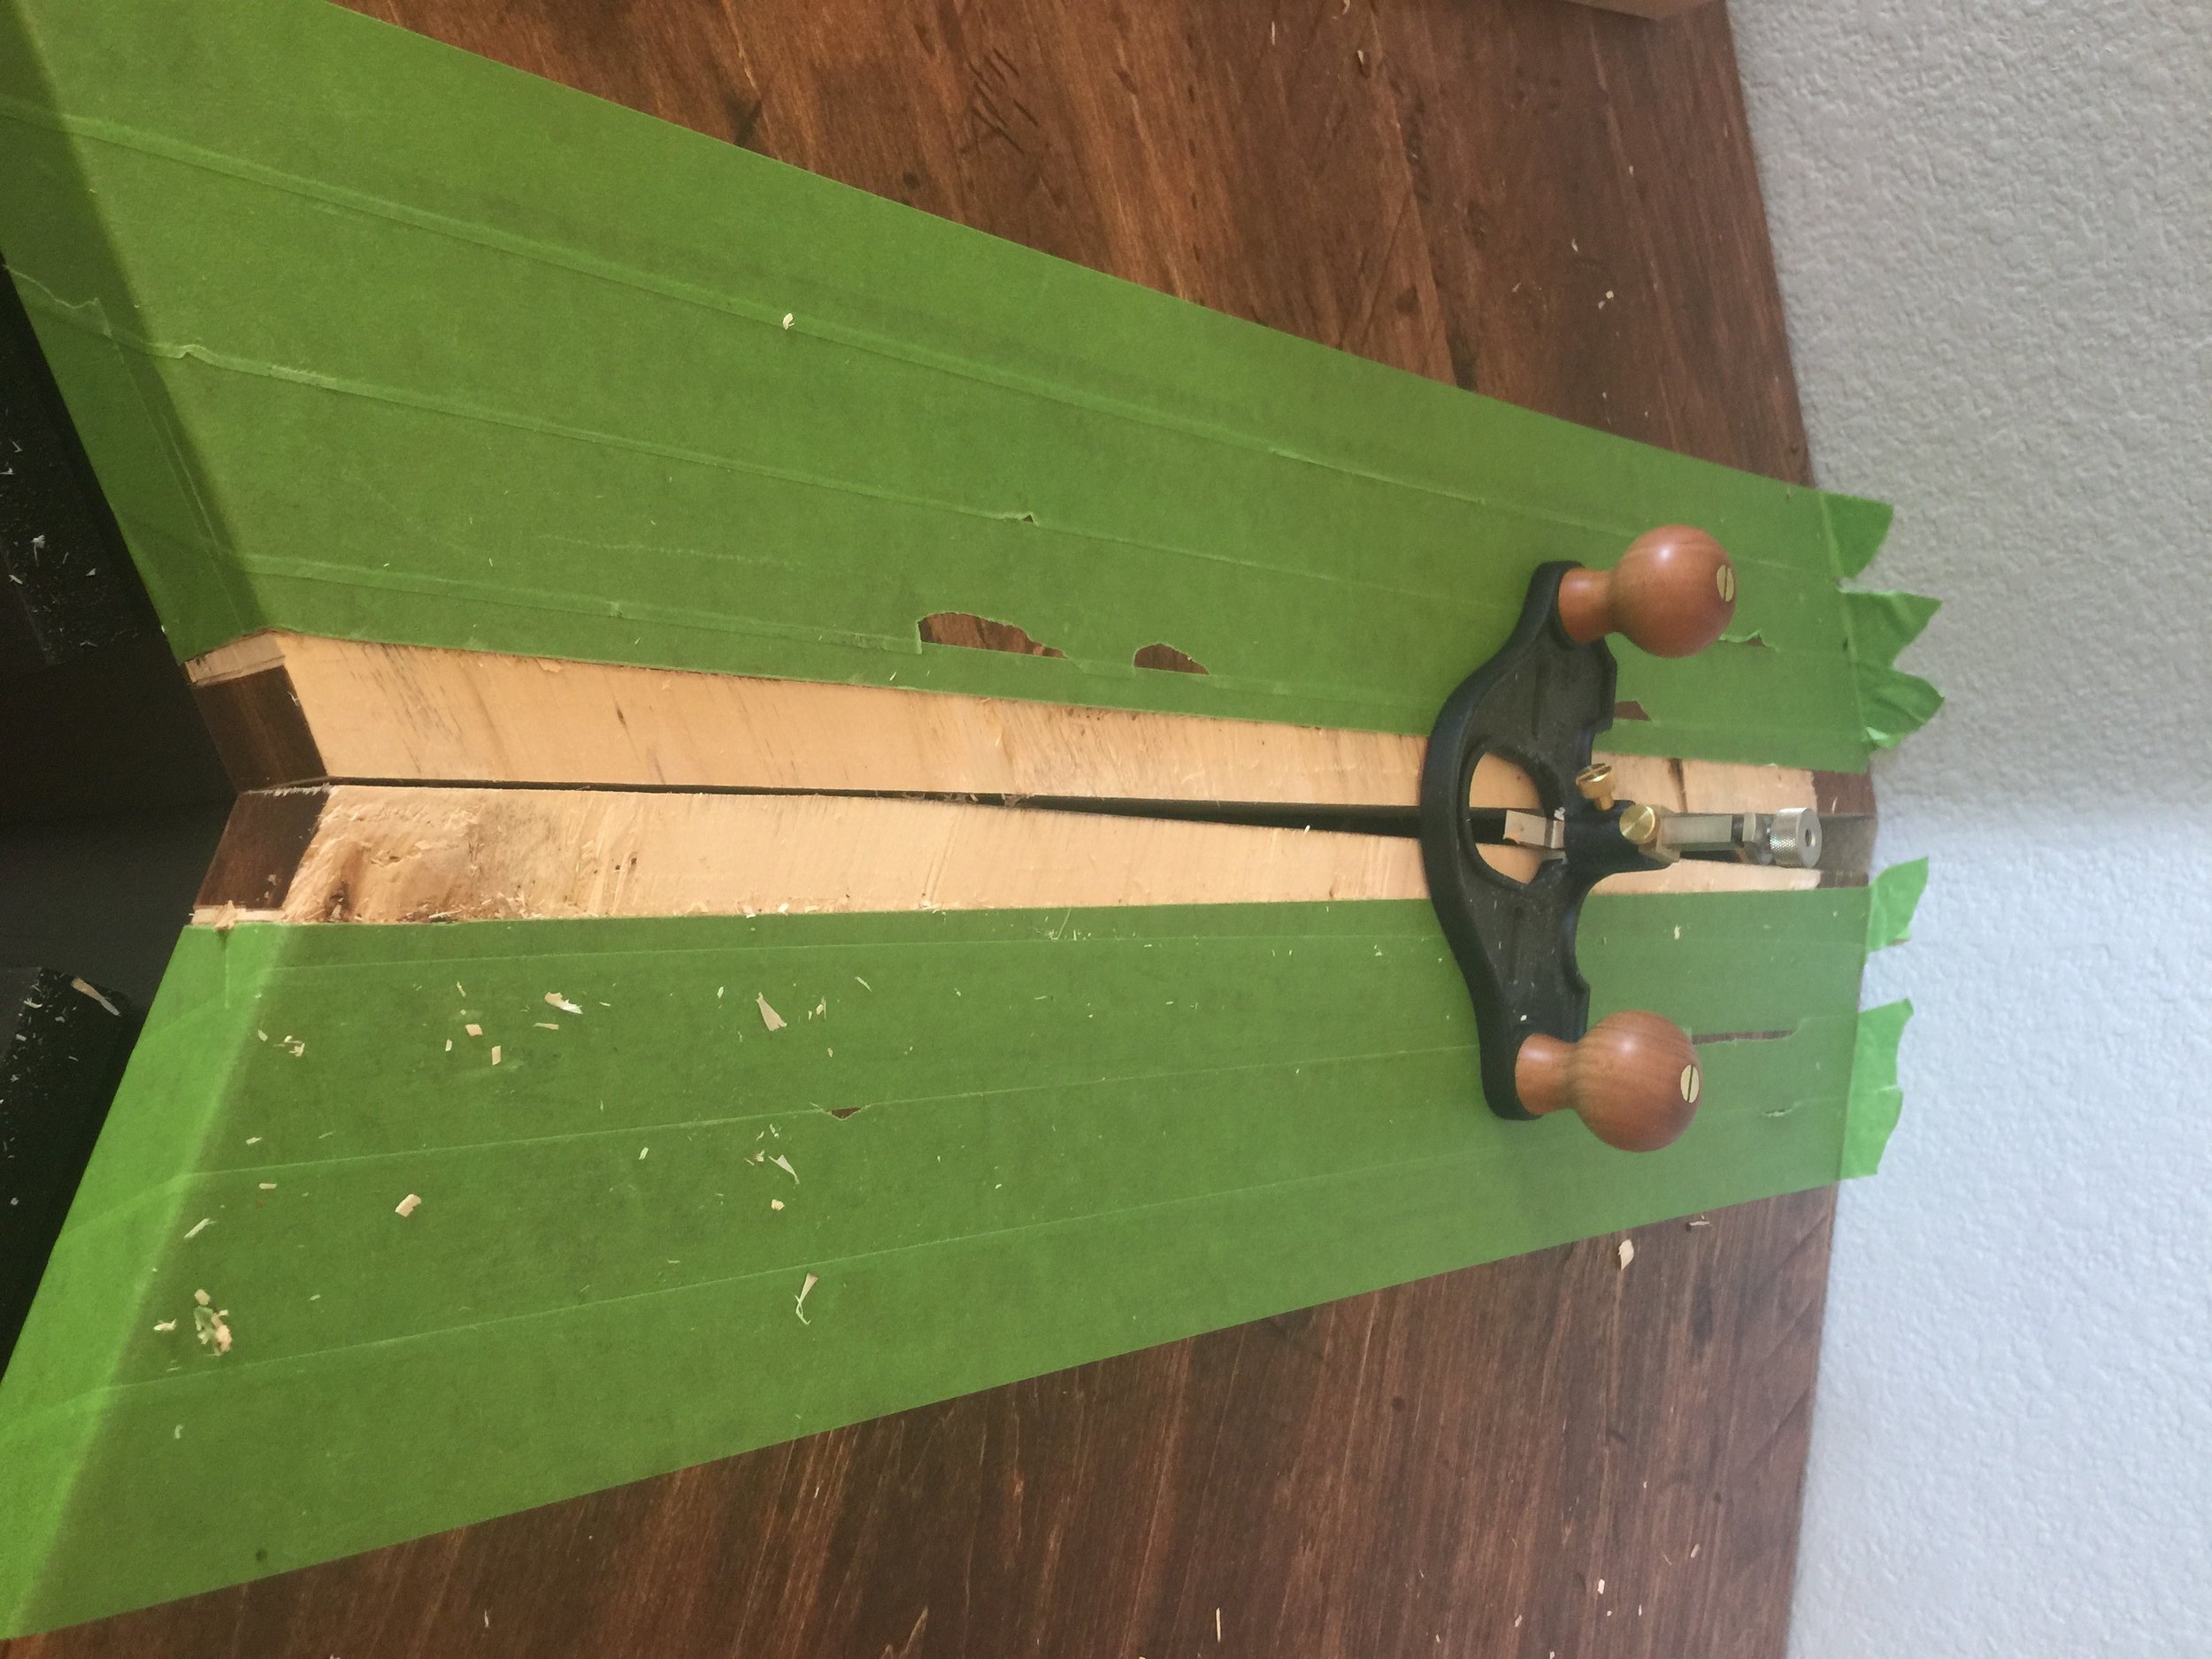
 Luckily the install went exactly as planned. I was a little scared carving into a finished counter to try to inlay a metal band because I didn't want to have to re-apply any stain or finish inside their home. I taped both sides of the seam to prevent scuffing and marked where I would be inlaying the band using a marking knife. Using a combination of my new router plane and chisel, I carved out enough material to get the required depth for the band to sit perfectly flush. I picked up some dark brown caulking on the way over there and used it as adhesive to glue the band in place and hide any of the exposed unfinished wood that you might see from the counter. The end result was fantastic, especially for my first inlay of this sort.
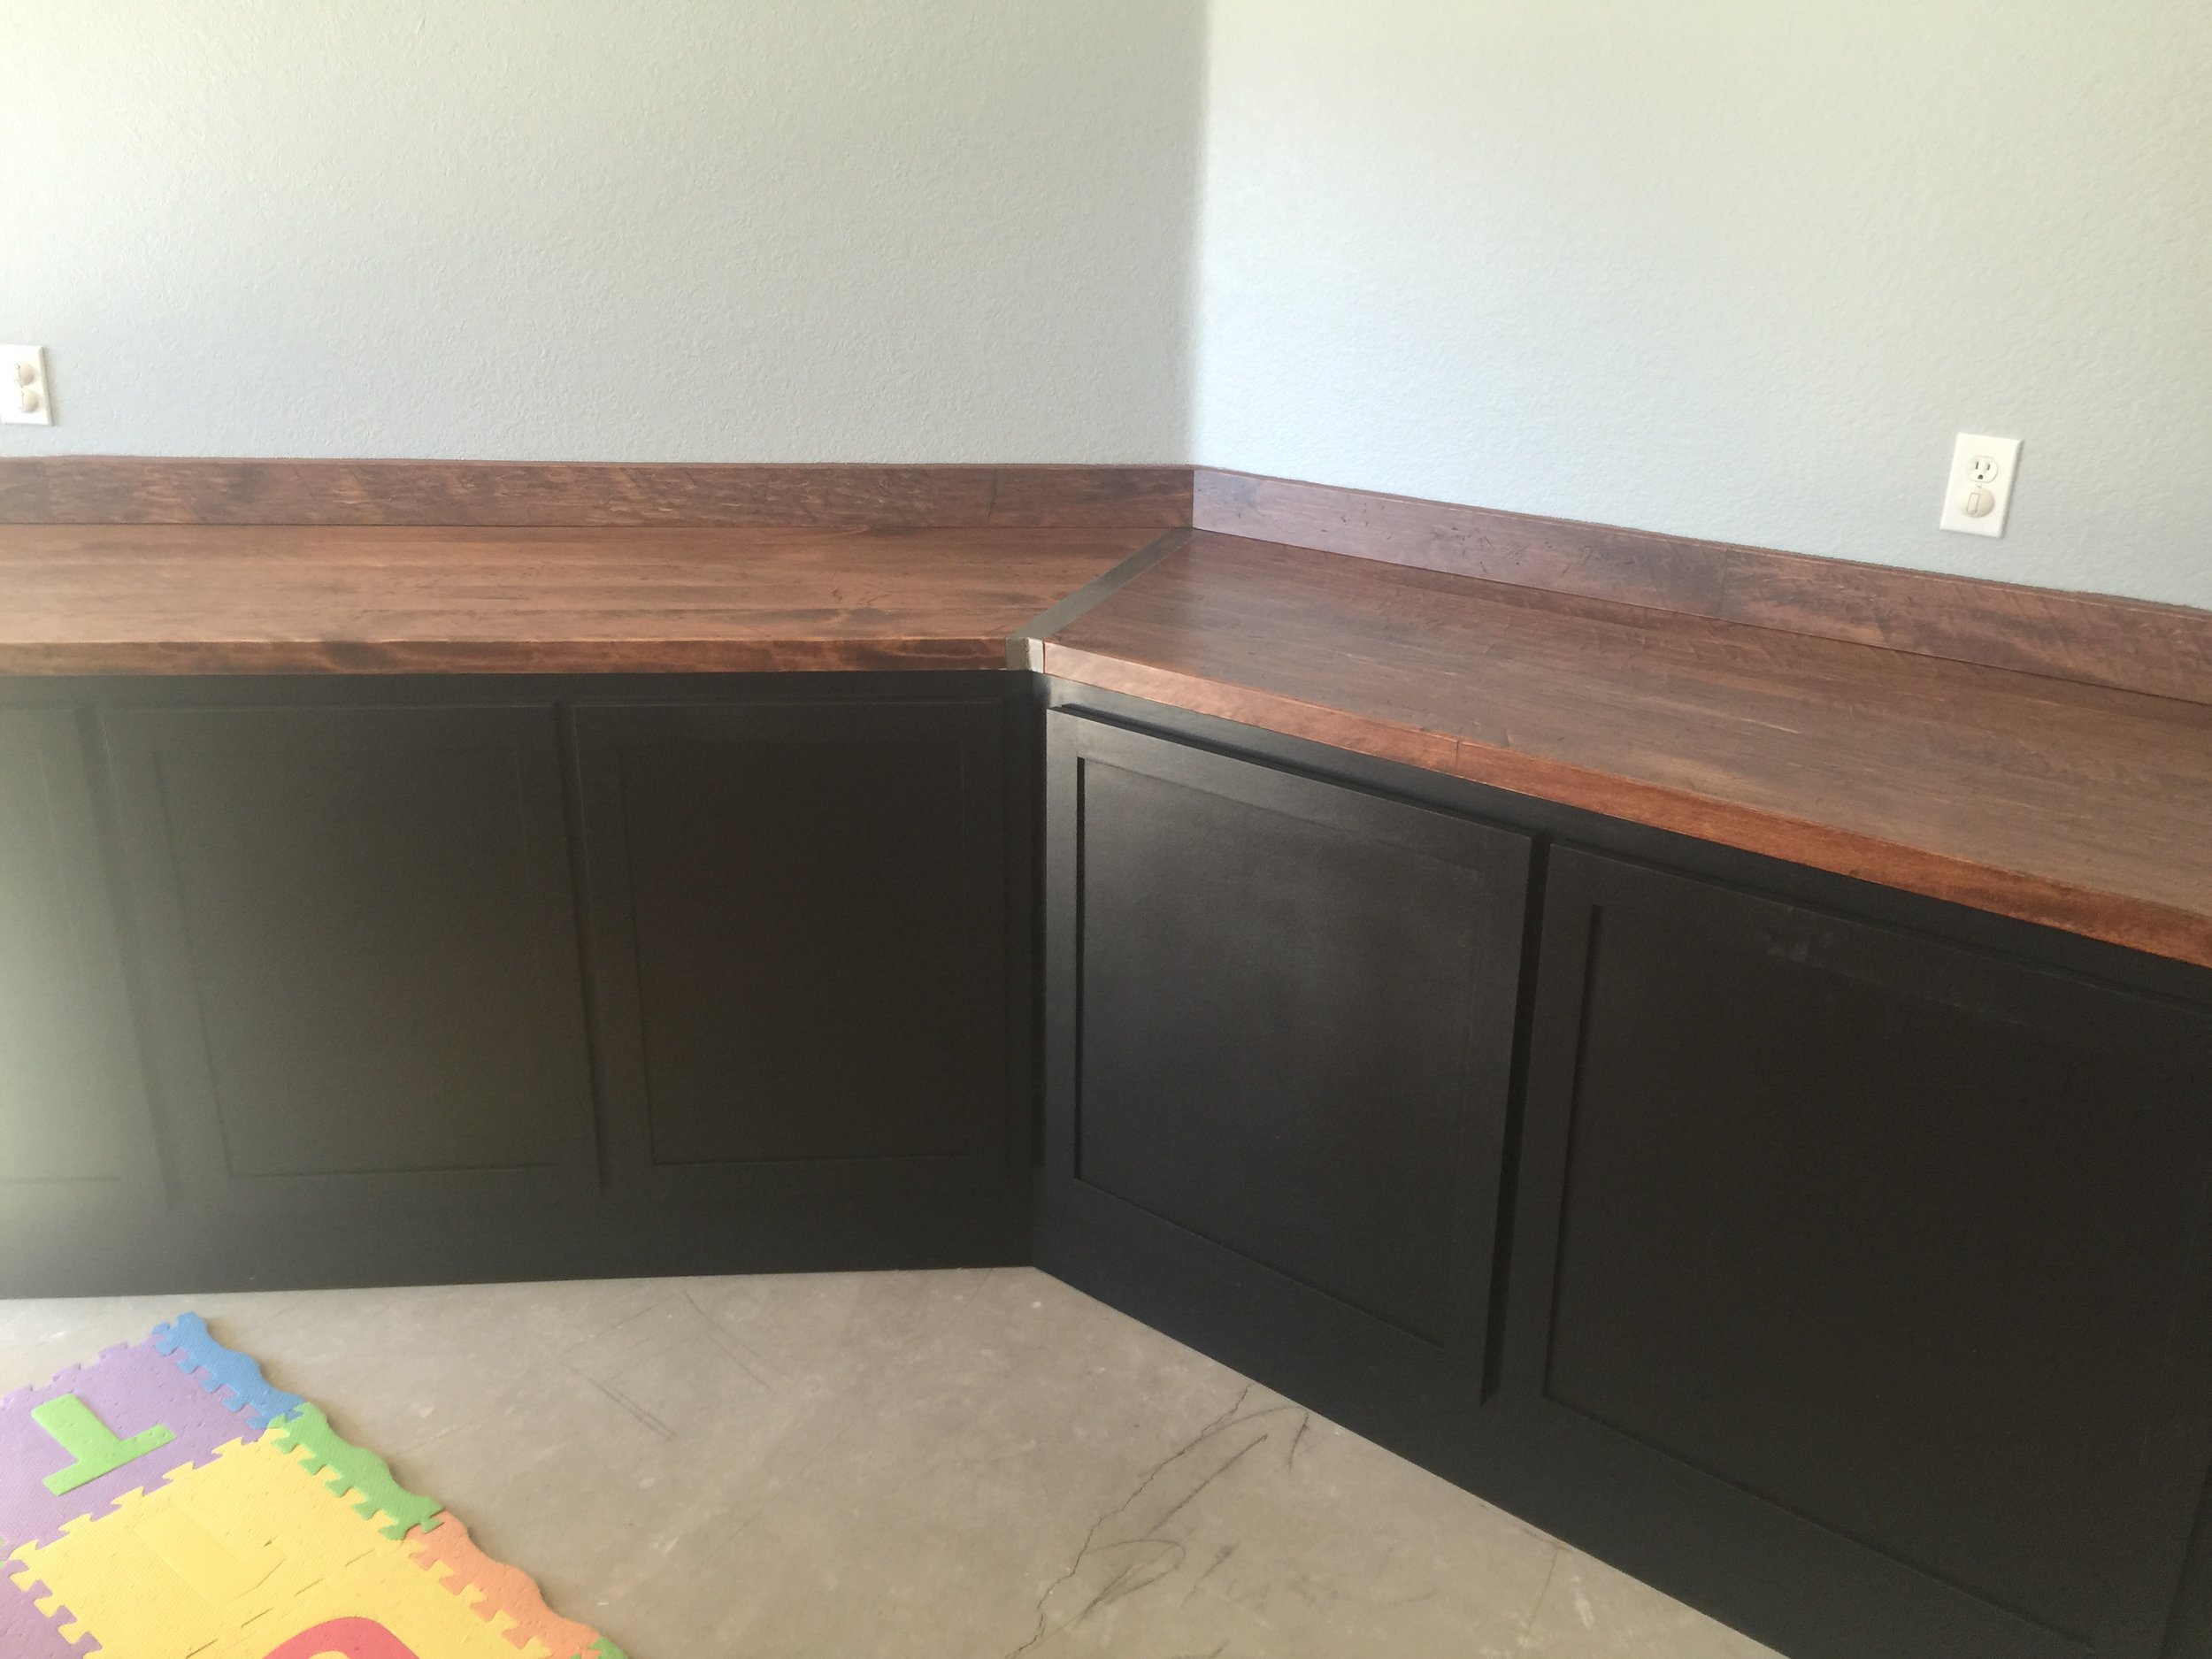
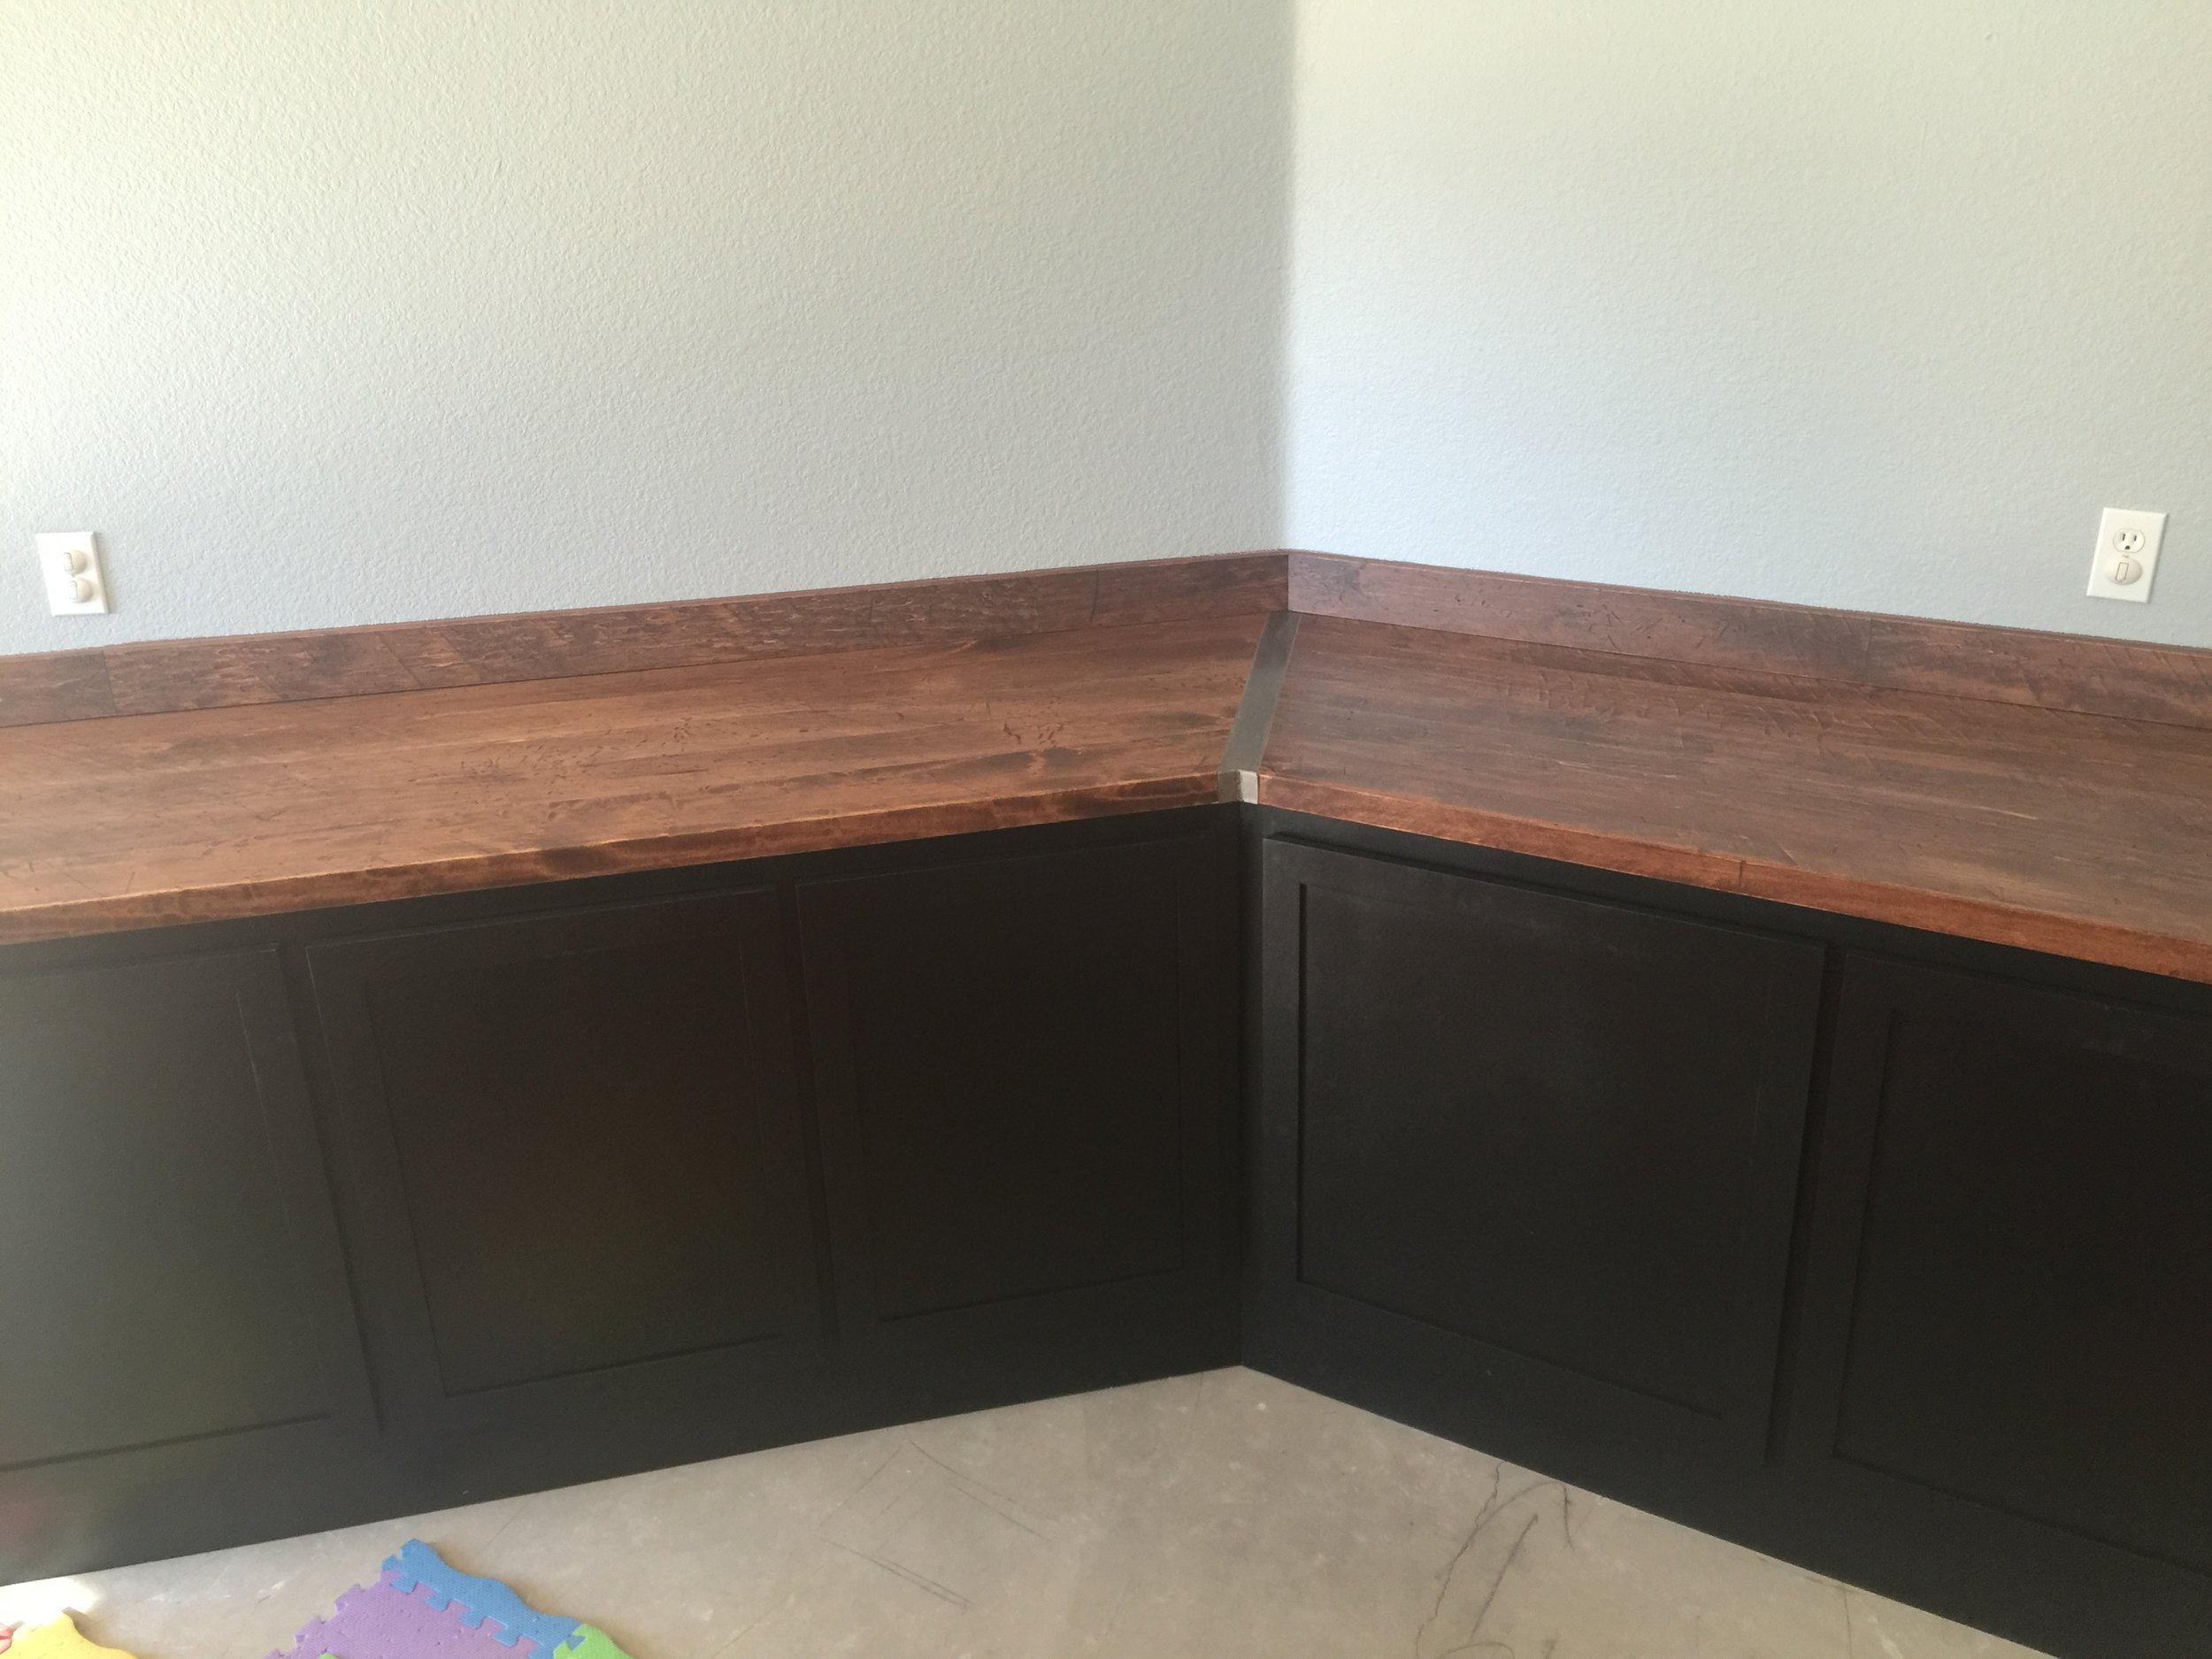
 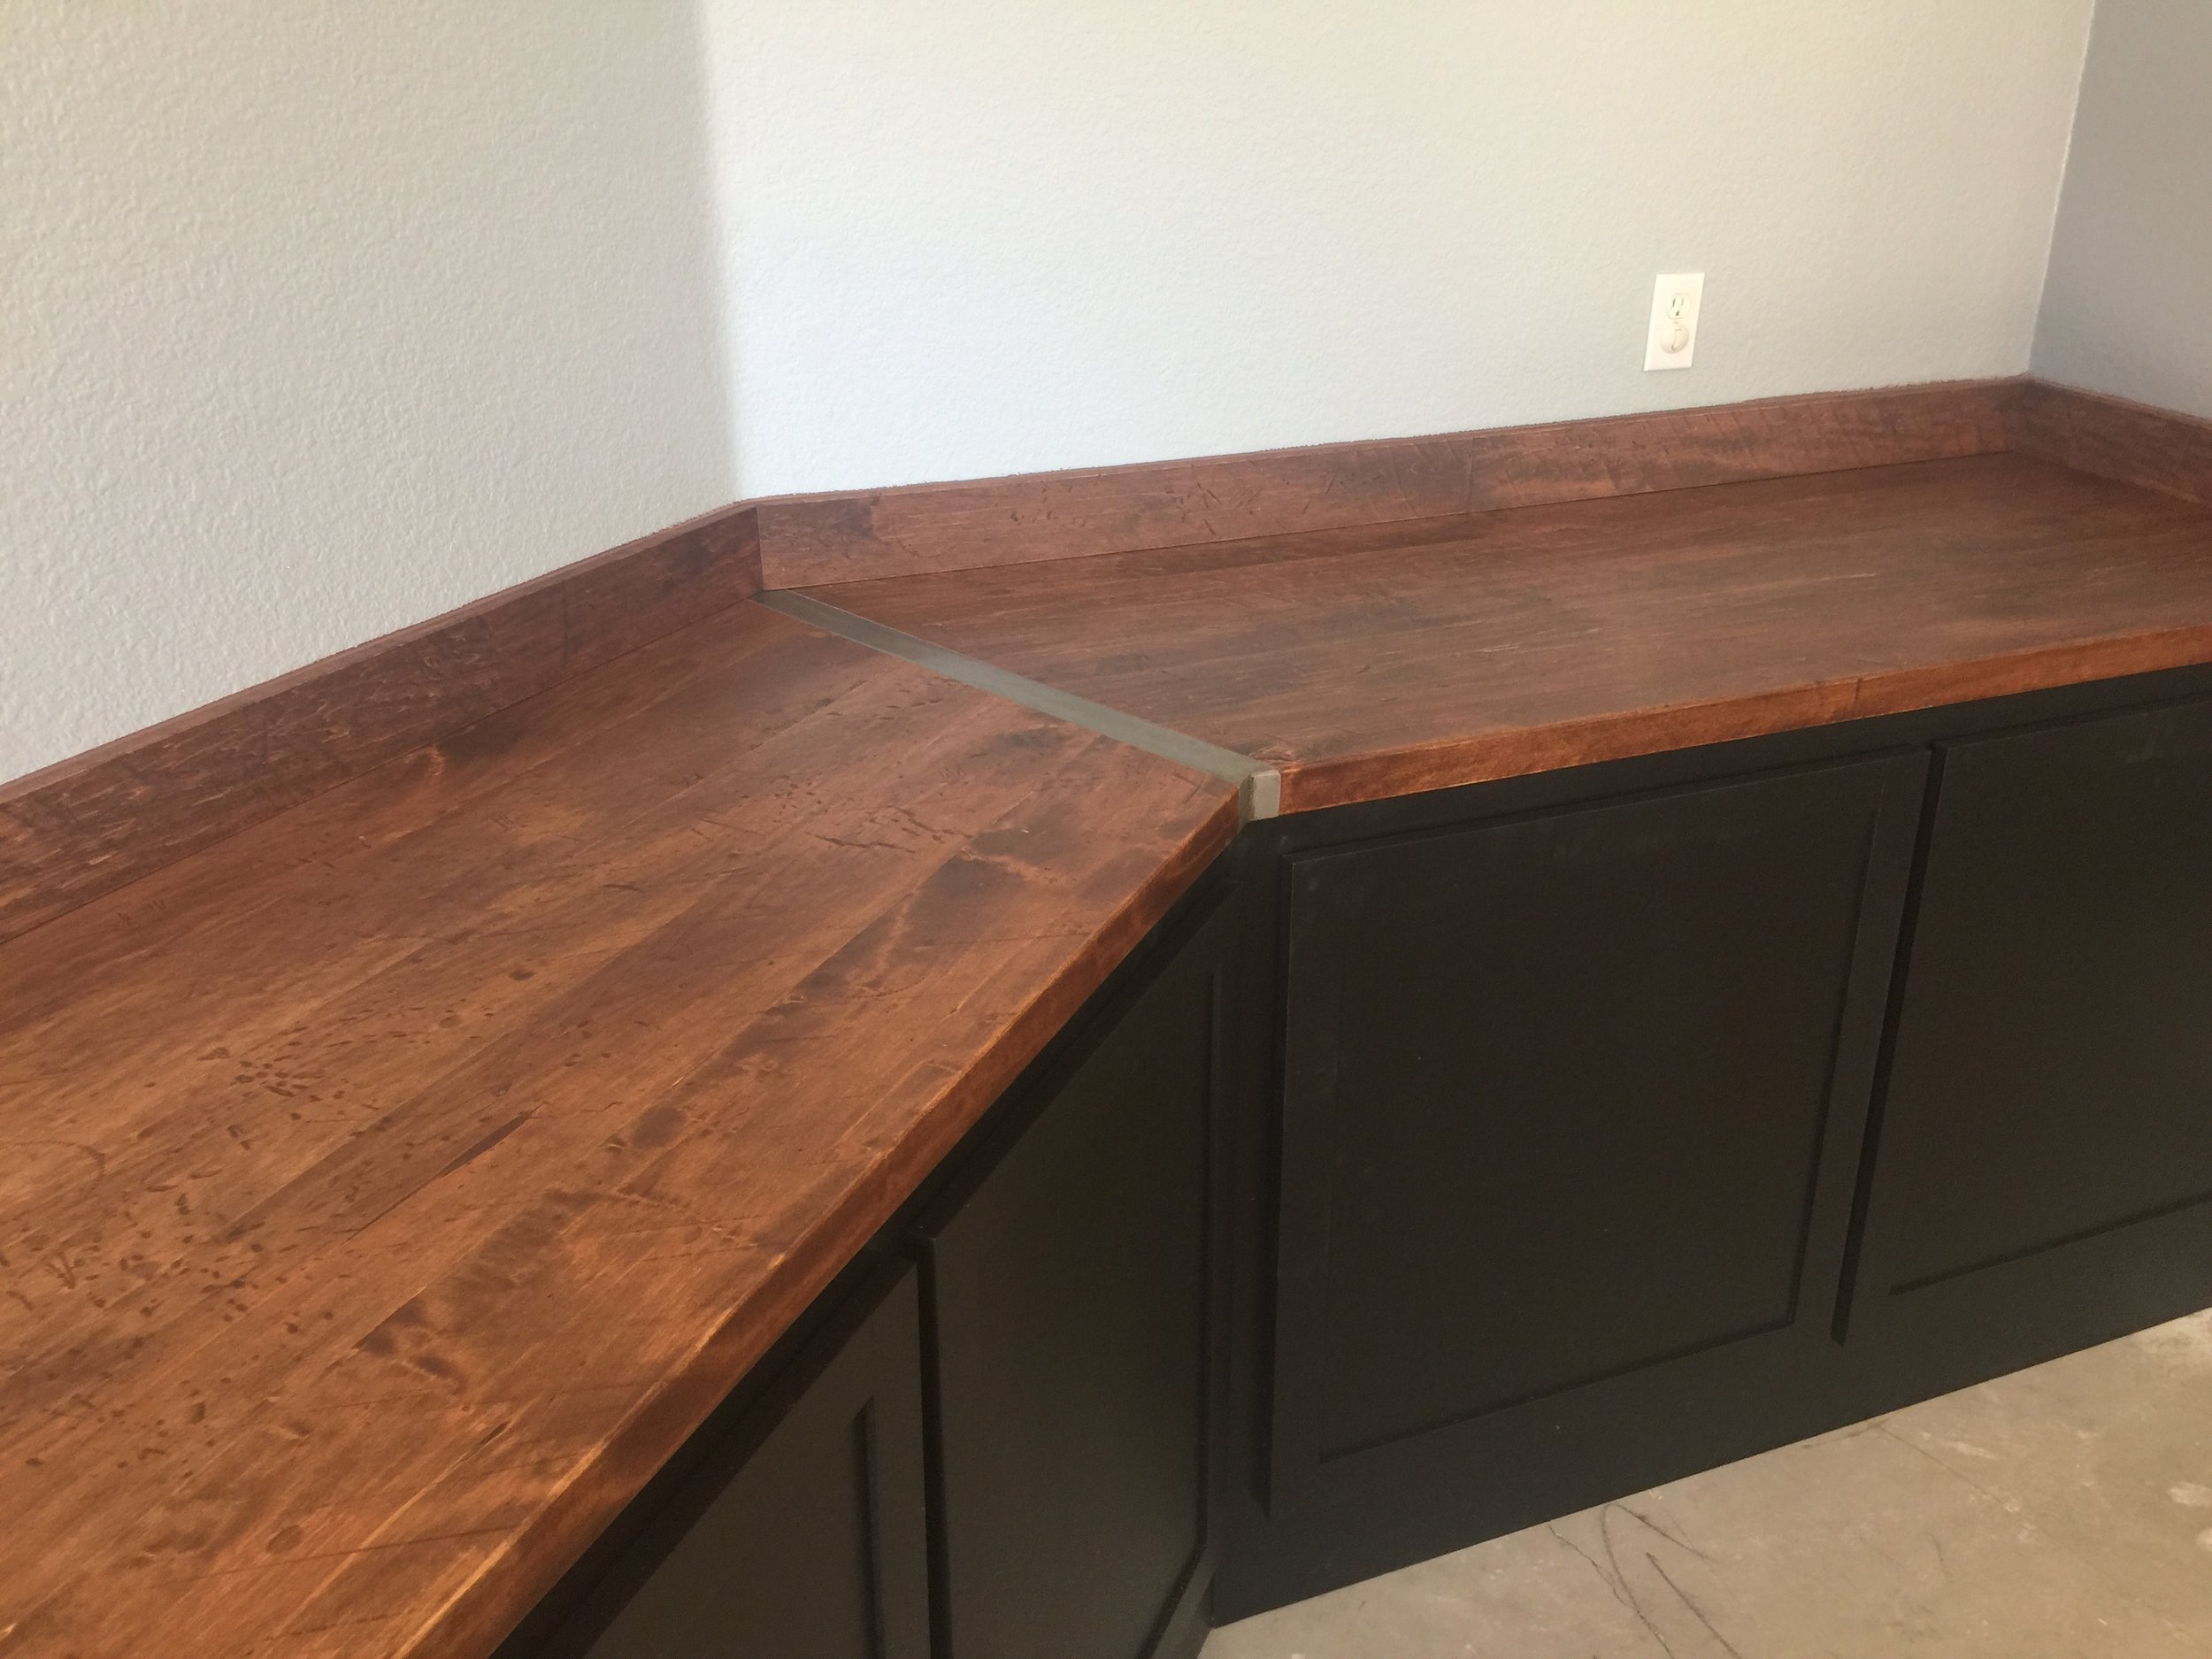 I am very happy with how everything turned out and the inlaid metal band which was just covering up a mistake ended up being my favorite aspect. I think these custom cabinets will give the new owners the extra storage they've been wanting. Especially with the wide outside angles that they wouldn't have gotten with prefab units which generally waste all that space.
Lessons Learned
- When building cabinets, making the frame first and using dados & rabbits for the rest of the construction really speeds up the process. This is going to be my go-to method for anything cabinet like in the future for sure.
- When making a two piece wooden counter, you should probably either plan on applying finish in place or figuring out a transition piece like inlaid metal banding.
- Extra large DIY moving carts made out of pallets and casters can be a godsend when you're working on a large project alone.
- Wood can sunburn faster than I can with more drastic results.
- Measuring twice and cutting once doesn't work out when you're measuring to the wrong angle.. use your brains.