
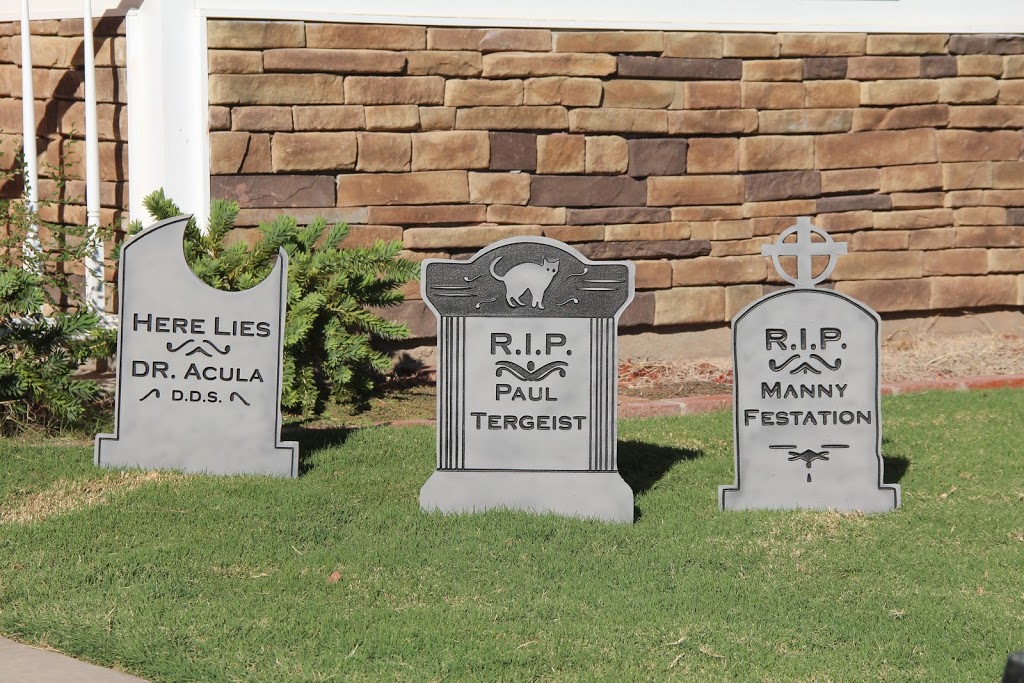
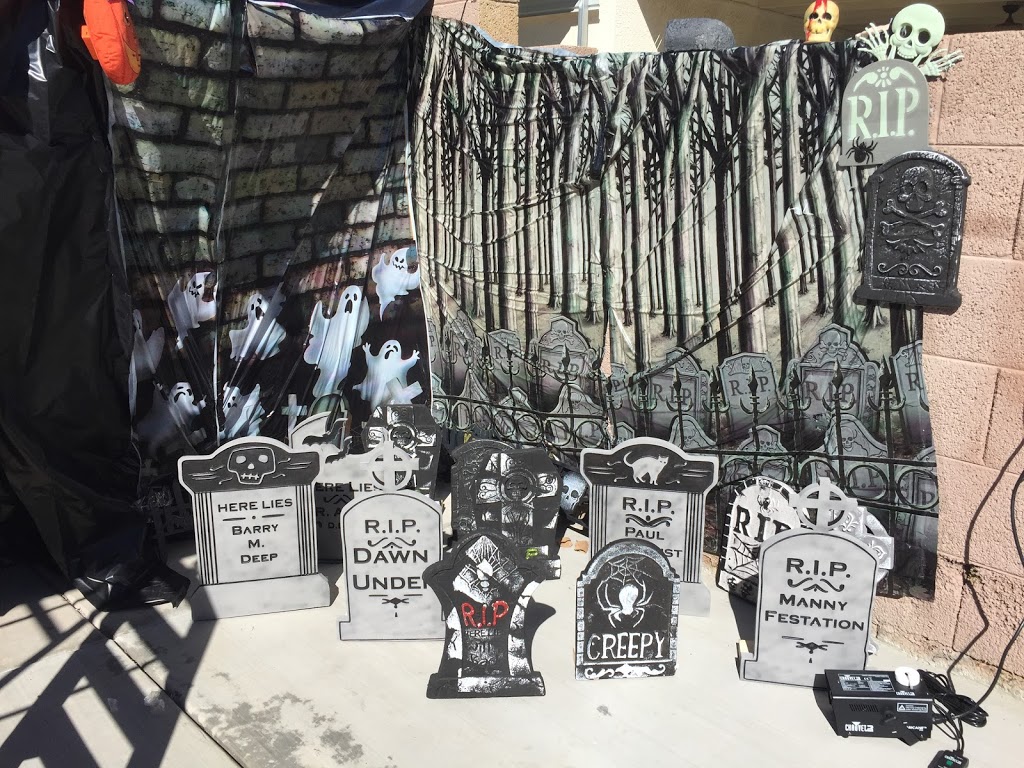
Halloween Tombstones

-
Tools
-
AirBrush Air
- Foam Roller
- X-Carve by Inventables: https://www.inventables.com/technologies/x-carve
-
-
Materials
-
Hardboard Foam Insulation
- 1-2" thick works best
- Paint - I used Stone Grey colored paint by Glidden
-
- Project Files & Links
- Tombstone 1
- Tombstone 2
- Tombstone 3
- Tombstone 4
- Tombstone 5
[gallery link="file" columns="2" size="medium" ids="62,63"]For my materials, I used one inch thick foam hardboard insulation that I picked up from the big box store. If they had two inch stuff in stock, I would have got that instead. I guess you could also use plywood, it'll just take longer and you'll have to change things up. If you really only want to make one or two then most places usually sell smaller two foot by 2 foot pieces but they were around $5 where the full sheet was about $20. (No brainier here..)I cut 12 pieces out of a that measured about 24x16-inches each. To do this, you can use a straight edge and a sharp utility knife, hack saw, fire or even karate to cut your board down to size, or you could just do what I did by quickly and accurately cutting it up using a table saw.[gallery size="medium" columns="2" link="file" ids="64,65,66"]
[gallery size="medium" columns="2" link="file" ids="67,68,69"]No matter what method you choose to carve out the design, I'm sure you'll have some clean up to do. In my case, the router bit left a bunch of little "fuzzies" that I really didn't want to sand. Fortunately for me, foam melts when heat is applied! (unless you used plywood.. poor person.) I used my heat gun to melt away all of the little "fuzzies" and got the added bonus of making the tombstone look more weathered! Perfect![gallery columns="2" size="medium" link="file" ids="70,71,72,73"]
Painting
Lessons Learned
- When using foam on the X-Carve, you can really crank it up! I normally had it set to a cut depth of 1/4" at a speed for 120 inches per minute which is WAY faster than the default setting for anything. I accidentally made the depth per cut over 1" once which caused it to cut out the full 1" foam board at a speed of 120 inches per minute. It did it with out issue but didn't leave as clean as a cut but hey.. still worked!
- Spray paint melts foam.. who knew. I guess I probably would have guessed if I would have used a few brain cells before planning on doing it.. When it started to happen I was like Homer Simpson, "DOH" and was totally unsurprised..
- Hot air guns work great to remove the little fuzzies left over on foam after cutting it.. This is a great lesson for those that don't want to sand those away.